
Heads up — some of the links below are affiliate links. If you buy through them, I earn a small commission (at no extra cost to you), which helps cover the gear I test. Thanks!
You loaded a spool of ABS, hit print, and came back to corners curling off the bed like stale bread. Or maybe it printed fine, but your whole room smelled like warm plastic for the rest of the day. Both problems have the same fix, and it is not a new printer.
A DIY 3D printer enclosure keeps the heat in, the dust out, and the fumes contained. The trouble is that most guides send you two directions only: buy a $350 to $700 commercial box, or start a weekend woodworking project. Neither fits everyone.
This guide gives you the full ladder instead. Zero-build options for under $40. A clean IKEA Lack build for under $100. And the two things nearly every tutorial skips: proper ventilation and fire safety. By the end you’ll know which route fits your material, your budget, and your patience.
- A DIY 3D printer enclosure is worth it mainly for warp-prone materials. ABS, ASA, and nylon genuinely need one. PLA usually does not, and can actually overheat inside a sealed box.
- The cheapest usable option is a photo tent or a storage tote with almost no work. The best value “real” build is an IKEA Lack setup: under $100, versus $349 to $700 for the official Prusa enclosure.
- An enclosure only needs to run a little warmer than the room. Even a small bump over ambient already makes a measurable difference for warping.
- If you print ABS or ASA, ventilation isn’t optional. A HEPA filter catches particles, activated carbon handles the smell, and a decent fan with wide ducting moves the air. Worth knowing that most stock printer filters only do the second half of that job. Here’s why carbon alone won’t stop particles.
- Treat a wooden enclosure with fire retardant, keep the PSU out of the box, and keep an extinguisher nearby.
Table of Contents
Do You Actually Need to Build One?
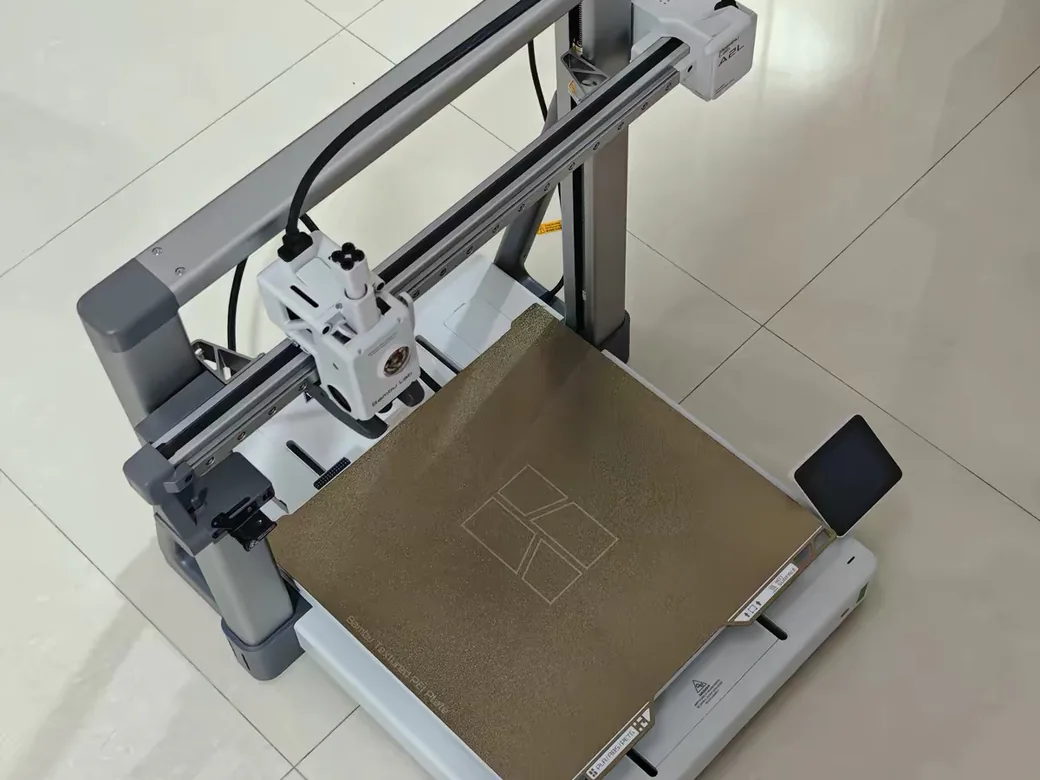
Not everyone does. The honest answer depends entirely on what you print.
If you run ABS, ASA, nylon, or polycarbonate, yes. These materials shrink as they cool, and when the cooling is uneven the part warps, cracks, or peels off the bed. An enclosure traps the printer’s own heat so the whole part contracts evenly. Even a modest bump helps: one builder saw only about 10°C above an 18°C room, and small parts came out clean where they used to curl. Aim a little higher, near 35°C inside, and larger prints hold too.
If PLA is your main material, you probably don’t want a sealed box. PLA likes airflow from the part fan, and trapping heat can soften prints or clog the hotend. PETG lands in the middle. Here’s the quick version by material:
| Material | Enclosure? | Why |
|---|---|---|
| ABS / ASA | Yes | Warps and cracks without trapped heat |
| Nylon / PC | Yes | High-temp, very warp-prone |
| PETG | Optional | Usually fine printed open |
| PLA | No | Can overheat and clog inside a box |
Still deciding what to run? Our filament picker helps you match material to job.
Warping is not the only reason, though. An enclosure also blocks workshop dust, which is a bigger deal than it sounds. Dust settles on your lead screws and rods, mixes with the lubricant, and turns into a grinding paste that wears out motion parts and dulls print quality. It cuts noise. It contains the VOCs and fine particles that ABS and ASA give off. And it lets you move the whole printer without knocking your calibration loose.
Here’s what most guides won’t tell you: an enclosure isn’t a silver bullet. One maker built a solid box for ABS, and his small prints turned out flawless while large parts still warped and cracked. The cause was thin cross-sections and weak bed adhesion, not box temperature. Heat helps, but it won’t cancel out bad first-layer prep or fragile geometry. If you’d rather skip the whole project, a printer that comes enclosed out of the box is a valid answer too.
4 Ways to Build a DIY 3D Printer Enclosure
There are four realistic routes, from no-build to full custom, and your budget and appetite for building decide which. Here’s the whole range at a glance.
| Approach | Approx. cost | Difficulty | Best for |
|---|---|---|---|
| Photo / grow tent | ~$40 | Easiest | Want heat retention today, zero building |
| Storage tote / cardboard | $0–20 | Easy | Tightest budget or a temporary fix |
| IKEA Lack | Under $100 | Moderate | Most people; the sweet spot |
| Custom wood / acrylic | $100–800 | Advanced | Ventilation, noise control, multiple printers |
A photo tent is the laziest win. It is a fabric box with a zip door, and it holds warmth surprisingly well with no tools at all. A storage tote or cardboard box goes even cheaper. Makers on Reddit have built working enclosures from $2 foam board panels or a plain cardboard box with hot-glued magnets, spending close to nothing but time. These are rough, but they prove the point that heat retention does not require money.
The IKEA Lack table is the community favorite for a reason. One Lack costs about $9.99, fits a 220x220mm printer almost perfectly, and stacks into a clean cube. Add acrylic panels and you’ve got a real enclosure for under $100, a fraction of the commercial price. That’s the build we’ll walk through in detail. A custom wood or acrylic box is the top of the ladder, where you add insulation, exhaust, and lighting, and costs climb toward $800.
What You’ll Need
For a standard IKEA Lack build, gather this short list before you start.
Materials:
- 2x IKEA Lack side tables (one becomes the base, one the top)
- Acrylic or plexiglass panels for the four sides
- Weatherstripping for the door seal
- Threaded (heat-set) inserts, or magnets, for the door and panel mounts
- Optional: LED strip, PC fan with 4-inch duct, activated carbon filter
- Fire retardant spray and a small extinguisher
Tools:
- Tape measure and a file (acrylic and printed brackets rarely fit first try)
- A drill or circular saw if you plan to cut door grooves
Threaded inserts are the one part worth buying good. They let you bolt panels together and take them apart again without stripping the wood, which matters if you ever move the printer. A heat-set insert kit with an iron tip handles this cleanly.

- Threaded Inserts Set: 1 x 100W digital soldering iron, 6 x heat-set insert tips (M2/M3/M4/M5/M6/M8), 2 x soldering tip connecting rods, 300Pcs…
- Easy Installation of Heat-Set Inserts: Our heat-set insert tip kit ensures seamless and clean embedding of threaded inserts into plastic, forming a…
- Digital Soldering Iron: The temperature adjustment range of the soldering iron is 200~500°C/392~932°F, 20W rated power, 100W max. Press and hold the…
- Thread Inserts Material: Made of high-quality brass, with excellent corrosion resistance and thermal conductivity. Compatible with common materials…
- Convenient Tip Replacement Design: The split design allows you to easily switch between tips of different sizes without unscrewing the sleeve of the…


Step-by-Step: Building an IKEA Lack Enclosure
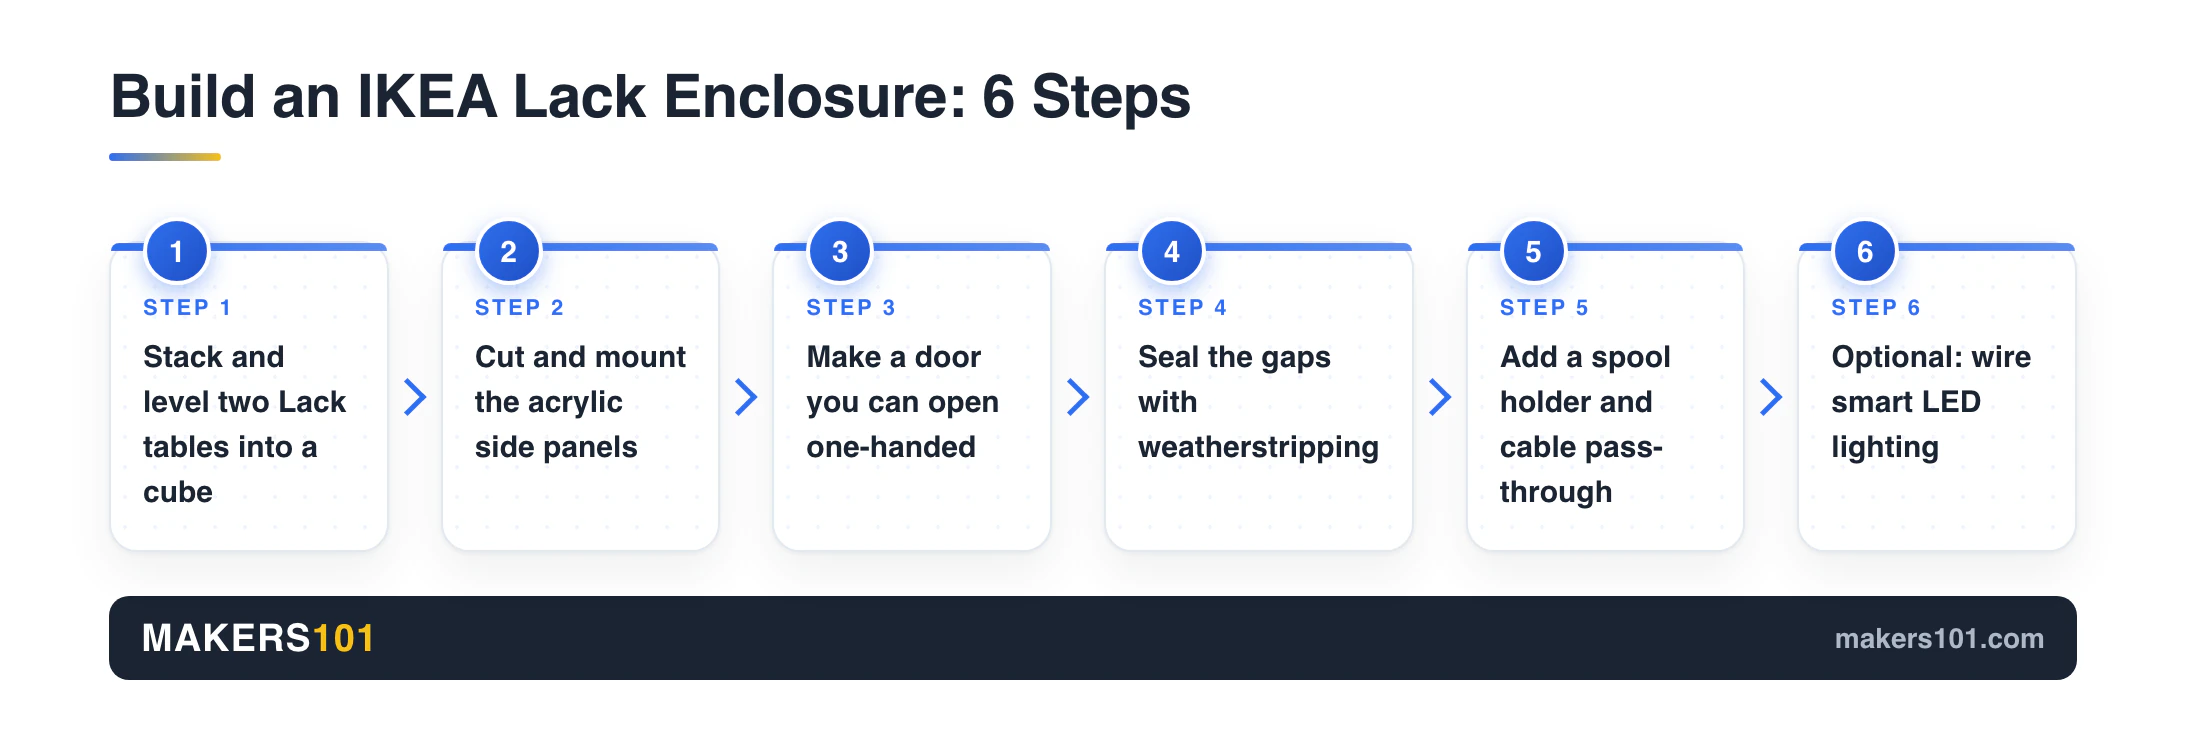
The whole idea is simple. Two Lack tables stack into a box, four panels close the sides, and one side becomes a door. Here’s the order that avoids the most rework.
Step 1: Stack and level the tables
Set one Lack as the base and invert the second on top so the legs meet. The internal opening suits a 220x220mm bed printer like an Ender 3 or Prusa MK3. Check that the top sits level before you attach anything. A wobble here shows up in every panel later on.
Step 2: Cut and mount the panels
Measure each opening and cut your acrylic to fit. If you’re printing the panel brackets yourself, print them first and expect shrinkage. One builder found his printed mounts came out slightly small and needed filing to seat the acrylic, then a strip of double-sided tape to snug the loose ones. Go slow with the file. It’s easier to remove material twice than to add it back.
One warning on acrylic: don’t drill straight into it for hinges. It cracks and shatters. A builder who kept breaking panels switched to cutting grooves in the frame and sliding the acrylic in instead, no holes required.
Step 3: Make a door you’ll actually use
The door is where cheap enclosures fail in daily use. You want to reach in fast without a fight. Two approaches work well. Magnetic catches, using 3D-printed clasps, let a hinged acrylic door snap shut. Or skip hinges entirely and use a sliding panel that drops into a groove, which sidesteps the drilling-and-cracking problem completely. Reddit builders consistently flag the same thing: pick a door you can open one-handed, or you’ll resent the whole box.
Step 4: Seal the gaps
Run weatherstripping around the door edge. This does double duty. It holds heat in for better warp control, and it cuts noise. Sealing matters more than you’d guess: in one build, a small door gap raised the noise from 42 to 47 decibels, and closing it brought the level back down. Tight seals also keep your filtration honest, since unfiltered air can’t leak out the sides.
Step 5: Add a spool holder and cable pass-through
Mount the spool inside or on a slide-out arm so filament feeds cleanly. Cut one small pass-through hole in a rear corner for the printer’s power and data cables. Keep it low and to the side so it does not fight the filament path.
Step 6 (optional): Add smart lighting
If you run a Raspberry Pi with OctoPrint, you can wire an LED strip through a relay on a GPIO pin and trigger it by print events: lights on at start, off at finish, a flash on failure. One note from experience: cheap LED strips are often too dim for good timelapses or camera monitoring. If you care about those, use a brighter panel light instead of a strip.
For a large enclosure you plan to move, build it with threaded inserts rather than screws. It’ll come apart and back together through a doorway without wearing out the joints.
Ventilation and Air Filtration
Do you need ventilation for a 3D printer enclosure? For ABS, ASA, or resin, yes. Those materials release VOCs and fine particles you shouldn’t be breathing all day. For pure PLA you can skip it, though a little airflow never hurts.
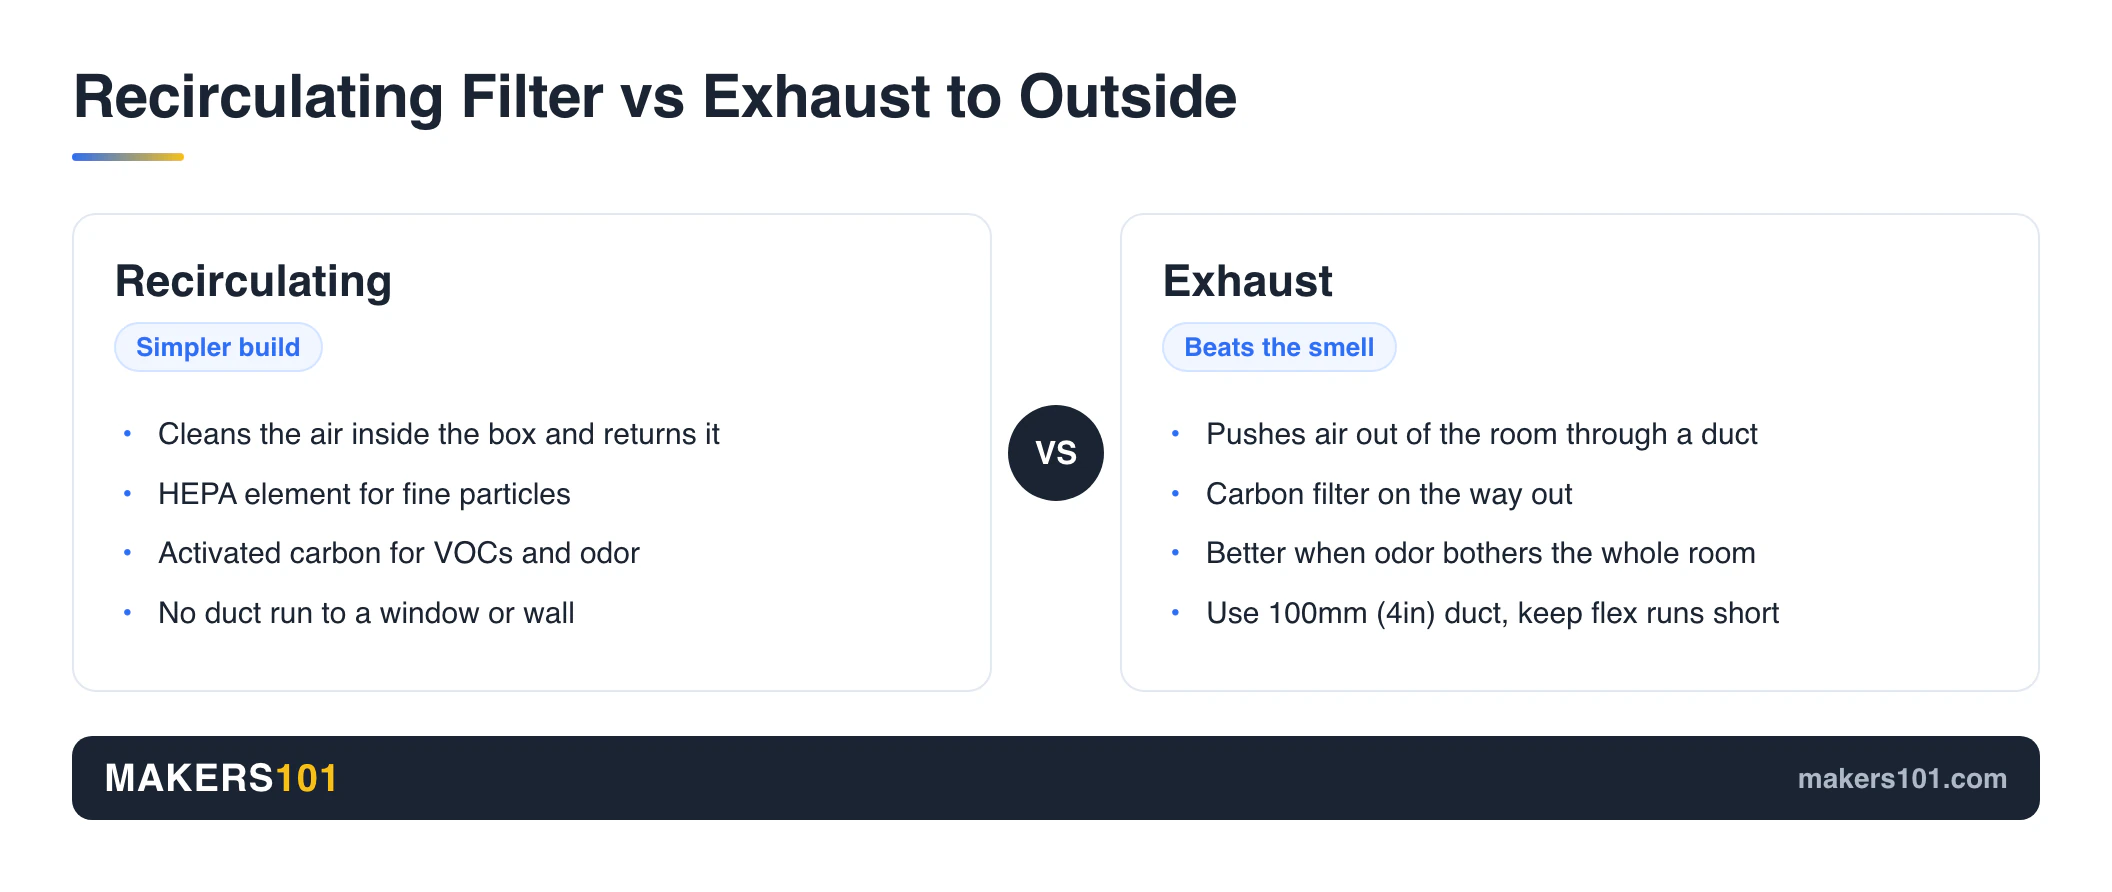
You’ve got two routes. A recirculating filter cleans the air inside the box and returns it: a HEPA element for particles, activated carbon for VOCs and odor. An exhaust setup pushes the air outside through a duct, often with a carbon filter on the way out. Recirculating is simpler; exhaust is better if the smell bothers your whole room.
Fan and duct choice is where DIY builds usually stumble. One maker’s first attempt used a small PC fan and a thin hose. He could see air moving, but the smell never cleared. Swapping to a stronger fan (about $10 more) and a 100mm, 4-inch duct fixed it completely. Bigger duct, more airflow, and the odor was gone. If you use flexible ducting, keep it short: it costs you roughly 10% of your airflow versus smooth rigid pipe, so run rigid where you can.
Two field notes save you a rebuild. First, a cone or funnel on the fan intake can actually reverse the airflow and suck air in instead of blowing it out, so mount the fan to push, not pull, through a restriction. Second, ventilation has a bonus: moving air cooled one builder’s enclosure into the low 30s and dropped his Raspberry Pi from 60°C to 39°C, which protects the electronics and keeps PLA from softening in the extruder. On wiring, most PC PWM fans have four wires, but you only need the positive and negative on a 12V supply to run them at full speed. For dialing in temperatures per material, our print settings finder gives you a starting point.
Fire Safety and Electronics
Sealing a heat-generating machine inside a wooden box makes fire safety non-negotiable. This is the part cheap builds ignore, and it’s the one that can cost you a room.
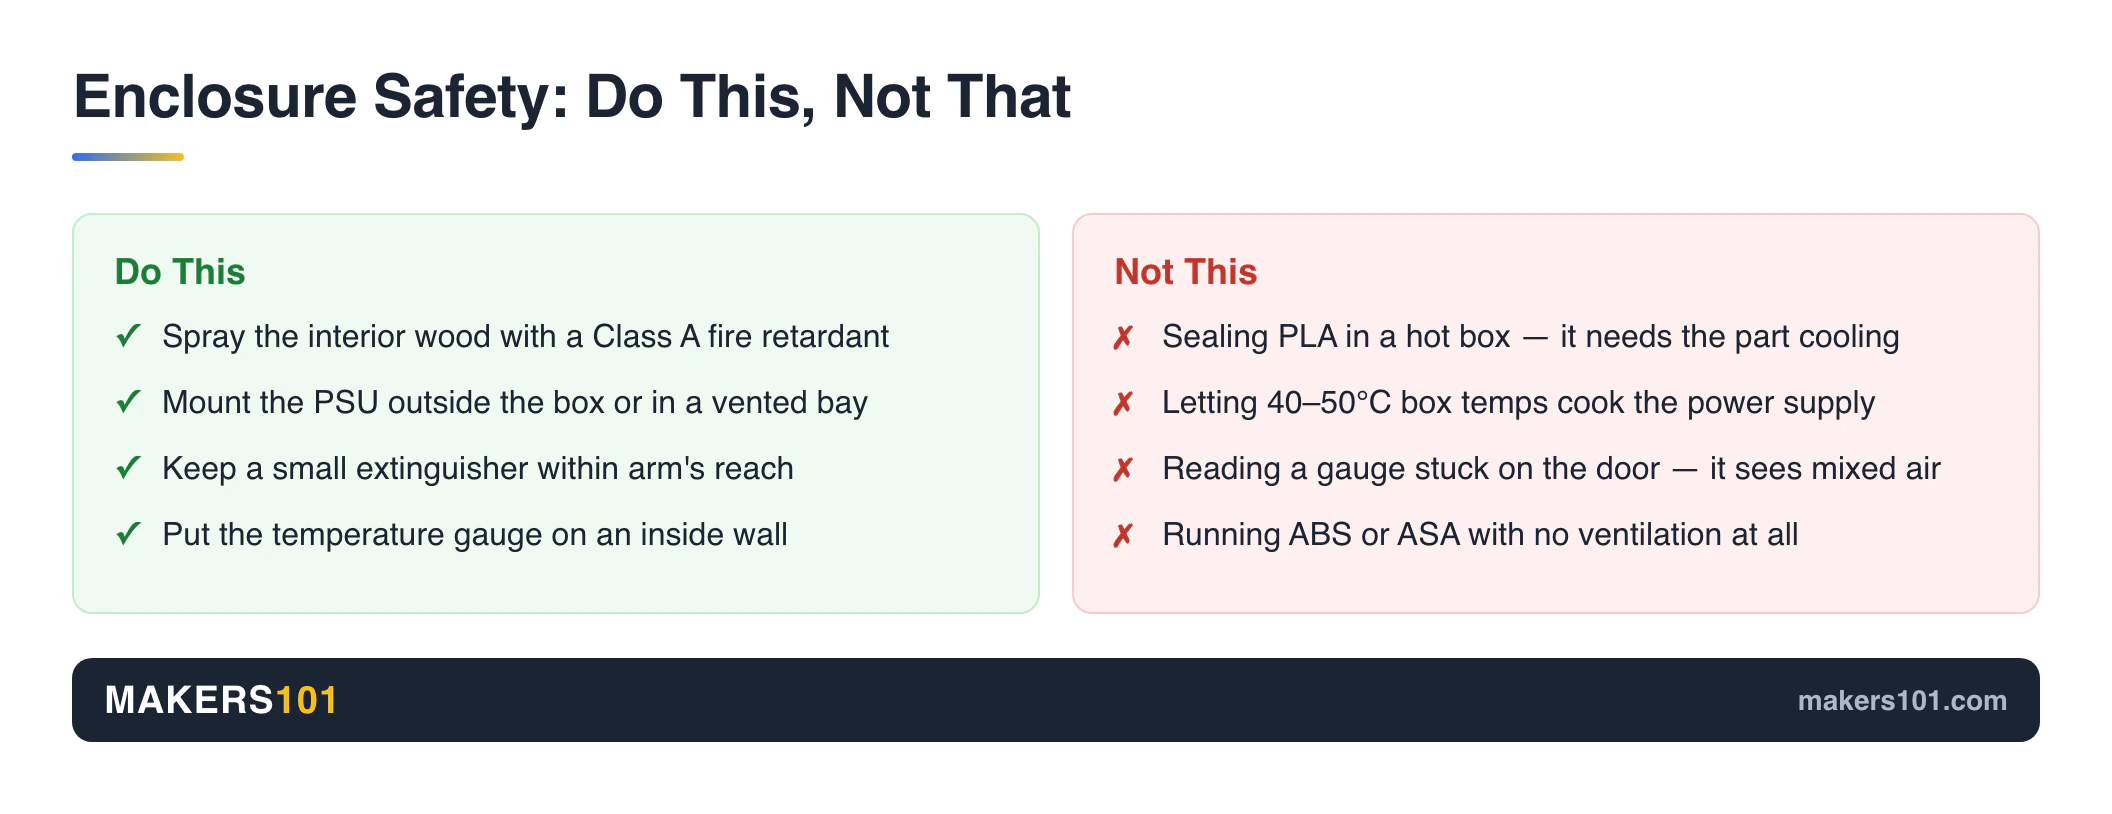
Treat the interior wood with a Class A fire retardant spray. It soaks into the surface and drops the flammability sharply. One builder tested his by putting actual flame against a treated panel: the wood blackened but wouldn’t catch. Keep a small extinguisher within arm’s reach of the printer regardless.
Mount the power supply outside the enclosure. PSUs run hot on their own, and box temperatures of 40 to 50°C shorten their life. Bolt it to the exterior or into a separate vented compartment. One more small thing that trips people up: don’t mount your temperature or humidity gauge on the door. It reads a blend of inside and outside air and gives you numbers you can’t trust. Put it on an inside wall.
And the reminder that saves prints and hotends: don’t seal PLA in a hot box. It wants the cooling.
Common Mistakes to Avoid
Most enclosure headaches trace back to the same handful of errors. Learn them here instead of on your own build.
- Undersizing the exhaust hole. A single 60mm vent wasn’t enough to keep one enclosure cool; the builder had to add a separate intake hole. Air needs a way in and a way out.
- Reversing your own airflow. A cone on the fan can suck instead of blow. Test the direction with a tissue before you seal everything up.
- Ignoring print shrinkage on brackets. 3D-printed panel mounts come out slightly small. Leave tolerance, or plan to file.
- Drilling into acrylic. Holes for hinges crack the panel. Use sliding grooves or magnets instead.
- Trusting dim LED strips. They’re fine for mood, useless for timelapses or failure detection. Use a panel light if you monitor prints.
- Expecting heat to fix everything. If big parts still warp, look at bed adhesion and geometry, not just the enclosure. Storing filament dry helps too; see our guide on how to dry and store filament.
FAQ
Can you make your own 3D printer enclosure? Yes, and it can be as simple or as involved as you like. A cardboard box or a photo tent works for basic heat retention with no tools. An IKEA Lack build gives you a sturdy, good-looking box for under $100. A custom wood-and-acrylic cabinet with ventilation and lighting sits at the advanced end.
Should I build an enclosure for my 3D printer? It depends on your material. For warp-prone materials like ABS and ASA, an enclosure is close to essential for controlling warping. Nylon and polycarbonate benefit too. For PLA-focused printing, you likely won’t need one and may print better without it. Dust protection and noise reduction are nice reasons regardless.
Do you need ventilation for a 3D printer enclosure? For ABS, ASA, and resin, yes. Those materials emit VOCs and fine particles, so use a HEPA plus activated carbon filter, or vent the air outside. For PLA-only printing you can skip active ventilation, though some airflow still helps keep temperatures in check.
What temperature should a 3D printer enclosure be? Warmer than the room, but not hot. Around 35°C inside is enough to make a real difference for ABS warping. You don’t need a heater; the printer’s own bed and hotend supply the warmth. Trapping too much heat can harm PLA and stress electronics.
Is an IKEA Lack enclosure big enough? For a 220x220mm machine such as the Ender 3 or Prusa MK3, yes, it fits well. For larger-format printers you’ll need to extend the frame or step up to a custom box sized to your machine.
If you are still setting up your first machine, our roundup of the best 3D printers for beginners pairs well with this build.