
Heads up — some of the links below are affiliate links. If you buy through them, I earn a small commission (at no extra cost to you), which helps cover the gear I test. Thanks!
- A brass brush is the standard tool because its thin, springy wire lifts off burnt plastic without gouging the metal, and brass is no harder than the nozzle it cleans.
- Brush it warm, not glowing hot. Around 200°C is plenty. Think toothbrush, not saw.
- Half the “brass” brushes sold online are steel with a brass-colored coating. Test yours with a magnet: genuine brass won’t cling to it.
- A stray brass bristle is conductive and can short your board, so keep them clear of fans, the camera, and wiring.
- When brushing isn’t enough, step up to a cold pull, a cleaning needle, or a soldering-iron clean.
There’s a question that pops up on Reddit more often than you’d think: why do we scrub a brass nozzle with a brass brush? Isn’t that like sanding stone with stone? It’s a fair thing to wonder. And it gets more confusing the moment you search Amazon, where half the reviews on any “brass” brush say the same thing: this is actually stiff steel with a bit of brass color on top.
So before you buy the wrong tool or scratch a nozzle you just paid for, let’s clear it up. Using a brass brush for cleaning a 3D printer nozzle is simple once you know two things: why brass works, and how to do it without rounding off your nozzle or shorting your mainboard. This guide covers both, plus what to reach for when a brush alone won’t cut it.
Table of Contents
- Why a Brass Brush Works (and Won’t Wreck Your Nozzle)
- Brass vs Nylon vs Steel: Which Brush for Which Nozzle?
- Is Your “Brass” Brush Actually Steel? (The Magnet Test)
- How to Clean Your Nozzle With a Brass Brush: Step by Step
- Safety: Don’t Short Your Board or Round Off Your Nozzle
- When Brushing Isn’t Enough: Deeper Cleans and Alternatives
- Caring for the Brush, and How Often to Clean
- Frequently Asked Questions
Why a Brass Brush Works (and Won’t Wreck Your Nozzle)
Brass wire is thin and springy, so instead of biting into the nozzle, the bristles flex and skate across the surface. The gunk you’re removing (baked-on plastic and carbon) is much softer than the metal underneath, so it lifts off first. And because the wire is brass rather than hardened steel, it’s no harder than the nozzle itself and can’t carve into it. That’s the whole trick: springy enough to shift the residue, too soft and flexible to score the metal.
This is also why brass is safe on tougher nozzles. Hardened steel and stainless nozzles shrug it off completely. Even on a plain brass nozzle, light strokes lift residue without leaving marks. Experienced users lean on brass for exactly this reason, to scrub the tip clean without damaging it.
Why bother at all? A crusty nozzle drags across your print and drops little burnt boogers into the surface. Worse, buildup on the tip throws off your first layer, because the printer’s auto-bed-leveling touches a dirty nozzle instead of clean metal. If your first layer stops sticking for no obvious reason, a grimy nozzle is a common and overlooked cause.
Brass vs Nylon vs Steel: Which Brush for Which Nozzle?
Short version: brass is the default. Nylon is gentler but weaker, and steel is a last resort that should never touch a brass nozzle. Your nozzle material decides how much room you have.
Here’s how the three compare:
| Brush type | Safe on | Main risk | When to use |
|---|---|---|---|
| Brass wire | Brass, hardened steel, stainless | Loose conductive bristles | Default choice for outside-the-nozzle cleaning |
| Nylon / brass-nylon | Any nozzle, delicate coatings | Melts if pressed on a hot tip | Light residue, or if you’re nervous about scratches |
| Steel wire | Hardened steel only | Scratches and dulls brass nozzles | Stubborn buildup on hardened steel, rarely needed |
Your nozzle material also decides your brush. A soft brass nozzle can be marked by steel bristles, so keep steel away from it. Flip it around and the reverse is true too: a hardened steel or tungsten carbide nozzle is so hard it slowly wears the bristles off a steel brush without any benefit. And if you print abrasive filaments like carbon fiber, you’ve probably already swapped to a hardened nozzle, which brass cleans just fine.
Is Your “Brass” Brush Actually Steel? (The Magnet Test)
Here’s what most product listings won’t tell you: a lot of “brass” brushes are steel wire with a brass-colored coating. This isn’t a rare complaint. One Bambu A1 owner summed it up after shopping Amazon: most brushes had reviews warning they were stiff, or steel underneath the color.
The test takes five seconds. Real brass is not magnetic. Touch a fridge magnet to the bristles, and if they pull toward it, you’re holding steel. A community build guide for an automated nozzle scrubber puts it bluntly: make sure your brass brush is non-magnetic, because steel wires will wear out your nozzle. That’s the exact failure mode you’re trying to avoid, steel dragging across a brass tip and dulling it.
This is also why a name-brand brush is worth the extra dollar or two. A generic no-name from a marketplace is more likely to be mislabeled. Whatever you buy, run the magnet test when it arrives.
How to Clean Your Nozzle With a Brass Brush: Step by Step
The whole job takes a couple of minutes. Here’s the fast version, then the detail.
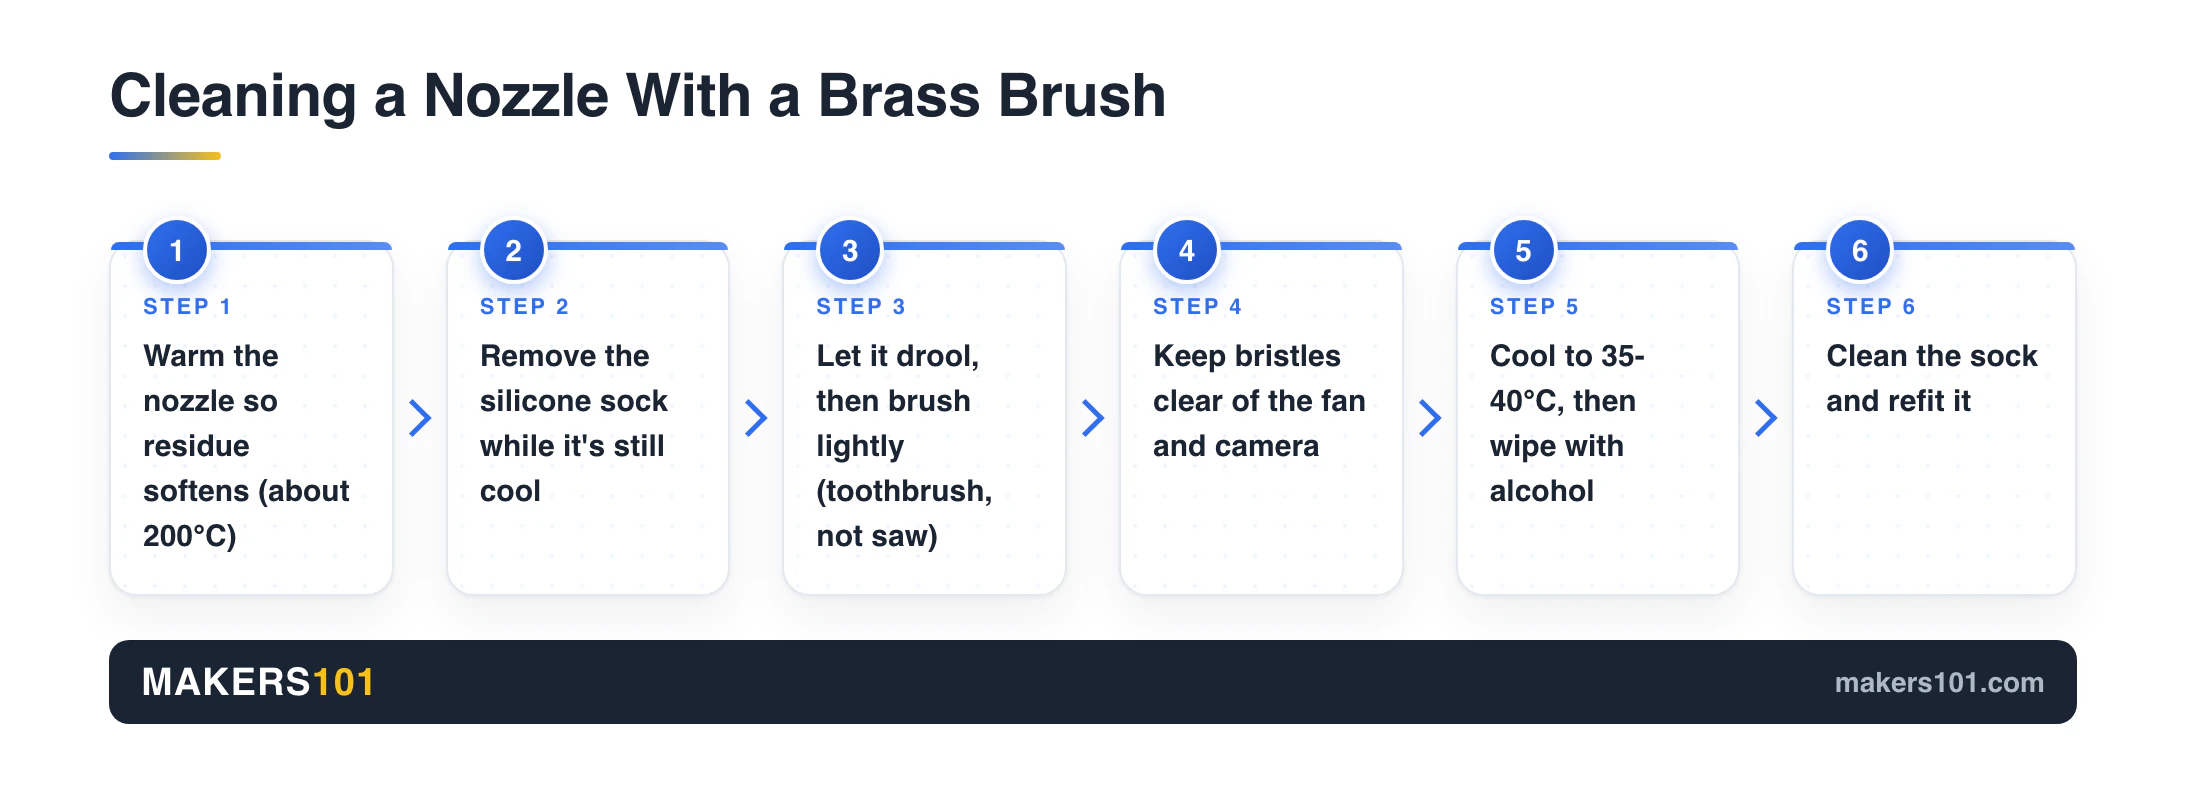
Quick version (2 minutes): Heat the nozzle until residue softens, take off the silicone sock, let any ooze drool out, and lightly brush the tip and sides. Let it cool, wipe with alcohol, and put the sock back.
What You’ll Need
- A true brass brush (magnet-tested)
- A nozzle cleaning needle for the tip hole
- Isopropyl alcohol and a lint-free cloth
- Tweezers or pliers to handle the hot sock

- Brass wire bristles: can clean most surfaces and efficiently removes stubborn residue
- Versatile: great for removing paint, rust, and more; 1/2-inch size allows for easy access to tight spaces
- Soft-grip offset handle: offers a secure hold for added comfort and control; offset from brush head to prevent damage to surfaces and to keep knuckles safe during use
- Consists of 60% polypropylene, 10% TPR, and 30% brass; handles are solvent- and chemical-resistant
- Warranty: backed by an Amazon Basics 1-year limited warranty

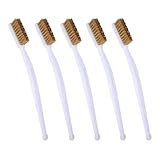
- Premium quality: this 3D printer nozzle brush is made of brass wire with moderate hardness. Convenient, efficient, and durable, used for cleaning 3D printer nozzle, heated bed, etc
- Convenient design: the curved handles are made of plastic, easy to hold and control for clean small places, and narrow spaces. There is a small hole at the end that can hang up to save space
- Wide application: brush suitable for different industries cleaning, great for cleaning steel parts, machinery, unfinished metal parts, paint stains, etc. Note: please heat the nozzle to 190° C when you use it to clean nozzles
- Brass brush size: the total length is 17cm/6.7in, the handle length is 13cm/5.1in, the brush head length is 4cm/1.6in, and the head width is 1.2cm/0.5in. it is consisting of 30 brush holes and each one with 50 brass wires
- Aokin 3D printer accessories use high-quality raw materials and fine workmanship, If you have any questions about our product, please feel free to contact us, we will do our best for you

- GREAT VALUE: sharp quality tweezers and 10pcs of 0.40mm nozzle cleaning needles packed in one safe container!
- Anti-Static, Non-Magnetic CURVED PRECISION TWEEZERS; 3D printing tweezers great for nozzle maintenance and cleaning excess support material
- 10 pcs of 0.40mm diameter FLEXIBLE stainless steel needles; Ideal for gentle maintenance of your nozzles and hard to reach places like the feed gears
- HANDY, SAFE and STYLISH container; All of the items come in a neat plastic tube with a screw lid to keep them safely together
- Long-lasting kit for SEVERAL PURPOSES; Remove excess plastic and clear jams with high precision, also great for general maintenance of the heatsink section.
For more of the small stuff every printer owner ends up needing, see our list of essential 3D printing tools.
The Full Steps
1. Heat it, don’t force it. Set the nozzle to around 200°C so the plastic softens. Warm is the goal. You’re wiping, not sawing, and a glowing-hot nozzle isn’t safer or cleaner. If you’re not sure what temperature your material runs at, our nozzle temperature finder for your filament sorts it out.
2. Take the silicone sock off first. Do this while it’s still cool. The sock traps filament fibers, and brushing with it on just grinds debris into it. Set it aside to clean separately.
3. Let it drool, then brush lightly. Once it’s hot, a little filament will ooze out on its own. Let it. Then run the brass brush gently around the tip and up the sides. Short, light strokes. No pressing.
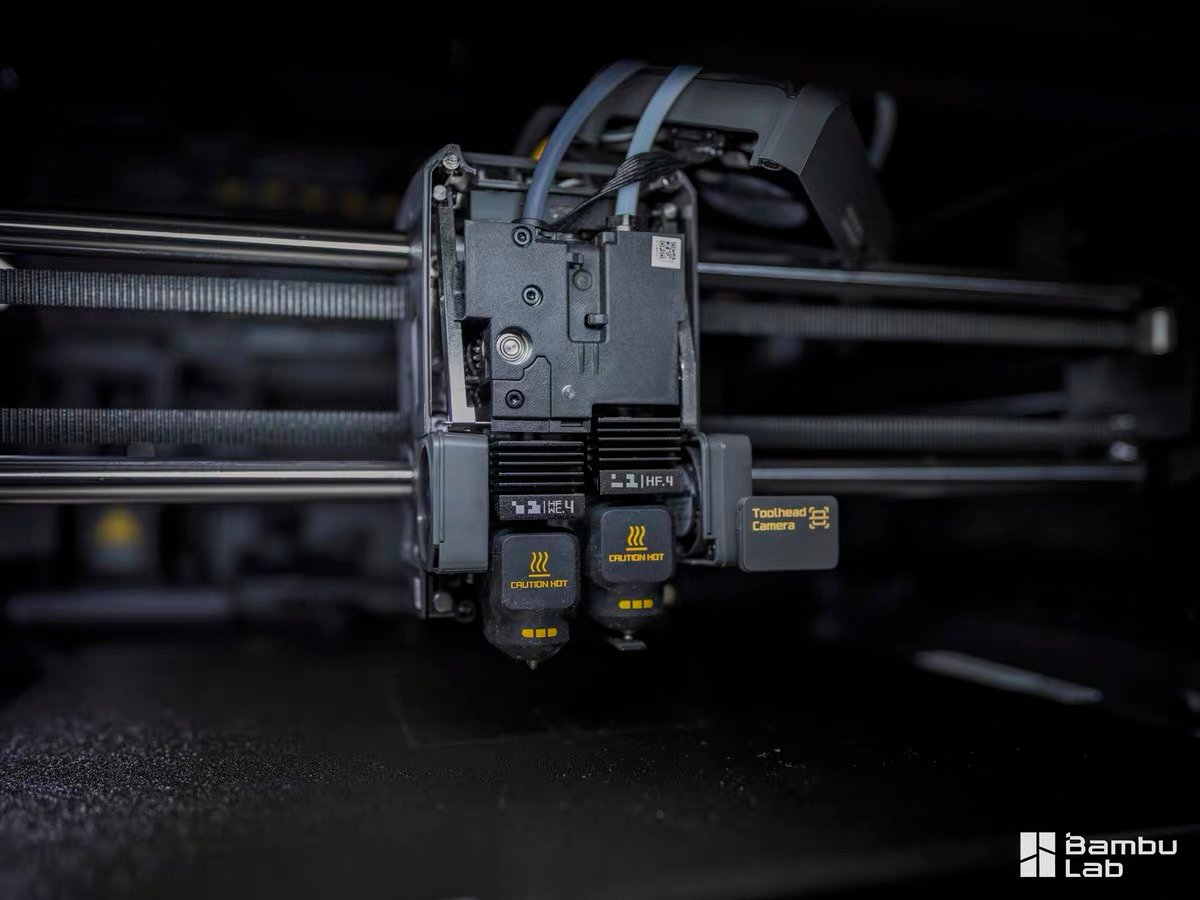
4. Mind what’s nearby. Work around the back and sides, but keep the wire tips well off the part-cooling fan and, on machines like the Bambu X1C, the camera. Bumping delicate parts causes more grief than a dirty nozzle ever will.
5. Cool down, then wipe. Let the nozzle drop to around 35 to 40°C before you handle it directly. Then wipe it (and the lidar sensor, on machines that have one) with isopropyl alcohol.
6. Clean the sock, then refit. Pull the stray fibers out of the silicone sock before it goes back on. Those loose threads have a habit of ending up in your next print. Slide it back into place once everything is cool.
Safety: Don’t Short Your Board or Round Off Your Nozzle
Two real risks come with a brass brush, and neither is the nozzle scratching most people worry about.
The first is electrical. Brass is a metal, and metal conducts. If bristles shed and fall into the wrong place, near the heater cartridge, thermistor, fan, or wiring, they can cause a short. This is why the “toothbrush not saw” advice matters twice over: gentle strokes shed fewer bristles. Brush over a cloth or with the toolhead positioned so loose strands drop away from the electronics, and give the area a look before you power back up.
The second is wear, and it goes both ways. Press too hard on a soft brass nozzle and even brass can start to round the tip over many cleanings. Use a steel brush on a hardened nozzle and you’ll grind the bristles down for nothing. Light pressure protects both the nozzle and the brush.
One more: never handle the nozzle bare-handed while it’s hot. Wait for it to cool, or use pliers. A hot tip does not forgive a slip.
When Brushing Isn’t Enough: Deeper Cleans and Alternatives
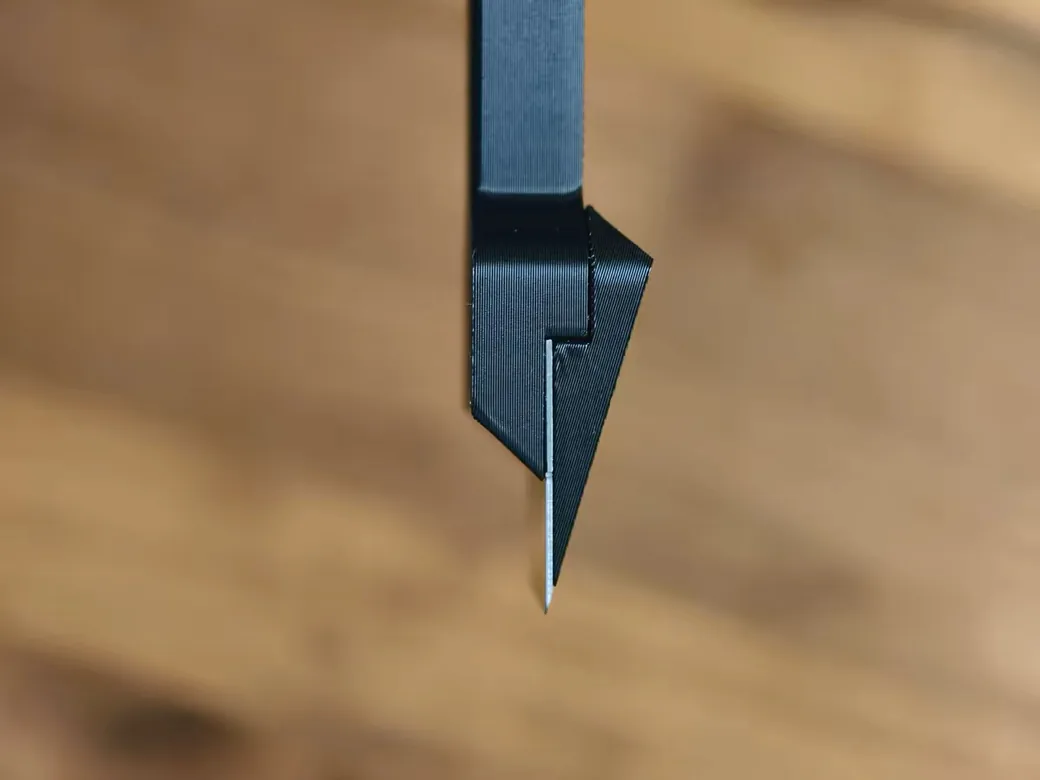
A brush only cleans the nozzle’s exterior. If your problem is inside, a partial clog or under-extrusion, you need a different move.
Cold pull (atomic pull). Best on printers with a lined PTFE hotend, like the Ender 3 V2. Heat up, then let the temperature fall to about 90°C for PLA and pull the filament straight out. It drags the internal plug with it and leaves a clean channel. All-metal hotends are trickier and may need a slightly different temperature.
Cleaning needle. For a blocked tip, push a thin nozzle-cleaning needle up through the hole while the nozzle is hot. It clears the orifice a brush can’t reach.
Soldering-iron clean (removed nozzle). For a nozzle you’ve taken off, a soldering iron around 270°C melts the residue out so you can wipe it, brush the stubborn bits, and run a needle through. One firm warning here: never use a blowtorch or heat gun. Overheating a hardened steel nozzle changes its temper and ruins the very hardness you paid for.
Silicone scrubbers and automatic wipers. Some people skip brushes entirely and use a silicone wiper to avoid any scratch risk. On tinker-friendly machines, an automated nozzle scrubber with a Klipper macro wipes the tip before every print, so you never think about it. If you’re doing a deeper hotend service, our guide on how to clean and maintain your extruder walks through the rest.
Caring for the Brush, and How Often to Clean
Nobody talks about this, but a brass brush loads up with plastic too, especially after a lot of PETG. When the bristles clog, the brush stops grabbing residue. Heat softens what’s stuck: a quick pass over a warm (not hot) nozzle, or a soak and a wipe, clears most of it. When the bristles splay out and go soft, it’s done. Brushes are cheap, so replace rather than baby them. A handy trick borrowed from scrubber builders is to cut the handle end at an angle, which preserves more usable bristle length.
How often should you actually brush? There’s no fixed schedule. Do it when you see the signs: stringing, blobs, or filament crusting on the tip. PETG printers will brush more often than PLA-only setups. If you want to clean less, a plastic-repellent coating on the nozzle cuts how much filament sticks in the first place, which stretches the time between cleanings.

- STOPS FILAMENT FROM STICKING TO YOUR NOZZLE – Brush-on nano-coating creates an anti-stick barrier so molten plastic releases cleanly instead of…
- WORKS AS A NO CLOGGER 3D PRINTER TOOL – By keeping the exterior of your nozzle slick, this coating reduces the debris that drags into prints and the…
- COMPATIBLE WITH ANY HOTEND, ANY FILAMENT – Rated up to 300°C and works on PLA, PETG, ABS, Nylon, TPU, PC, and more. Works on any nozzle shape…
- 100+ APPLICATIONS PER BOTTLE, EASY 60-SECOND APPLY – Cool the nozzle, wipe it clean, brush on a thin layer with the included applicator, let dry…
- MUST-HAVE FOR FAILED-PRINT PREVENTION – Plastic debris hanging off the nozzle is one of the top causes of first-layer peel-off and ruined prints…
Frequently Asked Questions
What brush is used to clean a 3D printer nozzle?
A soft brass wire brush. Brass is softer than the nozzle, so it removes baked-on plastic without scratching the metal. Nylon brushes work for very light residue, and steel brushes should only touch hardened steel nozzles, never brass ones. Just confirm your “brass” brush is genuine with a magnet test first.
How do you clean a 3D printer nozzle with a brass brush?
Warm the tip to cleaning temperature (around printing heat), remove the silicone sock, and let any filament ooze out. Then gently work the brush over the tip and outer walls with light strokes, keeping the bristles clear of the fan and any camera. Let the nozzle cool to around 35 to 40°C, wipe it with isopropyl alcohol, and refit the sock.
What should I clean my 3D printer nozzle with?
For the outside, a brass brush and isopropyl alcohol handle most buildup. For an internal clog, use a cold pull or a thin cleaning needle through the tip. For a removed nozzle, a soldering iron melts out residue safely. Avoid blowtorches, which can overheat and damage hardened nozzles.
Why use a brass wire brush?
Because brass is hard enough to scrape off burnt plastic but soft and springy enough not to gouge the nozzle. Steel brushes are harder than a brass nozzle and will scratch and dull it. Brass gives you cleaning power without the damage, which is why it’s the standard choice.
Last updated: July 2026.