
I earn a commission if you buy through links on this page, at no extra cost to you. As an Amazon Associate, I earn from qualifying purchases.
You hit print, walk away, and come back to a stringy bird’s nest or a part skating loose across the plate. It’s one of the most demoralizing failures in the hobby, and it always seems to hit the part you cared about most.
A 3D print not sticking to the bed usually comes down to a short list of causes. But most guides hand you a checklist of nine fixes with no order. So you change five settings at once, get lucky (or don’t), and never learn what was actually wrong. That’s a bad way to learn your machine.
This guide does it the other way around. First you diagnose, using three quick questions that tell you where to look. Then you fix things in order, from the 30-second stuff to the material-specific gotchas. This is about FDM printers, by the way. Resin prints failing on the build plate are a different animal. I’ve watched this fail on a bone-stock Ender 3 and on a $1,000 Bambu. Same handful of culprits every time.
Table of Contents
- First, Figure Out Which Problem You Have
- Clean the Bed First (The Fix Everyone Skips)
- Fix Your Nozzle Height: Leveling, Tramming, and Z-Offset
- Get the Temperature Right (Bed and Nozzle)
- Slow Down the First Layer
- Add Extra Grip: Adhesives, Brims, and Mouse Ears
- Match Your Build Surface to Your Filament
- Material-Specific Gotchas (PLA, PETG, ABS, and Wet Filament)
- Prevent It From Happening Again
- Tools You Might Need
- When to Ask for Help
- FAQ
First, Figure Out Which Problem You Have
Don’t change five things at once. Run this 60-second check, then match your failure pattern to the right fix. Diagnosing first saves you from chasing the wrong setting for an hour.
The 60-second check:
- Is the plate actually clean, including no bare-finger touches since the last wipe?
- Have you leveled or run auto-cal recently, or since you moved the printer?
- Is the filament and temperature right for the material loaded?
- Look at a failed first layer: is it squished flat and shiny, or thin and stringy?
Now match what you see. This table sends you straight to the section that fixes it.
| What you see | Most likely cause | Where to fix it |
|---|---|---|
| Nothing sticks, anywhere | Dirty plate, nozzle too high, bed too cold | Clean, Nozzle Height, Temperature |
| Only one corner or edge lifts | Uneven bed or warping | Nozzle Height, Add Grip, Material |
| Worked yesterday, fails today | Oily plate or wet filament | Clean, Material |
| Never stuck since it was new | Leveling and Z-offset not set | Nozzle Height |
The single-corner and “worked yesterday” cases are the ones that drive people to forums, and they almost always get sent generic advice. They are not the same problem. On a Bambu specifically, there are a few machine-quirks worth ruling out, and our Bambu first-layer adhesion guide walks through those.
Clean the Bed First (The Fix Everyone Skips)
If you only change one thing, make it this. Skin oil, dust, and old release agent leave an invisible film that filament simply can’t grip. It’s the most common cause and the cheapest to rule out.
For routine cleaning, wipe the plate with isopropyl alcohol and a lint-free cloth. For built-up grime, take the plate to the sink and wash it with warm water and a drop of dish soap, then finish with alcohol. Skip paper towels. They shed lint that becomes its own adhesion problem.
There’s one important exception. On a textured PEI plate, plain soap and water beats alcohol, because IPA can smear certain residues around instead of lifting them. Two separate makers I follow landed on the same conclusion after fighting PETG for weeks.
After cleaning, handle the plate by the edges. The first time your prints start skating around a spotless-looking bed, the culprit is usually the fingerprints you just added carrying it back to the printer.
Fix Your Nozzle Height: Leveling, Tramming, and Z-Offset
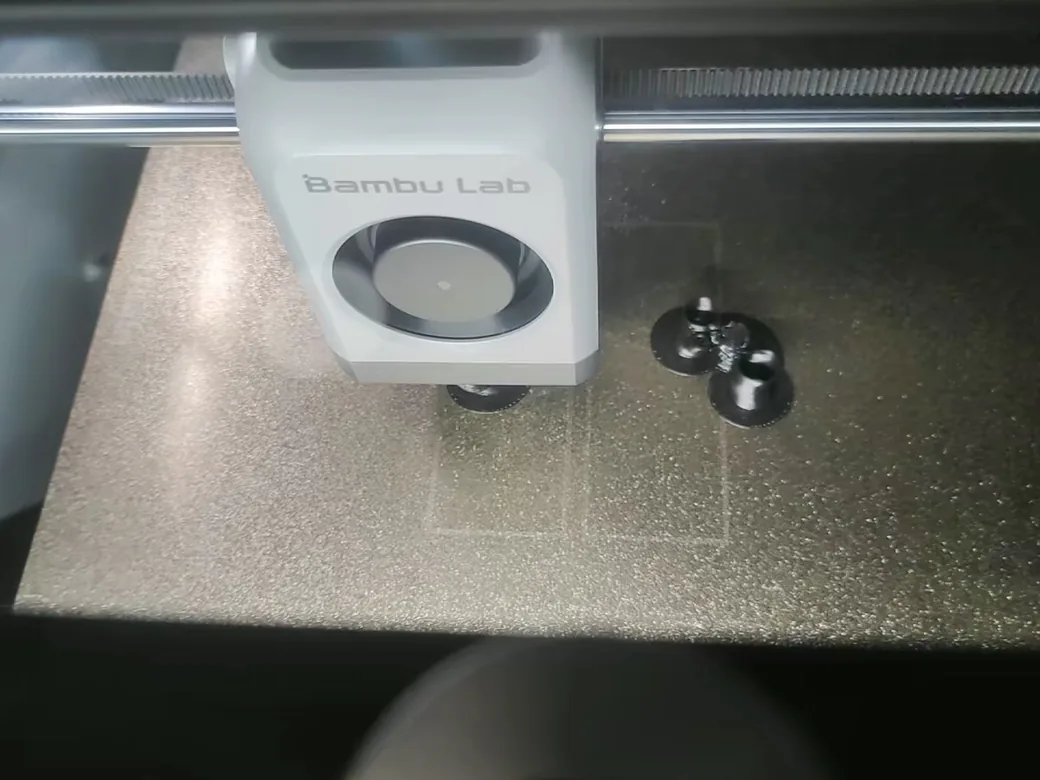
A first layer that is not pressed firmly into the plate cannot grip, no matter how clean the surface is. This is the top mechanical cause of prints slipping off the print bed. Get the height right and half of all adhesion problems disappear.
Leveling versus tramming (the distinction that matters)
Your bed doesn’t need to be level to the floor. It needs to be parallel to the plane the nozzle moves in. That’s called tramming, and it’s a different thing than “leveling.” You could bolt a printer to the wall and it would still print fine, as long as the bed is trammed to the nozzle.
Auto-leveling probes help, but they only build a correction mesh on top of your physical setup. A badly trammed bed produces a bad mesh. Do a manual tram first on printers that allow it, then let the probe fine-tune.
Z-offset: why the paper trick lies to you
The classic paper method has a hidden flaw. A sheet of copier paper is around 0.1mm thick, so when the nozzle “just grabs” the paper, it’s actually sitting 0.1mm too high. That gap is often the whole reason your first layer won’t bond.
A feeler gauge of a known thickness is more precise, because you can compensate for it. Better still, watch the first layer print and nudge the Z-offset live until the lines look flat and fused, with no gaps between them. Go too low and you get elephant foot, where the base squishes out wider than the model. A little dialing beats a lot of guessing.
Get the Temperature Right (Bed and Nozzle)
Temperature fails in both directions. Too cold and the plastic never grips. Too hot and PLA warps and peels itself off. Both show up as a print slipping off the bed.
Bed temperature by material
Start from these ranges, then adjust in 5°C steps. Your filament spool’s label wins if it disagrees, and our 3D printing filament guide explains why each material behaves the way it does.
| Material | Bed temperature | Note |
|---|---|---|
| PLA | 55-60°C | Above ~65°C can make warping worse |
| PETG | 70-80°C | Raise Z slightly on smooth PEI |
| ABS / ASA | 100-110°C | Needs an enclosure |
| TPU | 40-60°C | Pair with a slow first layer |
That PLA line surprises people. Cranking the bed hotter feels like it should help adhesion. Past about 65°C it often does the opposite, keeping the lower layers soft and uneven so they cool with more stress. Hotter isn’t automatically stickier.
The nozzle-temperature fix almost nobody mentions
Here’s the thing most troubleshooting lists skip entirely. Many stock profiles run the nozzle near the top of the range. Bambu’s PLA defaults, for instance, are often reported around 220°C, at the high end of PLA’s usual 190-230°C window.
A hotter nozzle means a bigger temperature gap between the molten plastic and the bed, and that gap drives the shrinkage that peels corners as the part cools. Dropping the nozzle by about 10°C, to 210°C, shrinks that gap. Plenty of makers running print farms call it the single change that took their prints from “almost perfect” to actually perfect. It costs nothing to try.
Slow Down the First Layer
A fast first layer doesn’t spend enough time on the plate to bond. Cut its speed roughly in half and you give the plastic time to flow into the surface and grab. Slow wins here.
Set the first-layer speed to about 50% of your normal speed. For stubborn cases, 15-20 mm/s isn’t too slow. Printing the first layer at 100 mm/s is a classic rookie mistake on a new Ender 3 or Anycubic, and it’s easy to miss because everything else looks fine.
A couple of supporting tweaks help too:
- First-layer height 0.2-0.25mm, with a slightly wider line width, adds thermal mass so the layer stays molten longer.
- Turn part cooling off for the first few layers on PLA and ABS. Fast cooling on layer one is working against you.
The cooling rule has one big exception. If you run PETG inside an enclosure, the trapped heat keeps it too soft to grip, and a first-layer fan at 30-40% actually improves adhesion. Counter-intuitive, but it works. If you want a shortcut for dialing all of this in per material, the print settings finder gives you starting values.
Add Extra Grip: Adhesives, Brims, and Mouse Ears
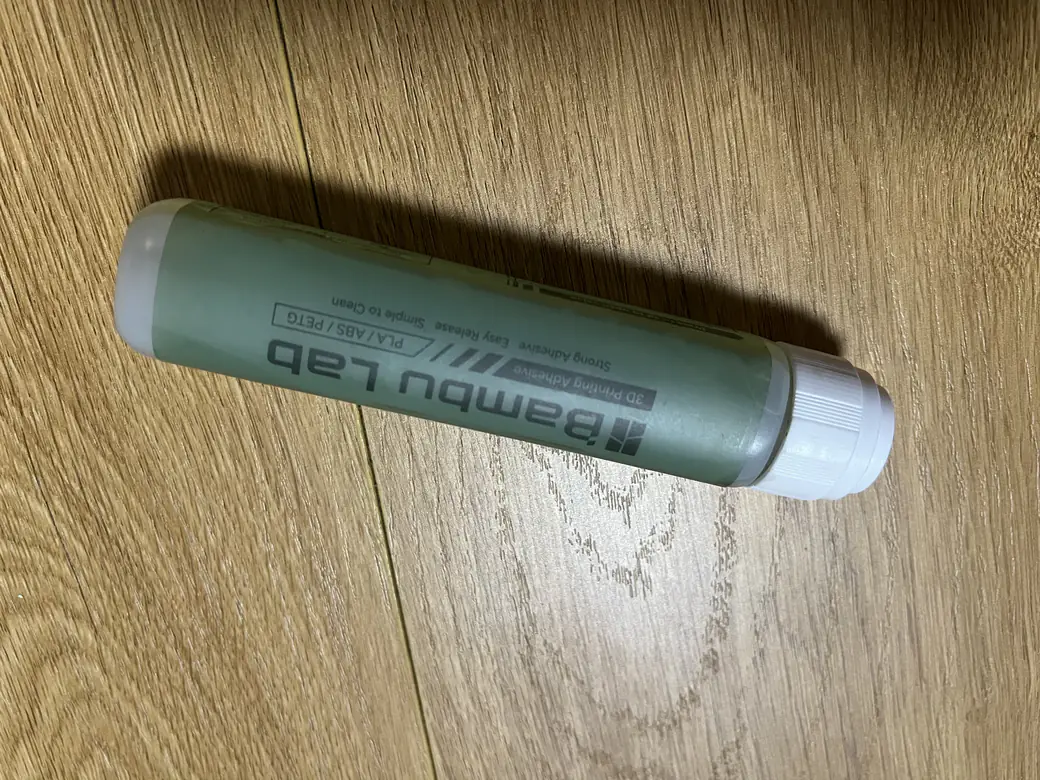
When the basics are right and it still lifts, add grip on purpose. There are two kinds: chemical (adhesives) and mechanical (brims and mouse ears). Both are normal tools. Neither is an admission of defeat.
Adhesives (and why pros use them)
A glue stick, a bit of hairspray, or a purpose-made product like Magigoo can bridge the gap that settings alone can’t close. The good specialized glues grip hard when hot and release cleanly once the bed cools. There’s a strange stigma online about “needing” glue, but professionals reach for it constantly. It buys reliability, protects the plate, and holds parts flat against warping.
Glue also solves problems the other direction. A water-based release lets you print TPU without it bonding so hard it tears the surface. The point is to actually print your part, not to print in the most forum-approved way.
Brims, rafts, and mouse ears (for corners)
If only the corners lift, don’t fight the whole bed. A brim adds a ring of extra first-layer contact around the part and peels off easily afterward. A raft does more but wastes plastic and can mar the bottom.
Mouse ears are the surgical option: small flat discs placed only on the corners that lift. In Cura the Tab Plus plugin adds them automatically. In PrusaSlicer or OrcaSlicer, drop in a small cylinder, 5-10mm wide and two layers thick, right at the problem corner. They pop off with a fingernail. That gap in convenience is the kind of thing that pushes people off Cura.
Match Your Build Surface to Your Filament
The wrong surface fights you no matter what you tweak. Different plates grip different plastics. A mismatch is a common reason a print won’t stick even when your settings look correct.
| Filament | Best surface | Watch out for |
|---|---|---|
| PLA | Smooth or textured PEI | Both work well |
| PETG | Textured PEI | Bonds too hard to smooth PEI |
| ABS / ASA | Smooth PEI plus hairspray | Enclosure required |
| Nylon | Painter’s tape or glue | Barely sticks to bare PEI |
PEI spring steel is the modern default for good reason. It grips most filaments and releases parts when you flex it. Two cautions, though. PEI conforms to a warped bed, so it won’t fix a flatness problem the way rigid glass can. And it cuts both ways with certain materials: PETG can bond so aggressively to smooth PEI that it rips out chunks, while nylon barely bonds at all. For PETG, use a textured sheet, nudge the Z up slightly, and let the bed cool before removing. If it is still fighting you, the temperature side of PETG is often the real culprit.
Material-Specific Gotchas (PLA, PETG, ABS, and Wet Filament)
Same symptom, different root cause depending on the plastic. Here is what to actually change for each.
- PLA: If it warps or lifts, drop the bed toward 55-60°C and check for moisture. Wet PLA lifts too, and you can dry it in many printers’ built-in dry cycle without buying a dedicated box.
- PETG: Wash the textured plate with soap and water, not alcohol, and add that 30-40% first-layer fan if you print enclosed.
- ABS / ASA: These need a stable, warm environment. A single draft from an open window will peel a corner. Print enclosed. An enclosed printer for ABS removes most of the guesswork here.
Wet filament deserves its own callout, because it is the sneaky answer to “it worked yesterday.” An old spool that sat out during a move soaks up moisture and suddenly won’t stick. If a formerly reliable filament goes bad overnight, dry it before you blame the printer. Our filament drying guide has the temperatures and times.
Prevent It From Happening Again
Most repeat failures come from skipping the same three habits. Build them in and adhesion stops being a lottery.
- Wipe the plate before every print, and do a full soap wash every few weeks.
- Store filament dry, especially PETG, nylon, and any spool older than a few months.
- Re-tram after you move the printer or swap the plate.
- Let the bed cool fully before removing a print. Ripping a part off a hot plate warps it and can damage the surface. Patience here saves parts.
Tools You Might Need
You don’t need much. You probably own half of it already.


- IPA and a microfiber cloth for everyday wipe-downs.
- A glue stick or a bottle of Magigoo for stubborn materials.
- A feeler gauge for a Z-offset that beats the paper trick.
- A spare textured PEI plate, the easiest single upgrade for adhesion.
When to Ask for Help
Most adhesion problems are yours to fix in ten minutes. A few aren’t. If one specific spot keeps failing after a careful tram and mesh, you may have a physically warped bed or plate. That’s a hardware issue worth raising with the manufacturer.
Likewise, if the bed never reaches its set temperature, suspect a heater or thermistor fault rather than your settings. When in doubt, ask. Your printer’s community forum and official support have seen your exact machine fail your exact way.
FAQ
Why does my 3D print keep falling off the bed?
Almost always one of three things: a dirty plate, a nozzle sitting too high, or a bed that is too cold for the material. Clean the plate, reset your Z-offset so the first layer squishes flat, and confirm your bed temperature matches the filament. Fix those in that order before touching anything else.
Why did my prints suddenly stop sticking when I changed nothing?
Something changed even if you didn’t touch settings. The usual suspects are an oily plate from handling, a filament that absorbed moisture, or a print surface that has slowly worn out. Give the plate a good soapy wash, dry the spool, and if the surface is old, try a fresh sheet.
Why does only one corner of my print lift off the bed?
A single lifting corner points to an uneven bed or normal cooling stress, not a whole-bed problem. Re-tram so the bed is parallel to the nozzle, add a brim or mouse ears at that corner, and for high-temp materials raise the bed temperature and slow the cooling.
I already use a glue stick and it still won’t stick. What now?
Glue is a top-up, not a cure for a bad first layer. Go back to the mechanical basics: re-level and lower your Z-offset until the first layer is properly squished, halve your first-layer speed, and confirm the plate is genuinely clean under the glue. Glue on top of a nozzle that sits too high still won’t hold.
What bed temperature should I use for PLA, PETG, and ABS?
Use the material table above as your starting point: roughly 55-60°C for PLA, 70-80°C for PETG, and 100-110°C for ABS or ASA. Adjust in 5°C steps and trust your spool’s label over any generic number. Remember that for PLA, hotter is not always better.
CERTAIN CONTENT THAT APPEARS ON THIS SITE COMES FROM AMAZON. THIS CONTENT IS PROVIDED ‘AS IS’ AND IS SUBJECT TO CHANGE OR REMOVAL AT ANY TIME.
Price details
Product prices and availability are accurate as of the date/time indicated and are subject to change. Any price and availability information displayed on Amazon.com at the time of purchase will apply to the purchase of this product.