I earn a commission if you buy through links on this page, at no extra cost to you. As an Amazon Associate, I earn from qualifying purchases.
Table of Contents
The Short Answer: How Big Is the Ender 3 Bed?
The number you want is 220 x 220 x 250 mm, or about 8.6 x 8.6 x 9.8 inches. Some listings call it the Ender 3 print size, but it points to the same figure, and it holds for the original Ender 3, the Pro, and the V2, which all use one plate.
Measure that plate with a ruler, though, and you’ll get 235 x 235 mm. Both numbers are correct. One describes the surface you can touch. The other describes the area Creality promises will heat evenly. The 250 mm is your Z height, which sets how tall a model you can print.
If you remember one line: plan your prints for 220 x 220, and treat the extra 15 mm as a bonus, not a guarantee.
Why There Are Two Numbers: 220 vs 235mm
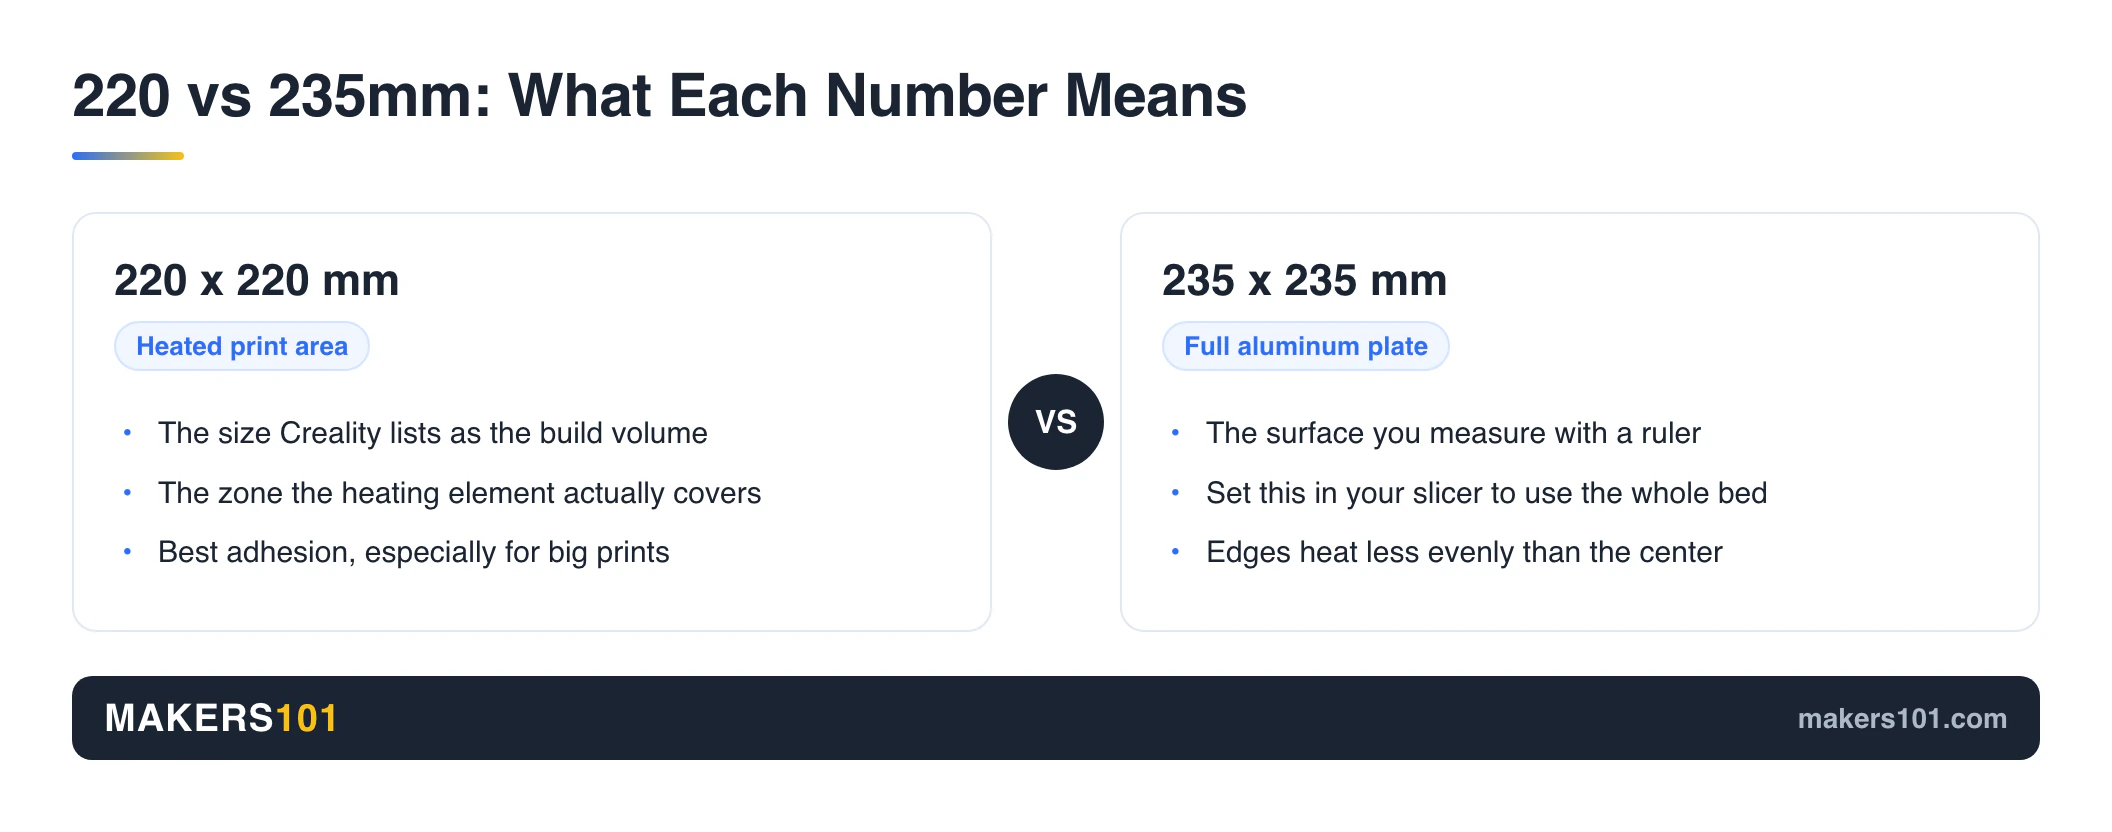
The 220 x 220 figure is the heated print area. The 235 x 235 number is just the full aluminum plate. The heating element underneath only covers that inner square, so Creality lists the smaller size as the official build volume.
This trips up almost everyone. You open your slicer and set 235, then read the box and see 220, and wonder which one’s a typo. Neither is. Owners regularly measure a plate that runs bigger than the spec sheet, and the same quirk shows up across other Creality machines too.
Creality tends to under-promise here, and that’s the safe choice. The center of the bed heats most evenly, so keeping big or fussy prints inside the 220 x 220 zone gives you the best adhesion.
Ender 3 Build Volume by Model (At a Glance)
Not every Ender 3 shares the same bed. Here is the full family with verified numbers:
| Model | Build Volume (mm) | In Inches | Physical Plate | Notes |
|---|---|---|---|---|
| Ender 3 / Pro / V2 | 220 x 220 x 250 | 8.6 x 8.6 x 9.8 | 235 x 235 mm | The classic bed |
| Ender 3 V3 SE | 220 x 220 x 250 | 8.6 x 8.6 x 9.8 | ~235 x 235 mm | Auto-leveling |
| Ender 3 V3 | 220 x 220 x 250 | 8.6 x 8.6 x 9.8 | ~235 x 235 mm | CoreXZ motion |
| Ender 3 V3 KE | 220 x 220 x 240 | 8.6 x 8.6 x 9.4 | ~235 x 235 mm | 10 mm less Z height |
| Ender 3 S1 / S1 Pro | 220 x 220 x 270 | 8.6 x 8.6 x 10.6 | ~235 x 235 mm | Taller Z axis |
| Ender 3 Max | 300 x 300 x 340 | 11.8 x 11.8 x 13.4 | ~310 x 320 mm | Large format |
| Ender 3 Max Neo | 300 x 300 x 320 | 11.8 x 11.8 x 12.6 | ~310 x 320 mm | Large format |
| Ender 3 V3 Plus | 300 x 300 x 330 | 11.8 x 11.8 x 13.0 | ~310 x 320 mm | CoreXZ, large |
The 220-class machines all ride on that familiar 235 x 235 mm plate. The Ender 3 Pro bed size is identical to the standard model, and the Ender 3 Neo and V2 Neo match the same 220 x 220 x 250 mm build volume too. The 300-class machines use a much larger plate, roughly 310 x 320 mm, but measure your own before ordering parts. One oddball to note: the V3 KE has 240 mm of Z height instead of 250.
For desk planning, the machine is bigger than the bed suggests. An Ender 3 V2 takes up about 490 x 455 x 625 mm, and the bed slides forward and back, so leave clearance front and rear. All that mass sliding back and forth is also why an Ender 3 can’t ramp up like a CoreXY, which is where its acceleration ceiling comes from.
How Much Can You Actually Print?
A bit less than the full plate, honestly. Those 235 millimeters are real, but a few things quietly shrink the usable Ender 3 print bed size below that number.
First, the clips. If you hold a glass or flexible plate with binder clips, each clip blocks roughly 7.5 mm along that edge. Your nozzle can’t drive through them.
Second, and this is the one people miss, the bed is rarely perfectly flat. Check an older Ender 3 plate with a straight edge and a 0.1 mm feeler gauge and the corners often sit low. Reviewer Casey Schmidt ran into this and shimmed his low spots with thin aluminum tape instead of adding a heavy glass plate, which keeps weight off the moving bed. A warped edge means the reliable, flat area is smaller than the plate outline, even when the slicer says you have room.
Third, leveling is the real gate. The full bed is only usable if all of it is trammed evenly, and the position of your Z limit switch sets how much of that 250 mm of height you can reach. Bed leveling is the single biggest hurdle for new owners, but once it’s dialed in it tends to stay put. A large leveling test print that covers the whole plate will expose weak corners faster than checking four points. The first time I set 235 in Cura and watched the nozzle crawl toward a clipped corner, I learned that lesson the slow way. If your first layer looks squished on one side and gappy on the other, that’s a leveling problem, not a bed size problem, and it’s worth dialing in a clean first layer before you blame the plate.
How to Set Your Ender 3 Bed Size in Cura
In Cura, open Settings, then Printer, then Manage Printers, then Machine Settings, and enter 235 for X and Y and 250 for Z. That unlocks the full plate.
Two cautions. Stock Ender 3 firmware often caps movement at the advertised 220, so pushing to 235 may need a firmware update, with Marlin or Jyers being the popular choices. If you’re considering a full firmware change, our Klipper vs Marlin guide explains what the upgrade adds and what it cannot fix. Many owners settle on 230 x 230 as a safe middle ground after flashing. Also leave room for your prime line and skirt, which print outside your model and need a few spare millimeters at the edge.
Print Surface Options (and the One Step People Forget)
Your bed size doesn’t change with the surface, but your results do. The common choices:
- Stock surface. Fine to start. Adhesion can be inconsistent, and prints sometimes cling too hard.
- Glass plate with a little hairspray. Excellent grip and glossy bottoms, and prints release as the bed cools. The downside is weight, since glass adds mass to a moving bed and can worsen ringing.
- Flexible PEI on spring steel. The favorite for most people. Strong hold when hot, then you flex the sheet to pop a print off. No more prying at cracked parts.
- G10 / FR4. A cheaper DIY option that grabs when warm and releases when cool, leaving a smooth bottom.

Here’s the step people forget: a new plate rarely has the same thickness as the glass or stock bed. Swap to a thinner sheet and you must lower the Z limit switch and reset your Z offset, or your first layer will print too high. And before you buy any replacement plate, confirm your exact bed size. Ender 3 Max owners in particular struggle to find the right sheet, because that plate isn’t the standard 235. Measure first, order second, and keep a basic feeler gauge and scraper on the bench for the swap.
Want a Bigger Bed? Your Options
If 220 x 220 feels cramped, you have three routes. Or skip the hardware entirely and split the model into pieces that fit.
Buy a bigger Ender. The Ender 3 Max and Max Neo offer 300 x 300 mm, and the newer Ender 3 V3 Plus gives you 300 x 300 x 330 mm. Reviewers running the V3 Plus have printed helmet-sized parts in one piece, and it auto-levels out of the box, which removes the tramming headache.
Add a bed extender kit. Kits like Ender Extender or Endzilla can stretch a standard Ender 3 up to 400 x 400 mm for around $179. It’s more involved than a plate swap, but far cheaper than a new machine.
Accept the trade-off. A bigger bed on a bed slinger means more mass swinging back and forth. Tall or heavy prints wobble at high speed, so you often slow down anyway. Sometimes a machine built for large parts is the calmer path, and it is worth scanning the best beginner 3D printers with bigger build plates before you commit to extending an Ender.
FAQ
What is the Ender 3 bed size in inches? The stated build volume is 8.6 x 8.6 x 9.8 inches (220 x 220 x 250 mm). The physical plate measures about 9.25 inches (235 mm) on each side.
How tall can the Ender 3 print (Z axis)? The Z height is 250 mm, or 9.8 inches, on the Ender 3, Pro, V2, V3, and V3 SE. The V3 KE is slightly shorter at 240 mm, while the S1 and S1 Pro stretch to 270 mm.
What size is the Ender 3 V3 print bed? The Ender 3 V3 and V3 SE both print at 220 x 220 x 250 mm, riding on the same 235 x 235 mm plate as earlier models. The larger V3 Plus jumps to 300 x 300 x 330 mm.
What is the Ender 3 Max bed size? The Ender 3 Max has a 300 x 300 x 340 mm build volume, and the Max Neo is 300 x 300 x 320 mm. The bare plate sits closer to 310 x 320 mm, so measure yours before buying a replacement PEI sheet.
Why does my slicer show 235mm but the box says 220mm? Both are right. The box quotes the heated zone (220 x 220), which is what Creality guarantees will hold temperature. Your slicer sees the whole plate you can physically reach (235 x 235). Feel free to use that outer margin, just remember the middle holds heat best.
Can I print all the way to the edge of the Ender 3 bed? Almost. Bed clips block roughly 7.5 mm per edge, and warped or unleveled corners can shrink the reliable area further. For critical prints, stay within the 220 x 220 zone.
CERTAIN CONTENT THAT APPEARS ON THIS SITE COMES FROM AMAZON. THIS CONTENT IS PROVIDED ‘AS IS’ AND IS SUBJECT TO CHANGE OR REMOVAL AT ANY TIME.
Price details
Product prices and availability are accurate as of the date/time indicated and are subject to change. Any price and availability information displayed on Amazon.com at the time of purchase will apply to the purchase of this product.