Heads up — some of the links below are affiliate links. If you buy through them, I earn a small commission (at no extra cost to you), which helps cover the gear I test. Thanks!
- Start by identifying the clog type. That decides almost everything else.
- Use the least aggressive fix first. A lot of clogs clear without disassembly.
- Cold pull is the best default deep-clean method for many FDM printers.
- Heatbreak clogs are not the same as tip clogs.
- If you clean nozzles often, maintenance habits matter as much as the tool in your hand.
Table of Contents
- Start Here: Is It a Partial Clog, a Full Clog, or Something Else?
- What Usually Causes a Nozzle Clog?
- Tools You May Need
- Quick Fixes for Mild Clogs
- How to Do a Cold Pull
- When Cold Pull Fails: Solvent, Disassembly, or Replacement
- Heatbreak Clogs Are a Different Problem
- Bambu Lab-Specific Notes
- How to Stop the Same Clog Coming Back
- When to Get Help
- FAQ
Start Here: Is It a Partial Clog, a Full Clog, or Something Else?
A clogged nozzle usually announces itself before it completely fails. You may hear clicking from the extruder, see thin or missing lines, or notice stringing and blobs where the print should be smooth. Sometimes the print even finishes, but the result looks weak and fuzzy. That is often a partial clog, not a slicer mistake.
If you’re searching for cleaning 3d printer nozzle fixes, start with diagnosis instead of brute force. Most problems become easier once you know whether the jam is at the tip, in the heat break, or somewhere upstream.
The first job is diagnosis. I wouldn’t start with solvents, torching, or disassembly unless the simple checks already failed. Bring the hot end up to extrusion temperature, try a manual extrusion test, and look at the tip for residue. If flow is smooth, you’re probably not dealing with a clog at all. If flow is weak, inconsistent, or completely blocked, move to the next step.
The easiest way to think about it is this: tip clog, partial clog, and heatbreak clog are three different problems. A tip clog usually lives right at the nozzle opening. A partial clog still lets some filament through, which is why it is easy to miss. A heatbreak clog is deeper, usually caused by molten filament hardening where it should never have gone in the first place.
If you want a broader material context, the 3D Printing Filament Guide 2025 is useful background for how PLA, PETG, ABS, and ASA behave when they get too hot, too cold, or too wet.
What Usually Causes a Nozzle Clog?
Most clogs come from a small number of repeat offenders.
| Common cause | What it does |
|---|---|
| Dust or debris on filament | Adds junk to the melt path |
| Moist filament | Turns into steam and messes up extrusion |
| Aggressive retraction | Pulls soft plastic into colder zones |
| Low-quality filament | Brings inconsistent diameter or contamination |
| Heat creep | Softens PLA too early |
| PTFE gap at the hot end | Creates a pocket where filament can leak and harden |
| Abrasive filament | Wears the nozzle instead of just clogging it |
This is why “clean the nozzle” is sometimes the wrong starting point. If your filament is wet, your retraction is too aggressive, or the hot end is cooling badly, the clog is a symptom. Fix the upstream problem or it’ll come back.
Material choice matters too. The Best Filaments for Bambu Lab, Creality & Prusa guide is a good next stop if you want to avoid abrasive or finicky spools that cause repeat maintenance.
Tools You May Need
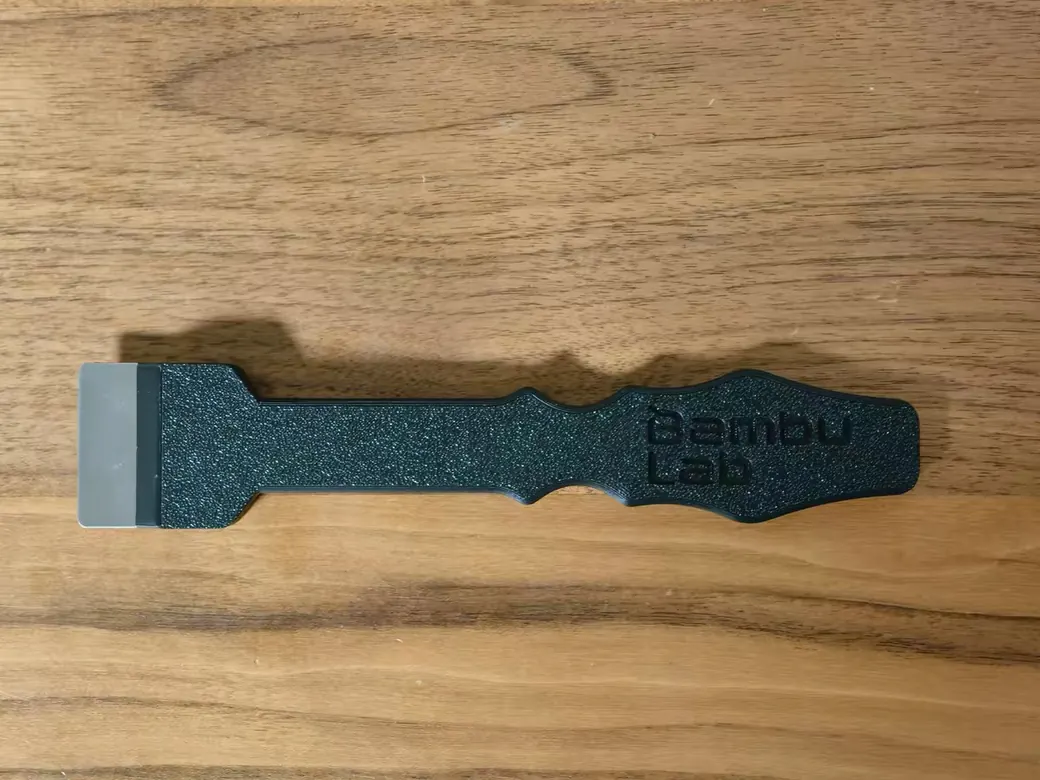
For mild clogs, you do not need a workshop full of parts. A brass brush, a cleaning needle, a cloth or IPA wipe, and heat-resistant gloves cover most basic cleanups. A nozzle cleaning kit is handy if you want a few sizes in one place.
If the clog is more stubborn, keep a few escalation tools nearby. Cleaning filament is a good option. Nylon can help with cold pulls. A replacement nozzle is sometimes the smart move instead of forcing a worn brass tip back into service.

- 【Packaging Includes】1x nozzle cleaning needle with handle, 10 stainless steel nozzle cleaning needles with a storage box, and 1x copper wire…
- 【Easy to Use】The handle is made of soft rubber material, designed ergonomically and fully compatible with the grip method, making it easier to…
- 【0.2~0.5 mm Nozzle Cleaning Needle】Flexible and bendable enough, made of high-quality stainless steel, with a smooth and sharp needle tip, high…
- 【Copper Wire Brush】The 3D printer nozzle copper wire brush is a tool designed specifically for cleaning and maintaining 3D printer nozzles. It is…
- 【Compatible with Popular 3D Printer Models】 Compatible with Bambu Lab A Series (A1, A1 Mini), X Series (X1, X1C), and P Series (P1S, P1P, P2S…

Quick Fixes for Mild Clogs
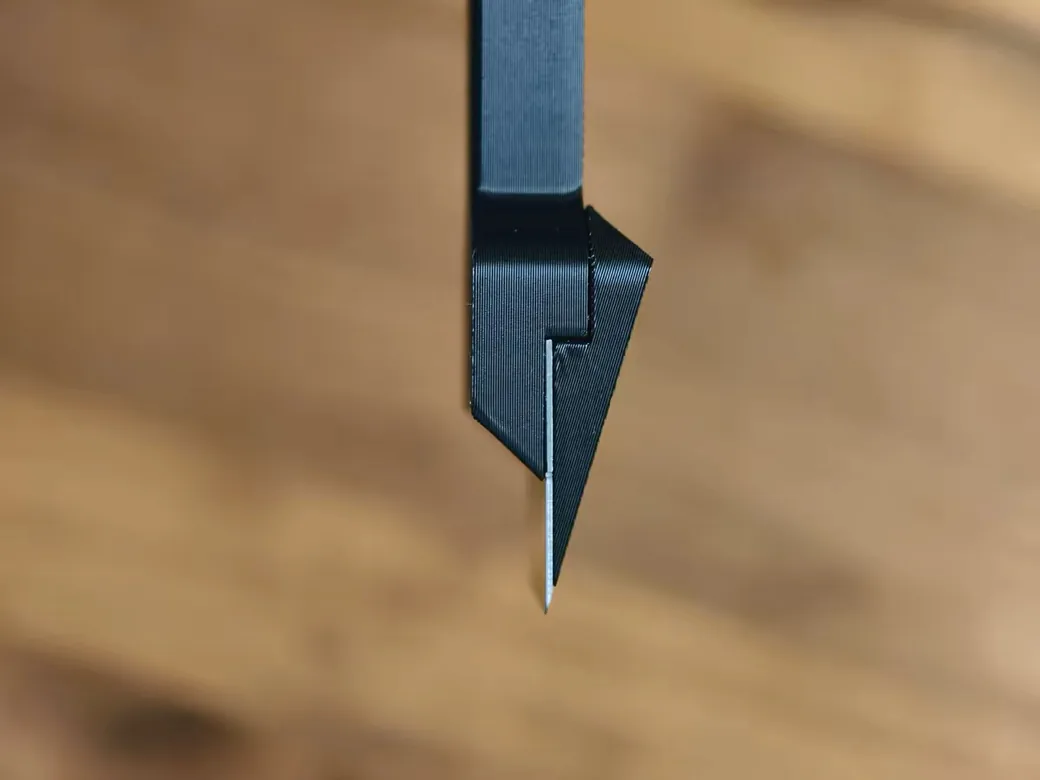
If the problem is minor, start outside the nozzle and work inward. Warm the nozzle to cleaning temperature, then gently brush off residue from the outside. That alone can clear burnt plastic stuck to the tip. If you still see blockage signs, use a thin needle or acupuncture tool and move it upward through the nozzle opening.
Don’t turn the needle into a drill. The point is to loosen debris, not carve the bore larger or scratch the inside surface. If extrusion is still uneven after that, stop. At that point, the clog isn’t a quick-clean problem.
The rule here is simple. Use quick fixes for light buildup. Move on when the symptom does not change.
How to Do a Cold Pull
Cold pull is the baseline deep-clean method worth learning first. It works because the filament is heated enough to flow, then cooled enough to grab residue without snapping. On a Bambu Lab printer, the same general logic applies. On many other FDM printers, it’s just as useful.
The sequence is straightforward:
1. Bring the nozzle up to the filament’s usual extrusion temperature. 2. Push filament through until flow is steady. 3. Let the hot end drop to the pull temperature. 4. Pull the filament out in one steady motion. 5. Repeat until the filament tip comes out clean.
PLA is the easiest starting point for beginners. Nylon is better when you want more grip on debris, because it flexes instead of snapping. Cleaning filament also works if you already keep some in your shop.
| Material | Good for | Notes |
|---|---|---|
| PLA | Simple cold pulls | Easy to find, beginner friendly |
| Nylon | Stronger pull action | Flexible and less likely to snap |
| Cleaning filament | Routine maintenance | Useful if you already stock it |
For PLA, a practical reference is about 220 C for the print stage and roughly 90 C for the pull stage. The exact sweet spot can vary, but the principle does not: the filament must be soft enough to grip residue and stiff enough to pull it out in one piece.
When Cold Pull Fails: Solvent, Disassembly, or Replacement
Not every clog yields to a cold pull. If the blockage is burnt, compacted, or lodged in the wrong place, you may need to escalate. Solvent cleaning is one of those escalation steps. It can work, but it should be treated as a last resort, not the first instinct.
The other branch is mechanical. If a plug snaps off deep in the heater path, you’re not dealing with a normal nozzle clog anymore. That’s a different failure mode. You may need to remove the nozzle, warm the trapped section, and push it out carefully before reassembling. If the nozzle is already worn or the clog won’t move after repeated attempts, replacement is usually the cheaper move.
The practical rule is this. If the clog is stubborn but local, keep escalating. If the nozzle is damaged or the bore is worn, stop trying to save it.
Heatbreak Clogs Are a Different Problem
Heatbreak clogs are more annoying than nozzle-tip clogs because they happen deeper in the hot end. The plastic softens too early, travels into the colder section, and hardens where it shouldn’t. Aggressive retraction and cooling problems are common triggers.
That’s why some “nozzle clog” fixes fail even when you do everything right at the tip. The blockage is upstream. If the fan is weak, the heat break isn’t doing its job, or the retraction settings are too aggressive, the symptom will keep coming back.
So if the nozzle clears but the problem returns fast, do not keep poking the tip forever. Check the cooling path, retraction, and any signs of heat creep.
Bambu Lab-Specific Notes
Bambu printers are worth calling out because the access pattern is a little different from some other machines. Moving the nozzle to the front gives you better access for cleaning from above. That small change makes the work less awkward and less likely to turn into a fight with the toolhead.
If you’re printing PETG often, a nozzle wiper upgrade can help too. The stock wiper is fine for light use, but repeated PETG printing can leave enough residue that a better wiper pays for itself in time saved. The important part is fit. A clever design that hits the nozzle at the wrong height isn’t a solution. It’s a new problem.
That is why the BambuLab Wiping System Guide is worth reading if you own a Bambu printer and keep fighting residue at the tip.
How to Stop the Same Clog Coming Back
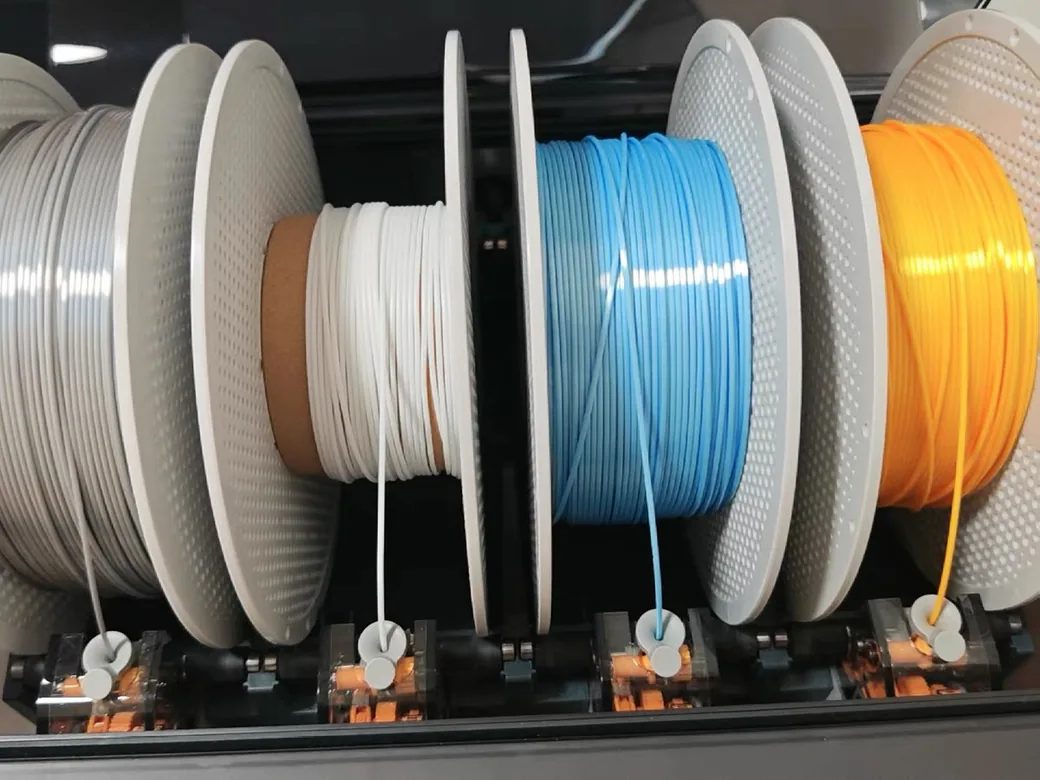
The cleanest nozzle in the world will clog again if the upstream conditions stay bad. Dry filament matters. Moist filament behaves badly in the hot end and can turn a maintenance issue into a print failure.
Storage is the boring part that solves a lot of pain. Keep spools in dry boxes, vacuum bags, or at least sealed bags with desiccant. If you’re in a humid climate or you print infrequently, this matters even more. A spool that sits around for weeks will absorb moisture. A spool pulled straight from a sealed bag is much less likely to cause trouble.
Settings matter too. Keep retraction sane. Make sure the nozzle is hot enough for the material. Check first-layer spacing. If you just cleaned the machine or replaced a nozzle, recalibration isn’t optional.
The goal isn’t “clean it harder next time.” The goal is “make the next clog less likely.”
If your spools spend time sitting around, the Beginner’s Guide to Filaments Usage 2025 is a better long-term prevention read than any one-off cleaning hack.
When to Get Help
Sometimes the right answer isn’t another cleaning attempt. If the nozzle still won’t extrude after the basic steps, the hot end may need disassembly or replacement. If you see leaks, repeated heatbreak issues, or mechanical damage, stop before you make the repair more expensive.
That’s the line I use. Fix the simple stuff yourself. Escalate when the fix has turned into a parts swap or a repair you don’t want to wing.
FAQ
How often should you clean the nozzle on a 3D printer?
There isn’t a universal schedule, but the practical answer is “before it becomes a problem.” If you print frequently, a preventive cold pull after longer runs is a good habit. If you see under-extrusion, clicking, or poor first layers, clean it sooner. If the filament itself comes out chewed and flat, you’re looking at filament grinding instead.
How to dissolve PLA from a nozzle?
PLA isn’t the easiest material to dissolve cleanly, so solvent cleaning should be treated carefully. Mechanical methods, especially cold pulls and needle cleaning, are usually the better first choice. If you do use a solvent path, keep it specific to the material and the nozzle material.
How to tell if a 3D print nozzle is clogged?
Look for under-extrusion, uneven lines, clicking, blobs, stringing, or a print that finishes but looks weak and fuzzy. A manual extrusion test at printing temperature is the fastest reality check. If the flow is weak or inconsistent, the nozzle’s probably part of the problem.
How do I manually clean my printer nozzles?
Start by warming the hot end, then brush and needle clean the tip. If that still does not clear the flow, move to a pull cycle. If the jam sits deeper or a plug snaps in the heater path, disassembly may be necessary.