
I earn a commission if you buy through links on this page, at no extra cost to you. As an Amazon Associate, I earn from qualifying purchases.
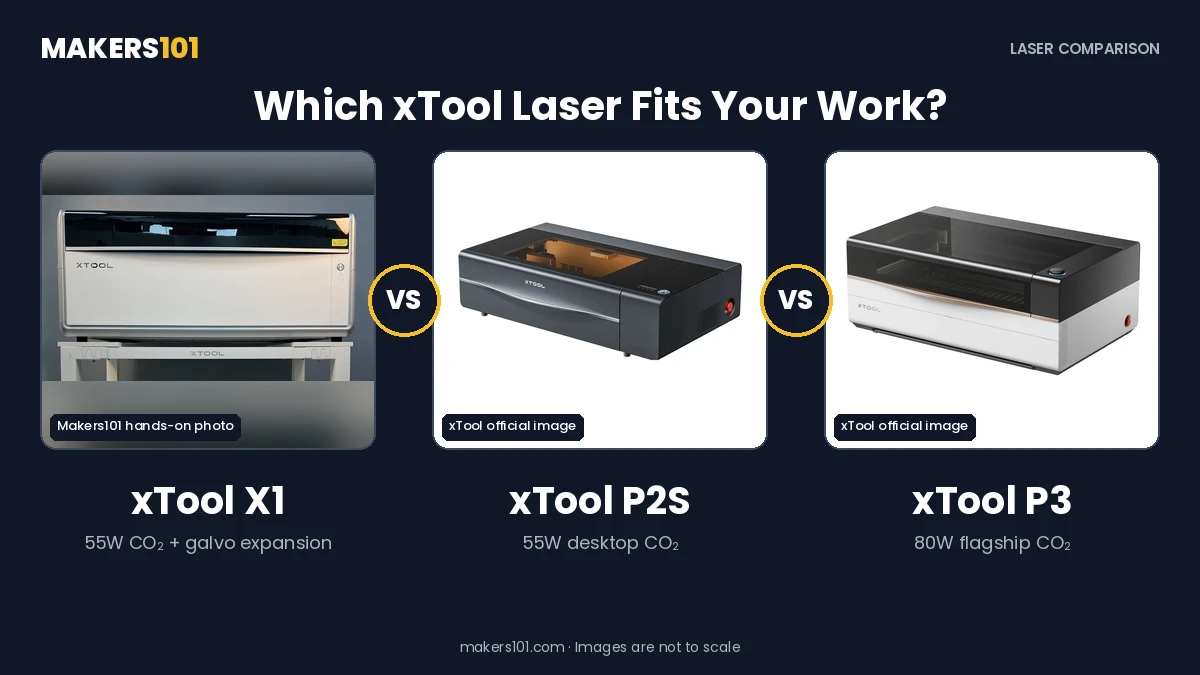
The xTool X1 vs P2S vs P3 choice comes down to what you make. For wooden ornaments, acrylic shapes and other everyday CO₂ work, the P2S is the cheapest way in. The P3 gives big signs and full-sheet layouts room to breathe. The X1 opens a path to fast galvo engraving, metal and UV work once you add the right hardware.
Quick verdict: Buy for your largest regular job and the finish it needs. A working P2S may already cover it. A bigger bed or extra laser sources earn their cost only when they remove a limit you keep hitting.
xTool supplied my X1 review unit.


Table of Contents
- xTool X1 vs P2S vs P3 Specs
- xTool X1, P2S and P3 Price by Configuration
- xTool P2S vs P3 for Wood, Acrylic and Large Signs
- Which xTool Laser Can Engrave Metal and Glass?
- Engraving Speed and Source Changes on the xTool X1
- LightBurn Compatibility, Size and Weight
- Should You Get the xTool P2S, X1 or P3?
- xTool X1 vs P2S vs P3 FAQ
xTool X1 vs P2S vs P3 Specs
| Feature | xTool P2S | xTool X1 | xTool P3 |
|---|---|---|---|
| CO₂ laser power | 55W | 55W | 80W |
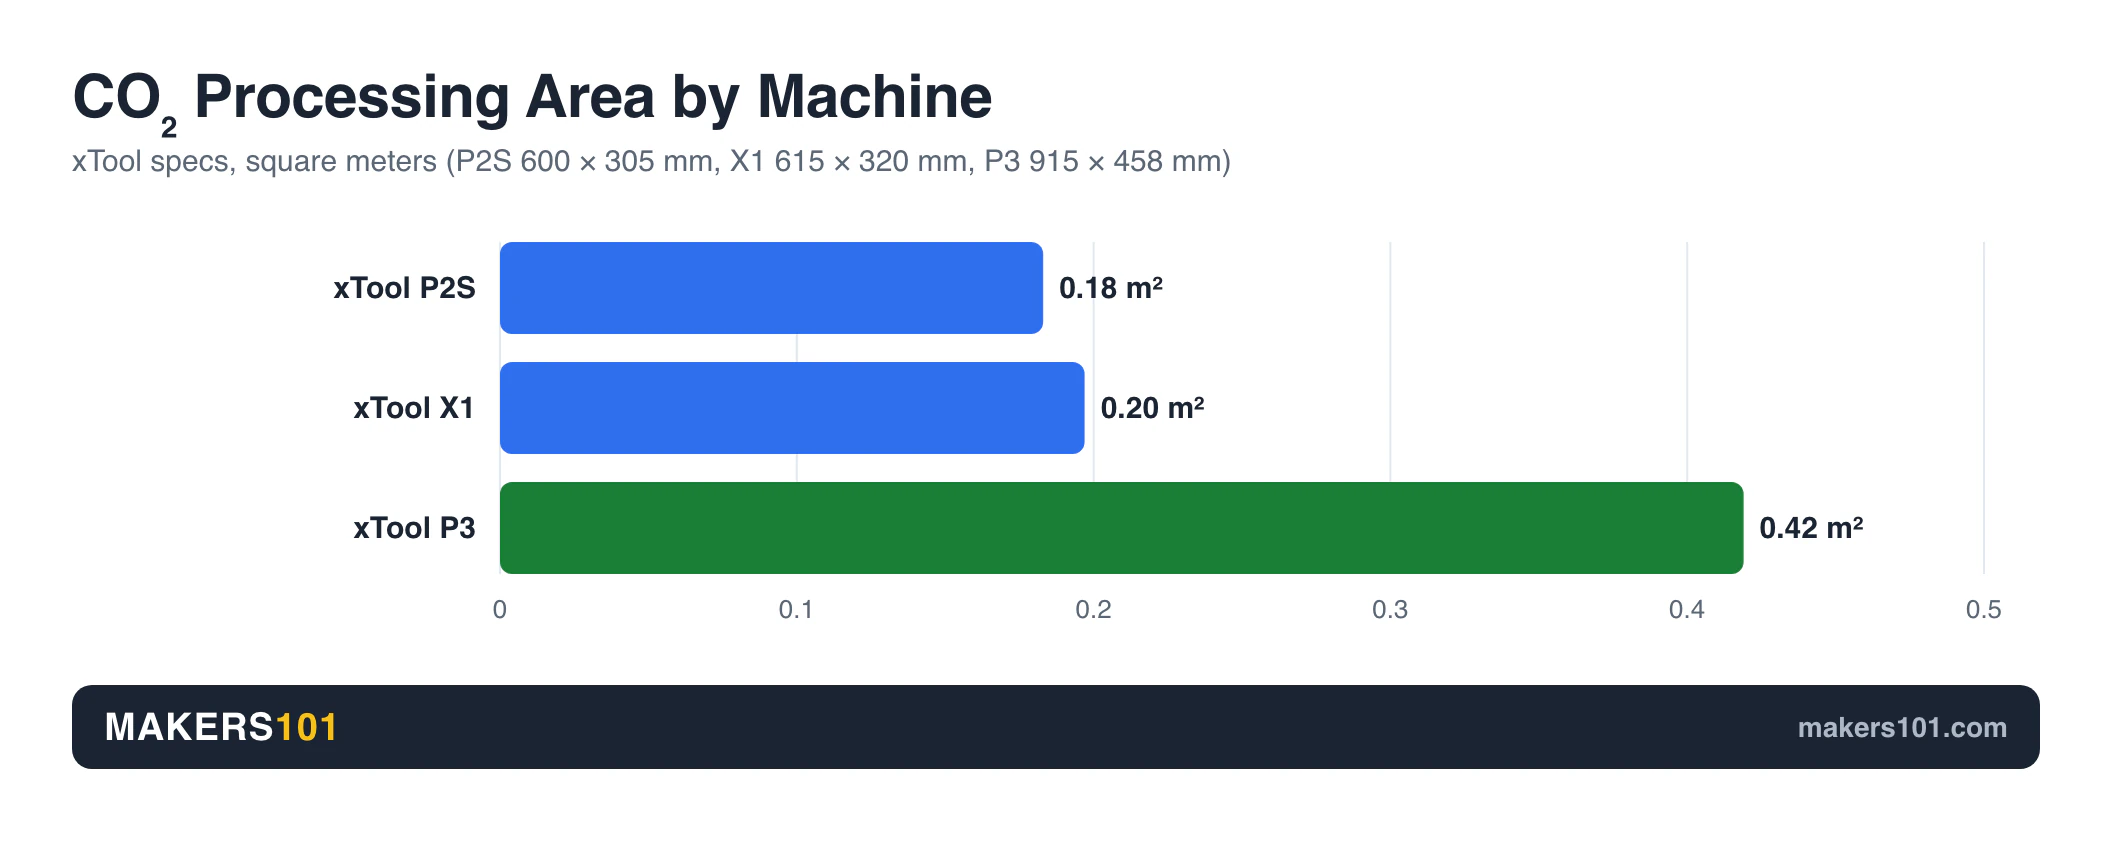
| CO₂ processing area | 600 × 305 mm | 615 × 320 mm | 915 × 458 mm |
| Extra laser options | None | 20W diode galvo, then fiber, MOPA or UV | 5W infrared module |
| Height adjustment | Optional riser base | Built-in motorized bed | Built-in motorized bed |
| LightBurn control | Limited, flat material only | Not supported | Not supported |
| Machine weight | 45 kg | 60 kg | 105 kg |
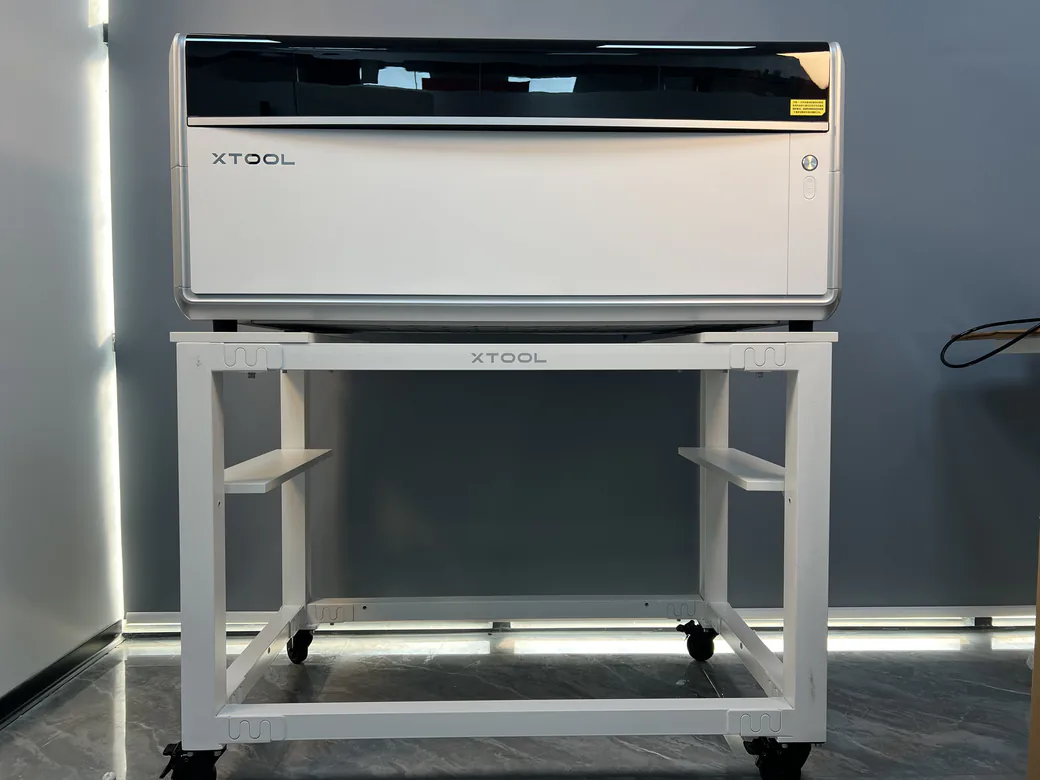
On the X1, the CO₂ area shrinks to 527 × 297 mm in combination mode. The laser heads have offset working regions, so a job that uses both has to fit the shared area. A design that fills one source’s bed may need resizing.
The P3’s infrared area is 650 × 426 mm, well short of its CO₂ bed. Plan around the source you’ll use.
xTool X1, P2S and P3 Price by Configuration
The X1’s entry price buys a CO₂ machine and nothing more. Fiber, MOPA and UV each need the diode galvo module plus the source itself, so every X1 row below is a full configuration price.
| Configuration | US price, checked November 16, 2026 (Pacific Time) | Laser sources included |
|---|---|---|
| P2S Standalone | $2,999 | 55W CO₂ |
| X1 Single CO₂ Standalone | $3,399 | 55W CO₂ |
| X1 CO₂ + Diode Galvo Standalone | $3,999 | 55W CO₂ + 20W diode galvo |
| X1 CO₂ + Diode Galvo + Fiber | $5,799 | CO₂ + diode galvo + 30W fiber |
| X1 CO₂ + Diode Galvo + UV | $6,499 | CO₂ + diode galvo + 5W UV |
| P3 Standalone | $6,599 | 80W CO₂ |
| X1 CO₂ + Diode Galvo + MOPA | $6,679 | CO₂ + diode galvo + 60W MOPA |
Tax, shipping and checkout discounts move the final number, and no row here covers every accessory a workshop ends up buying.
Near $6,600 the choice gets interesting: a bigger CO₂ platform in the P3, or an X1 set up for metal or UV. The pricier machine won’t help if its extra capability has nothing to do with your products. Our X1 bundle price guide breaks down the package options.
Then add the extras your jobs need:
- Long sheets on P2S: the automatic conveyor feeder requires the Riser Base, so price both, plus material supports.
- Cups and other round objects: make sure the rotary attachment itself is in the box. A rotary cable or mounting pin doesn’t mean the rotary is included.
- P3 setup: the IF2 2.0 inline exhaust fan comes standard. The honeycomb panel, infrared module and the CO₂ cylinder for the fire-suppression module cost extra.
- Exhaust and upkeep: plan the duct route, filtration, replacement filters and cleaning supplies. A fan and duct are not an air purifier.
A honeycomb bed helps some sheet jobs. You don’t need one for every cut.
xTool P2S vs P3 for Wood, Acrylic and Large Signs
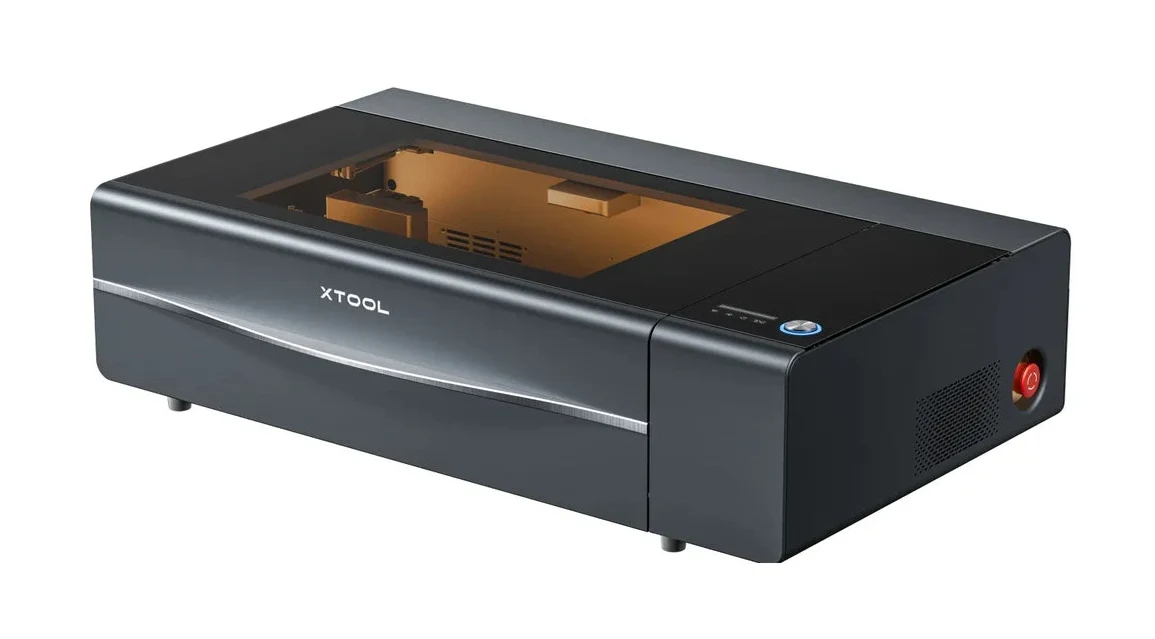
Measure the largest piece you need to make in one part. The P3’s bed takes wider and deeper layouts than either smaller machine. On batch work, a bigger layout also means fewer rounds of unloading, repositioning and checking placement.
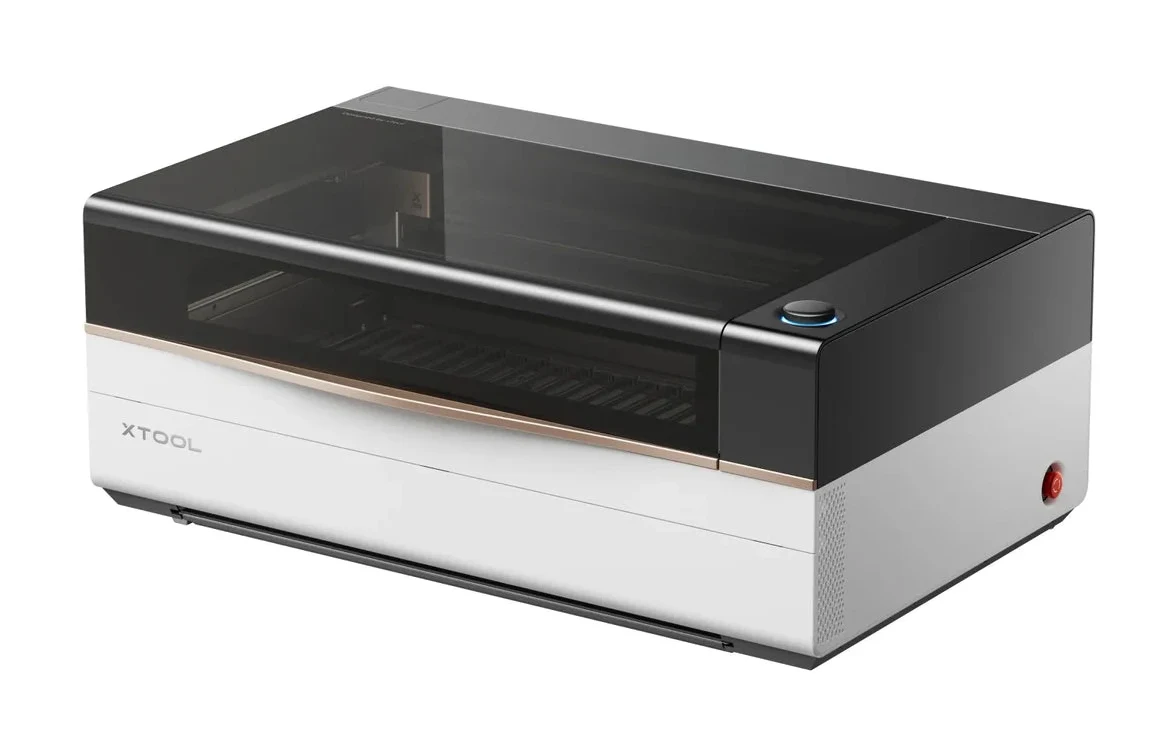
If your ornaments and small acrylic signs already fit comfortably on a P2S, that extra room will sit empty. The X1’s CO₂ bed is only a little larger than the P2S bed, so I wouldn’t buy it to fix a large-sheet problem.
The P3’s 80W helps with thicker stock, though cut time still depends on material, geometry and settings. The P2S and X1 both run 55W CO₂, and the same power rating doesn’t mean the same cut quality or speed.
xTool Conveyor Feeder Specs for P2S, X1 and P3
Each machine has its own optional conveyor feeder, and all three feed only in CO₂ mode. Here’s how xTool compares them.
| Conveyor feeder | xTool P2S | xTool X1 | xTool P3 |
|---|---|---|---|
| Laser source in feed mode | CO₂ only | CO₂ only | CO₂ only |
| Max feed speed | Over 160 mm/s | Over 160 mm/s | Over 200 mm/s |
| Material width | 65 to 624 mm | 152.4 to 610 mm | 101.6 to 610 mm |
| Material thickness | Wood and acrylic up to 14 mm | Wood up to 25.4 mm, acrylic up to 20 mm | Wood and acrylic up to 20 mm |
| Max length, standard rails | 1,000 mm | 1,220 mm with support feet near the machine, 1,500 mm with feet moved out | 1,500 mm |
| Max length, 1 extra rail section | 1,640 mm | 2,440 mm | 2,200 mm |
| Max length, 2 extra rail sections | 2,300 mm | 3,000 mm | 2,900 mm |
| Front and rear waste | 250 mm | 210 mm | 200 mm |
| Rated feed weight | Not listed | At least 18 kg | Not listed |
| Installation | Install before each use, remove after | Install once, stays on | Install once, stays on |
| Leveling | Shim the rails with boards | Built-in height adjusters, turn to level | Shim the rails with boards |
| Loading | Push in by hand, judge position by eye | Push in by hand, end sensor confirms position | Push in by hand, judge position by eye |
| Clamping | Manual clamp, pressure sensor confirms it’s locked | Automatic, stroke set by material and measured thickness | Automatic, stroke set by material and measured thickness |
| Position preview | Run a border pass | Camera photo stitching on a live canvas | Camera photo stitching on a live canvas |
| Reloading | Release the clamp, pull the board out, load the next | Automatic release and reset | Automatic release and reset |
xTool lists the same accuracy for all three: under 1 mm of deviation per 1 m of material, with a feed offset of 1 mm per 1 m on each feed cycle. Count the front and rear waste when you cut boards to length, since that strip can’t hold part of the design.
The bigger gap is daily handling. On the X1 and P3 the feeder stays installed, clamps on its own and stitches camera photos into a preview of the whole board. The P2S feeder goes on before each job and comes off afterward, so you clamp by hand and check placement with a border pass. That’s fine for a few long signs a month. For daily long-stock batches, the X1 or P3 saves setup on every board.
Thickness matters too. The X1 feeder takes wood up to 25.4 mm, while the P2S stops at 14 mm. For the longest boards, the X1 reaches 3,000 mm with two extra rail sections, against 2,900 mm on the P3 and 2,300 mm on the P2S.
Automatic feeding has a catch. If the holding tabs are too small, cut pieces can drop and jam the feed partway through a long sign. Leave enough material to hold the sheet together until feeding finishes.
A conveyor handles longer stock while the cutting width stays the same. Check the narrow side of a sign before assuming a feeder makes it fit, and don’t read a supported stock thickness as a clean through-cut.
Which xTool Laser Can Engrave Metal and Glass?
A logo on a coated tumbler, a mark on bare steel and a deep relief are three different jobs. Burning off a coating with CO₂ proves nothing about engraving the metal underneath.
On the X1, match the source to the result:
- 30W fiber: routine bare-metal marking and engraving.
- 60W MOPA: color marking on suitable metals and deeper engraving, with adjustable pulse settings.
- 5W UV: glass surface work and internal engraving in compatible glass or crystal, within shape and area limits.

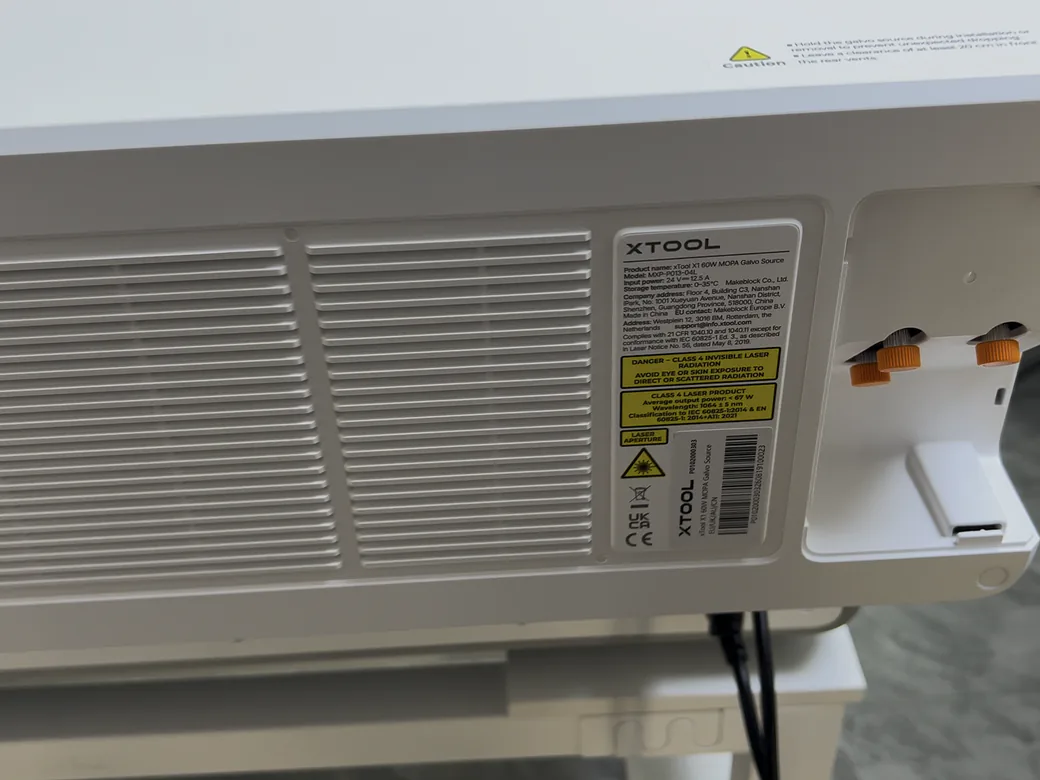
Each external source needs the X1’s 20W diode galvo module first. “Galvo” means mirrors steer the beam instead of a moving head. The X1 laser-source guide walks through each buying path.
The P3’s optional 5W infrared module marks and engraves supported metals. It can’t cut metal, emboss or color-engrave, and it doesn’t work with the conveyor. That’s enough for simple marking. Color and relief work need MOPA.
Where the X1 shines is a mixed project on one bench: engrave a wooden box lid with the diode galvo, cut the parts from the same sheet with CO₂ without realigning, then fit MOPA for a metal nameplate. The sources run one after another, never at the same time.
Glass needs the same care. CO₂ surface engraving, UV surface work and UV internal engraving are separate capabilities, and none of them turns a CO₂ machine into a glass cutter.
Engraving Speed and Source Changes on the xTool X1
The X1’s 6,000 mm/s galvo figure measures beam scanning. Its 600 mm/s CO₂ figure measures head travel. Putting the two side by side says little about how long a cut-and-engrave order takes.
Time the whole job instead: load the blank, align, process, clean up and pull a usable part. Test pieces and failed attempts count too.
The X1 can skip a transfer between engraving and cutting. The external source on the back is still physical hardware, though. Going from MOPA to UV means swapping it, recalibrating and running test pieces, which takes far longer than switching between sources already installed.
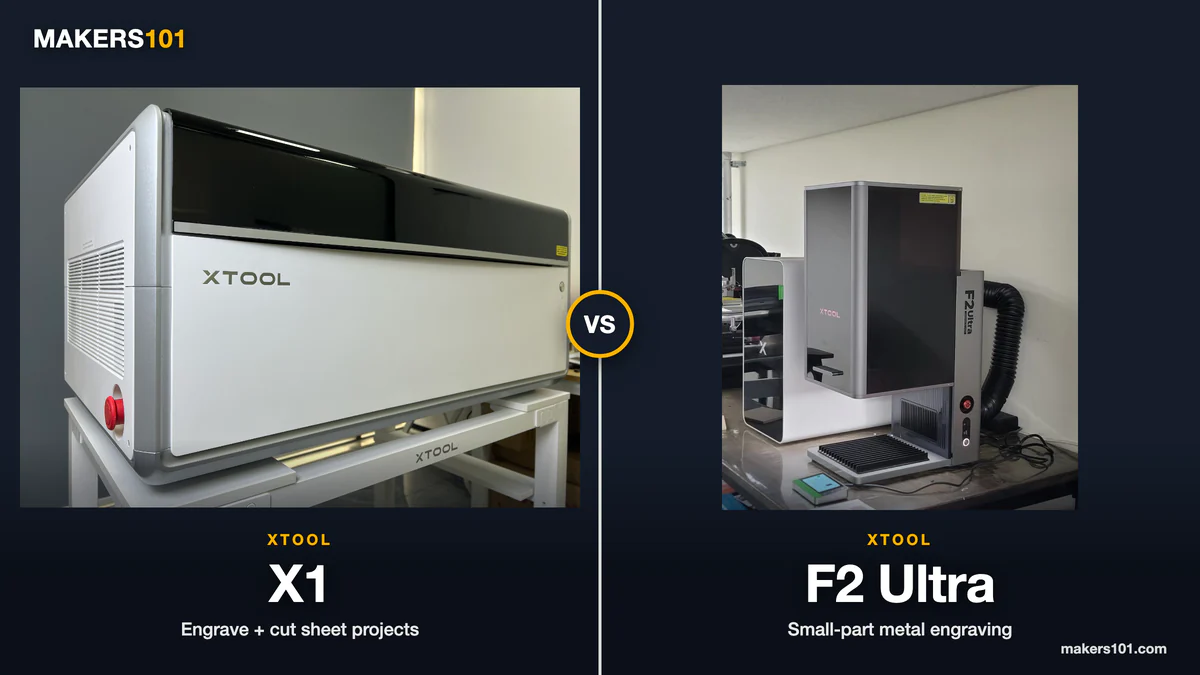
If frequent swaps were part of my week, I’d batch jobs by source. Two machines can run two orders at once; one X1 has to queue them. Already own a productive P2S and need regular metal batches? Price a separate metal engraver next to it before replacing both with one machine.
Our xTool X1 review goes deeper on CO₂, diode and MOPA projects. For this decision, look at where your current workflow loses time: engraving detail, cutting, material handling, or waiting for a free machine.
LightBurn Compatibility, Size and Weight
If you live in LightBurn, check machine control before paying for hardware. The X1 and P3 need xTool Studio to run. Designing in LightBurn and importing the file doesn’t make either one LightBurn-compatible.
The P2S has a limited LightBurn workflow: LightBurn 2.2.00 or later over Wi-Fi with compatible firmware, flat material only, no camera image, and focus set by hand. For camera placement, stay in xTool Studio.
Machine footprints: P2S 1,000 × 639 × 268 mm, X1 1,000 × 580 × 420 mm, P3 1,250 × 808 × 496 mm. Leave room to open the lid, route exhaust and handle stock, especially at both ends of a conveyor.
Going in an upstairs room? Measure the delivery route first. At 105 kg, the P3 turns stairs and any later move into a real project. A machine that fits on the bench still has to get there safely.
Material presets are a starting point. Run a small test grid on matching offcuts and save the settings that work for your stock.
Budget time for optics cleaning and exhaust maintenance, plus consumables like filters. Follow the machine and feeder safety instructions, use proper extraction and stay with the job. If one machine handles every order, leave slack in delivery dates for maintenance and downtime.
Should You Get the xTool P2S, X1 or P3?
Keep a working P2S if your regular products fit, the finish is acceptable and you meet your deadlines. Tune layouts and material settings before replacing it. A new workshop with the same needs should start with the P2S Standalone plus the accessories its jobs require.
Choose the X1 around a named process. Detailed engraving followed by cutting can justify the diode galvo configuration. Regular metal or glass products can justify a matching external source. The CO₂ + diode configuration includes neither MOPA nor UV, so confirm the extra source before ordering.
Move to the P3 when size is the limit you keep hitting. A sign that has to stay in one piece, or layouts that overflow your bed every week, make the extra capacity pay. Check floor space and how you’ll move it first. For occasional small items, the cost and bulk are hard to justify.
Before ordering, write down your next three likely products: material, finished size, operation and weekly batch size. Match each one to a processing mode and accessory list. If a key result is still uncertain, ask for a demo with your own artwork and stock. Owners upgrading should price the fix for their actual bottleneck; a new buyer needs the full usable setup.
xTool X1 vs P2S vs P3 FAQ
Should I get the xTool P2S or P3?
The P2S is the better buy when your regular pieces fit a 600 × 305 mm CO₂ area and 55W handles your stock. Pick the P3 when bed size keeps forcing you to split signs or batches: it offers 915 × 458 mm and 80W, but it weighs 105 kg and the standalone machine costs $6,599 against $2,999 for the P2S Standalone.
What is the difference between the xTool X1 and P2S?
Both carry a 55W CO₂ source, and their beds are close in size (615 × 320 mm on the X1, 600 × 305 mm on the P2S). The X1 adds a motorized bed and an upgrade path: a 20W diode galvo, then a compatible fiber, MOPA or UV source. The P2S is cheaper and keeps a limited LightBurn workflow, which the X1 lacks for now.
Can the xTool P2S engrave metal?
Only with help. Its CO₂ laser can’t cut metal, and bare stainless steel needs a marking coating before it will take a mark. If metal is a regular product, an X1 with a fiber or MOPA source, or the P3 with its optional infrared module, is the better match.
Can you use LightBurn with the xTool X1, P2S or P3?
Only the P2S, and only for flat work without the camera or autofocus. In the xTool X1 vs P2S vs P3 lineup, the X1 and P3 run on xTool Studio alone.
How much is the xTool P3?
On xTool’s US store the P3 Standalone listed at $6,599 when we checked on November 16, 2026 (Pacific Time). The Versatile Bundle listed at $7,809 and the All-in-one Bundle at $10,059.