
I earn a commission if you buy through links on this page, at no extra cost to you. As an Amazon Associate, I earn from qualifying purchases.
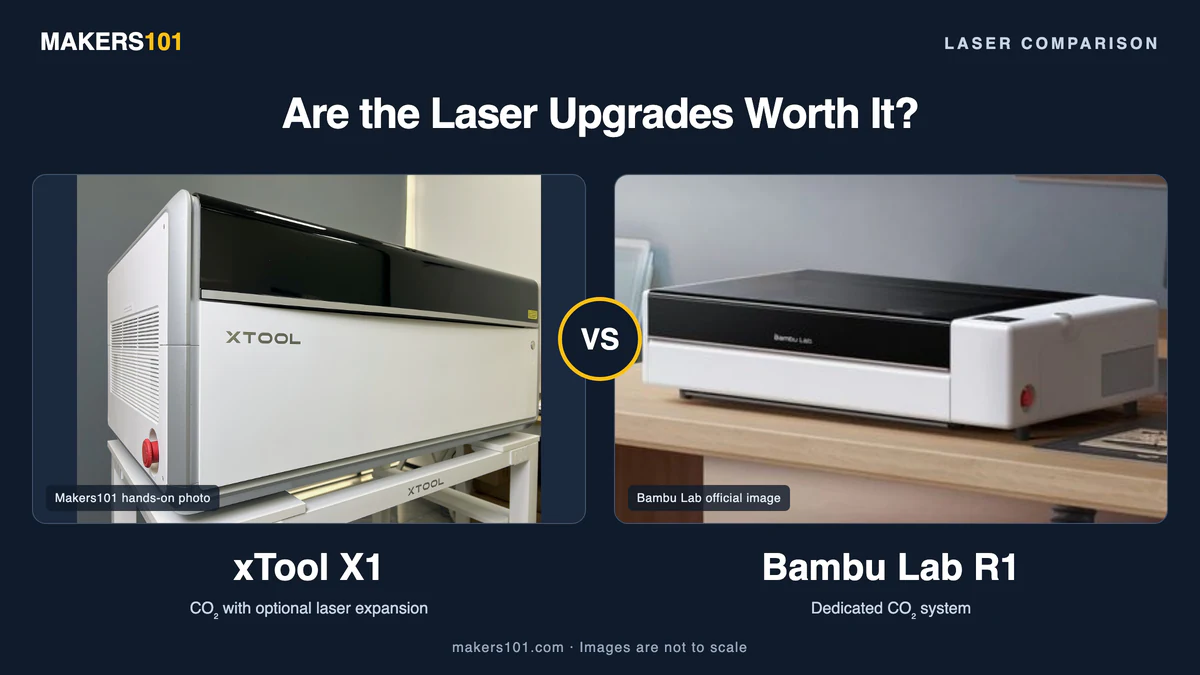
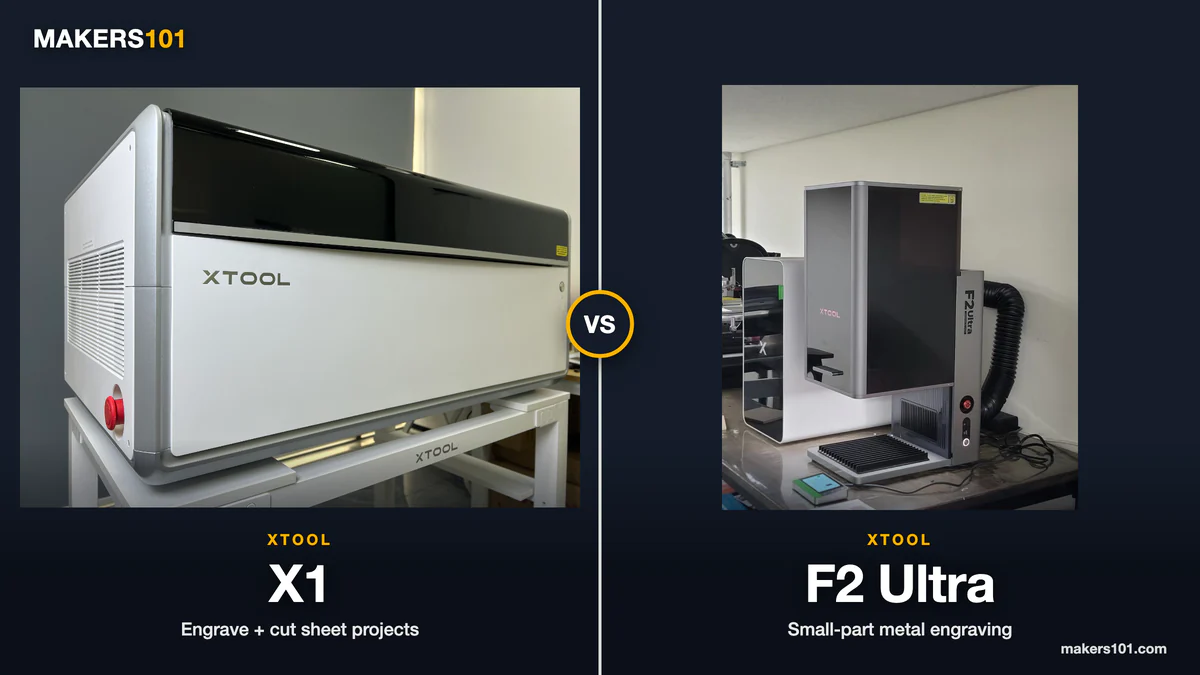
For me, the xTool X1 vs F2 Ultra decision comes down to the work on the bench. If I’m regularly engraving wood or acrylic and cutting out the finished shape, I’d choose the X1 with CO₂ and diode galvo. For mostly small metal tags, jewelry and similar parts, I’d start with the F2 Ultra, provided the part and its fixture fit.
I’d add MOPA to the X1 when metal jobs are part of that mix. The larger bed and CO₂ cutting are a big part of what you’re paying for, so they need to earn their space.
I tested the X1 with 55W CO₂, 20W diode galvo and 60W MOPA. xTool supplied the machine and accessories. I haven’t tested the F2 Ultra myself; that side of this comparison uses manufacturer documentation and the third-party tests named below.
| Decision | xTool X1 configuration discussed here | xTool F2 Ultra Dual |
|---|---|---|
| Laser sources | 55W CO₂ + 20W diode galvo + optional 60W MOPA | 60W MOPA + 40W diode |
| Main reason to consider it | Engraving and cutting sheet projects, with optional metal work | Small metal work with a diode source for suitable nonmetals |
| Working area | Mode-dependent; CO₂ combination mode is 527 × 297 mm | Standard flat area: 220 × 220 mm |
| Software | xTool Studio | Studio, or LightBurn 2.2 with feature limitations |
A quick model check: the F2 Ultra Single has MOPA only. The F2 Ultra UV is a separate machine, and the smaller F2 is another model again. Features from those machines don’t necessarily carry over to the Dual.
Table of Contents
- Wood and Acrylic: What the X1’s Combined Workflow Adds
- Metal Work: Small Parts, Color and Deep Engraving
- Work Area and Batch Jobs: Check the Part, Fixture and Mode
- Switching X1 Sources and Running Overlapping Orders
- Software, Bench Space and Daily Cleanup
- xTool X1 vs F2 Ultra Prices: Match the Configuration
- Which One I’d Buy With Your Existing Setup
Wood and Acrylic: What the X1’s Combined Workflow Adds
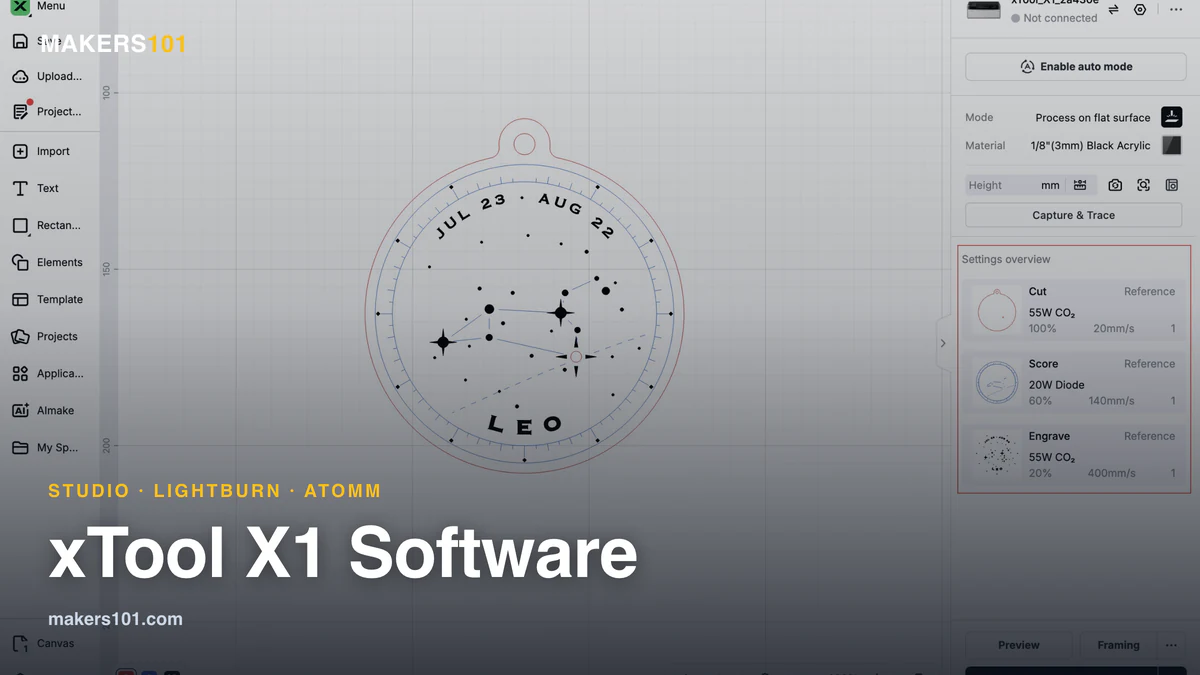
The black acrylic pendant is what sold me on using the X1’s diode galvo alongside CO₂. I made the same design twice in 3 mm black acrylic. CO₂ cut both outlines, but for the engraving I used the diode on one and CO₂ on the other.
The full diode-engrave/CO₂-cut job took 44 seconds. Engraving and cutting entirely with CO₂ took about six minutes at my chosen engraving settings. Both were X1 jobs with different setups; these times don’t tell us how fast an F2 Ultra would finish the same pendant.
I preferred the diode result, too. The small dots and tick marks were cleaner. CO₂ left a brighter mark, but some of the little letters and dots had rougher edges.
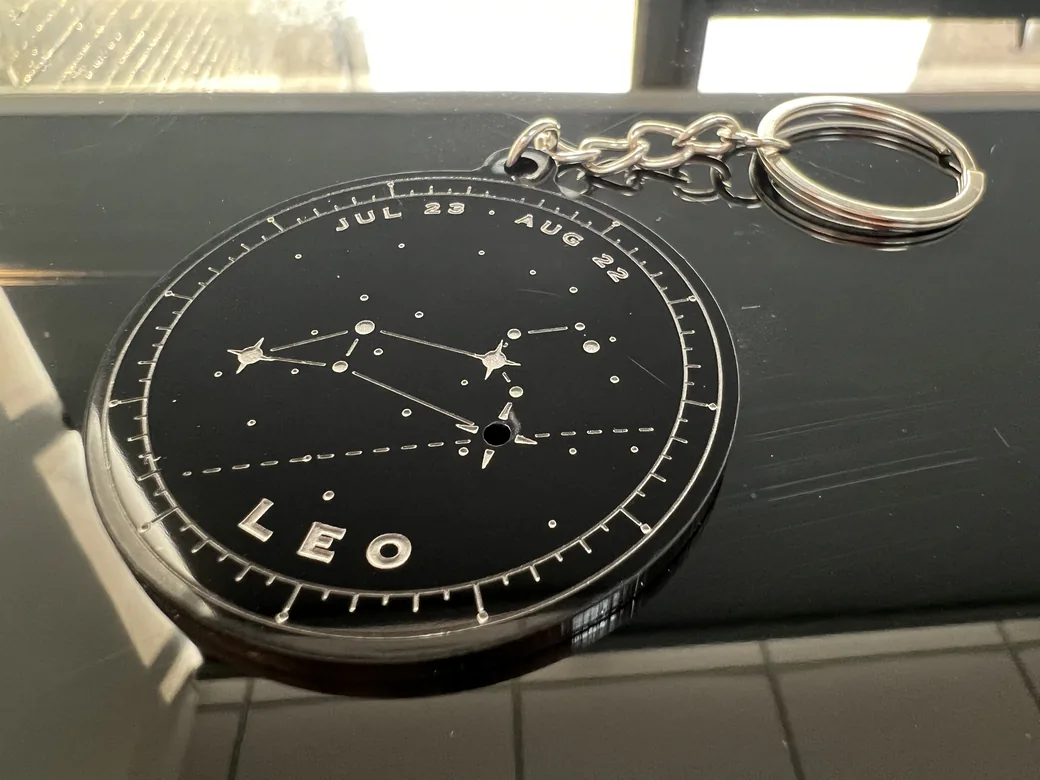
The acrylic stayed put throughout. In Studio, the engraving and cutting paths sat in one project, with engraving first to keep the piece attached to the sheet. The galvo scans locally while the X1’s motion system carries it across the bed; CO₂ cuts the outline afterward.
Photos were less clear-cut. I tried a cat image with each source’s default photo preset on the same basswood board. The diode made a darker image, but some shadows merged. CO₂ was paler, with whiskers and fine fur that were easier to pick out. For a photo job, I’d test the actual image on an offcut before using a full sheet.
The F2 Ultra Dual’s 40W diode can also handle suitable wood and dark acrylic jobs. Clear acrylic is trickier: surface engraving needs an absorbing treatment such as black paint, and that doesn’t establish that it can cut through a clear sheet. For regular acrylic cutting, I’d choose the X1’s CO₂ source and check that the material suits the process.
I’ve included the pendant results and settings in my xTool X1 review. If you mostly cut shapes and do little detailed engraving, though, price the CO₂-only version before adding more sources.
Metal Work: Small Parts, Color and Deep Engraving
The F2 Ultra puts 60W MOPA into a smaller machine than the X1. That appeals to me for metal work that fits its flat area, especially if CO₂ cutting would go unused. The X1 makes more sense when those metal jobs sit alongside larger sheet projects. Having 60W MOPA on both doesn’t settle which is faster or leaves a better finish. I don’t have matching tests to answer that.
On the X1, I compared MOPA and diode engraving on black anodized aluminum cards, about 84 × 52 × 0.2 mm, using designs with small lettering. MOPA kept the characters more continuous and the fills more even. Some of the smallest diode-engraved characters broke up or merged.
That was surface marking on anodized cards, not deep engraving into bare metal. I judged the finished cards in person because the photos differ in angle and magnification. For fine lettering, the source made a visible difference here; material and finish matter too, as I explain in the diode, CO₂ and IR laser comparison.
Color and metal cutting can take substantial time
Some metal jobs take a while. In Samcraft’s F2 Ultra testing, a roughly 50 × 50 mm stainless-steel color engraving ran for over 3.5 hours. A separate butterfly cut from thin brass took about 24 minutes and still needed a little cleanup. You can see the scale and finish of both sample projects in his review.
For a customer order, I’d also count artwork preparation, settings tests and finishing. Maximum scanning speed tells you little about that workload, and the brass example doesn’t verify the machine’s advertised maximum cutting thickness.
Color needs its own testing. Pulse width, frequency and engraving density all affect the result, and the color can look different as you change the viewing angle. A preset is somewhere to start. Before promising a repeat color to a customer, I’d test it on the actual stock and check more than one piece.
Work Area and Batch Jobs: Check the Part, Fixture and Mode
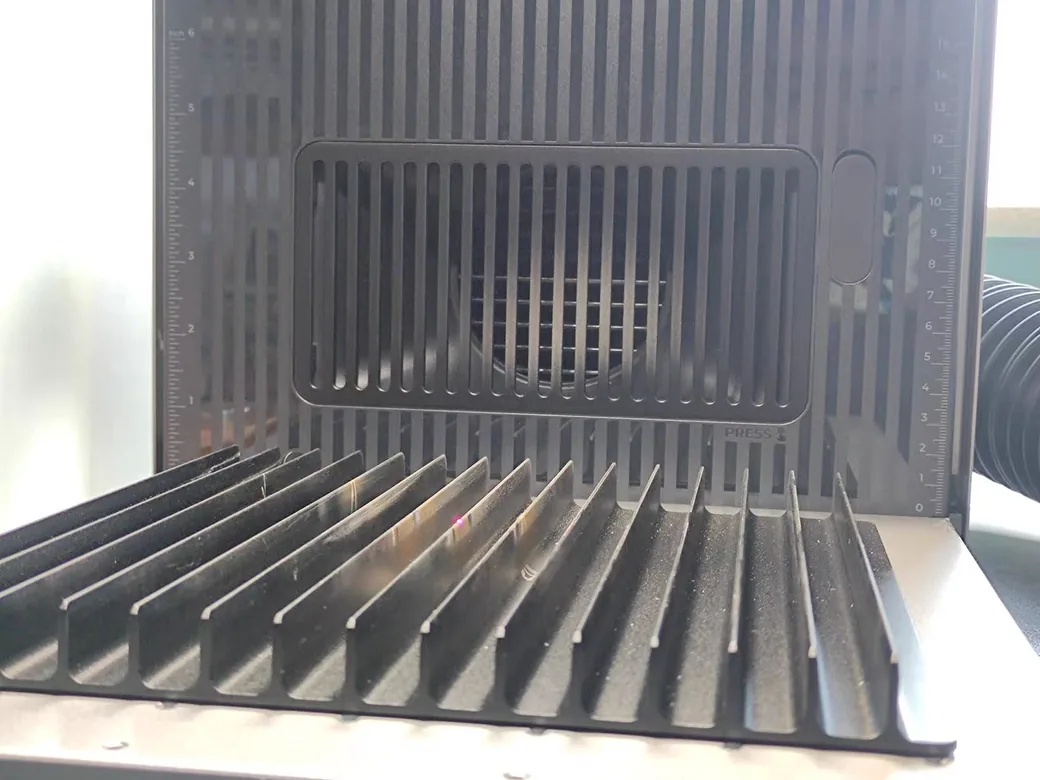
Measure the fixture as well as the design. The X1’s usable area changes with the process, and a combined job may have less room than the headline bed size suggests.
| Processing task | X1 area | F2 Ultra area or limitation |
|---|---|---|
| Combination mode including CO₂ | 527 × 297 mm | No CO₂ source |
| General single-source processing | Up to 615 × 320 mm | Standard flat area: 220 × 220 mm |
| Galvo batch mode on the X1 | 615 × 312.5 mm | Choose standard-bed or supported conveyor processing to suit the job |
| MOPA embossing with the X1 exhaust assembly fitted | 415 × 225 mm | Conveyor batch relief engraving is unsupported |
| Extended conveyor processing | Check the X1’s separate feeder requirements | Up to 220 × 500 mm for supported engraving; no conveyor cutting |
Without CO₂, combination jobs allow 615 × 320 mm. The X1 processing-area chart lists the other accessory-dependent areas. Check your intended mode before building a fixture that fills the bed.
For one X1 batch, I squeezed 25 dog-face pieces into the space left on a 300 × 300 × 3 mm basswood sheet. Layout took about two minutes; engraving and cutting took 33 minutes 39 seconds. I checked all 25 pieces and couldn’t see an offset between the engraving and outline cut. I didn’t measure positioning tolerance. The time also excludes loading, cleanup and packaging, which still need timing for repeat orders.
A conveyor has specific job limits
The F2 Ultra conveyor extends supported engraving work, but cutting, batch relief engraving and curved-surface mode are off the list. A through-cut could expose the belt to the beam, while a long relief job can build up damaging heat. The F2 Ultra conveyor and processing FAQ covers those restrictions. For relief coins or cut metal shapes, start with the appropriate fixed-bed workflow and time your own design.
I’d check the first batch even with automated placement. In Chad’s Custom Creations’ 2025 conveyor test, six of eight silver coins aligned well, one was noticeably offset, and one wasn’t processed because it was too far off-position. That small, older sample shows why the layout needs checking. It can’t establish a current failure rate, and the different jobs rule out a fair comparison with my basswood batch.
Switching X1 Sources and Running Overlapping Orders
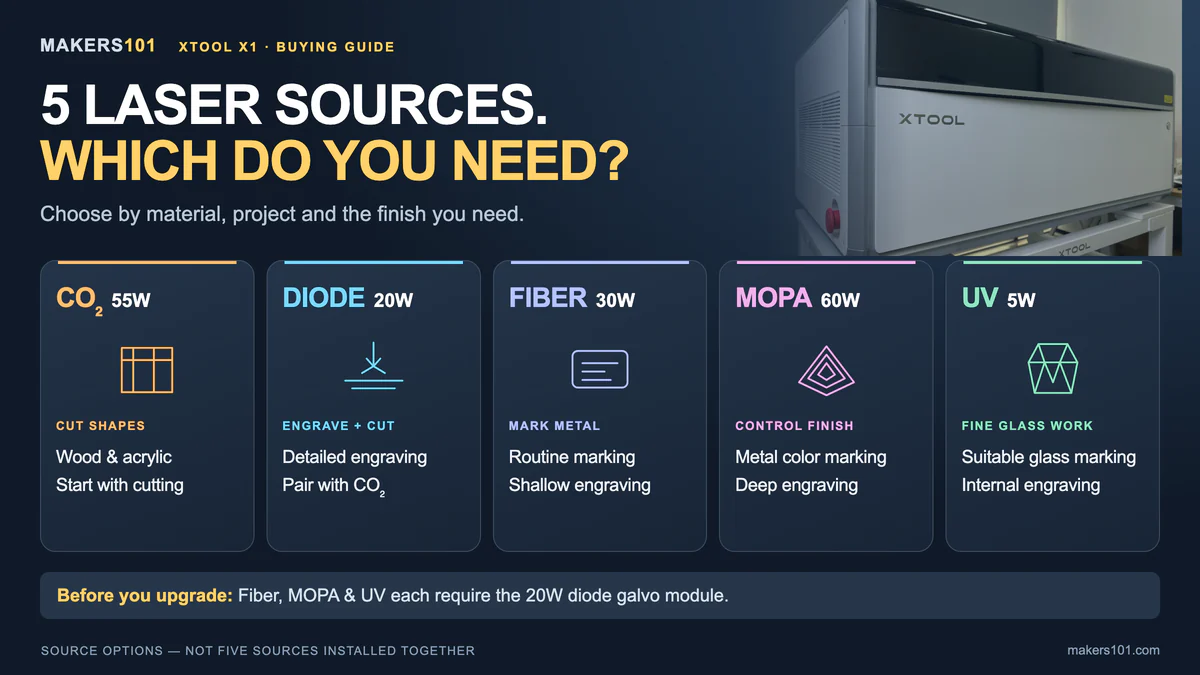
With diode and MOPA already installed on my X1, I choose the source for each layer in Studio. There’s no module to replace between those selections. CO₂ and the galvo sources then run their assigned operations in sequence on the same bed.
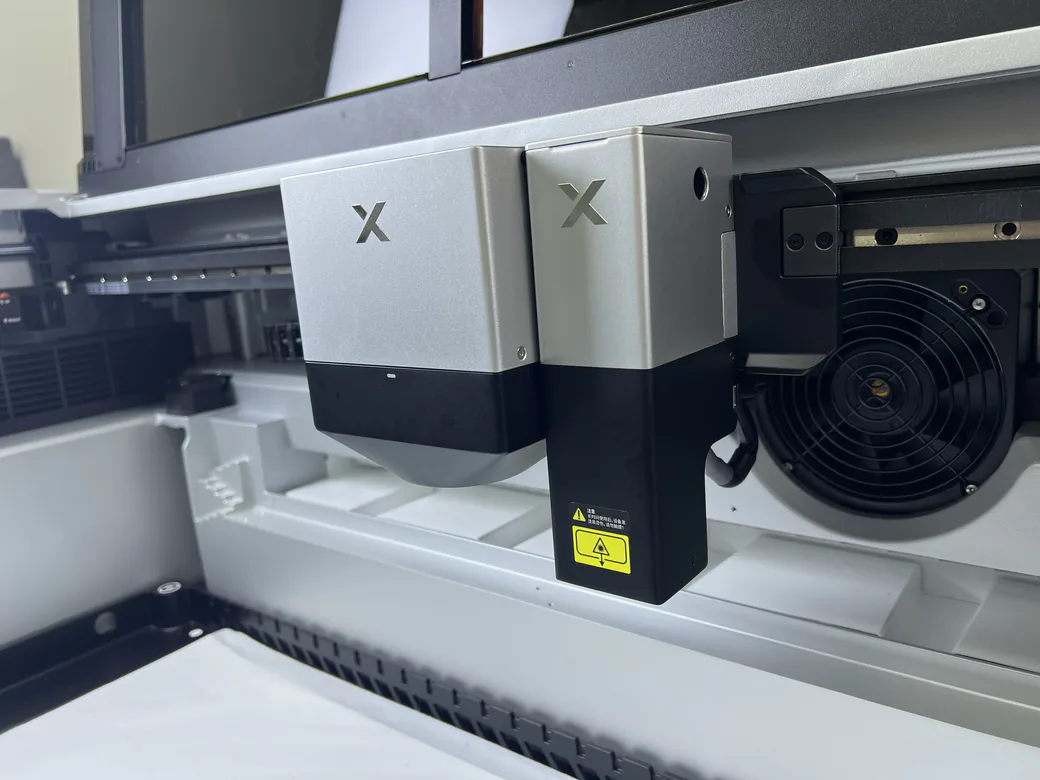
Moving between MOPA and UV is different: that means changing hardware and doing the relevant calibration. The standard F2 Ultra doesn’t take a UV module swap. An F2 Ultra UV is another machine.
| Change on the X1 | What the available experience shows |
|---|---|
| Select an already installed diode or MOPA source | I choose it for the layer in Studio |
| Install MOPA for the first time | My recollection is about 15 minutes for mechanical installation, roughly 30–60 minutes including calibration |
| Reinstall a previously calibrated external source | Bitner Built timed 2:47 for the physical swap and 2:15 for the alignment check in his retest after the November 5 update |
My first-install estimate includes calibration. I haven’t personally swapped between external source packs, so I can’t use that experience to predict a later changeover. Bitner Built’s roughly five-minute retest is encouraging, but his setup had already been calibrated. Either way, leave time to check alignment after changing the hardware.
One X1 still has only one bed. If a metal engraving is running and another order needs CO₂ cutting, two independent machines can get on with both. When jobs can run one after another, I like the X1’s advantage of keeping the project in place. If orders regularly overlap, I’d price two workstations and account for their space, extraction and operator time.
Software, Bench Space and Daily Cleanup
I run the X1 through xTool Studio: place the artwork on the camera preview, choose material settings, then assign each layer an operation and laser source. That workflow worked well for the pendant and basswood batch.
The F2 Ultra supports LightBurn 2.2 or later with compatible firmware, though F2-series support is still preliminary. LightBurn’s compatibility announcement says camera support is unavailable on machines running the latest xTool firmware. If you rely on camera positioning, check those LightBurn feature limitations before assuming your Studio workflow will transfer.
X1 support is still being explored for a future release. I wouldn’t buy one around a hoped-for LightBurn release date.
Make room before it arrives. The X1’s listed body dimensions are 1,000 × 580 × 420 mm, it weighs 60 kg, and xTool recommends 1,300 × 1,000 × 900 mm of operating space. The F2 Ultra is smaller at 294 × 429 × 521 mm and 21.6 kg. Those are body dimensions, though. You still need room for exhaust routing, loading and accessories.
Space and cleanup were my everyday compromises with the X1. There’s no removable waste tray, so clearing cutting debris takes some attention. I would check access behind the machine and clearance with the lid open before choosing its spot.
Extraction belongs in that plan, along with filter or duct maintenance suited to your materials and workshop. The enclosure doesn’t take care of smoke and debris by itself. There are US Class 4 versions of the F2 Ultra, so check the exact model’s safety instructions; a cover alone doesn’t establish Class 1 operation.
xTool X1 vs F2 Ultra Prices: Match the Configuration
For a metal-focused comparison, price an X1 that actually includes MOPA. The cheapest package is CO₂ only, with neither the galvo module nor a metal-focused external source.
US standalone configuration list prices, checked November 16, 2026 (USD)
| Configuration | Listed price | What you are buying |
|---|---|---|
| X1 Single CO₂ | $3,399 | 55W CO₂, without the diode galvo or MOPA source |
| X1 CO₂ + Diode Galvo | $3,999 | 55W CO₂ and 20W diode galvo |
| X1 CO₂ + Diode Galvo + MOPA | $6,679 | The three-source configuration used for my X1 tests |
| F2 Ultra Dual | $5,299 | 60W MOPA and 40W diode |
| F2 Ultra Single | $4,299 | 60W MOPA only |
These are xTool US list prices for the specified new standalone configurations. I haven’t verified checkout totals. Promotions, tax, shipping and accessories can change the bill, so check which version an offer includes.
The X1 CO₂/diode/MOPA package lists at $6,679, against $5,299 for the F2 Ultra Dual—a $1,380 list-price difference. That extra spend gets you the X1’s CO₂ cutting platform as well. It isn’t a comparison of two machines with proven equal engraving performance.
For my wood and acrylic work, the CO₂ + Diode Galvo package is where I’d start. MOPA can come later if jobs call for it, such as the small lettering on my anodized cards. If you’re setting up a dedicated metal station and won’t use a diode source, look at the F2 Ultra Single too.
Add the equipment your jobs require
Beyond the machine and laser sources, budget for extraction and fixtures. A rotary earns its place only if your jobs need it; the same goes for a conveyor, with its processing limits. Test stock, cleaning, maintenance and replacement filters also cost money.
LightBurn users need the appropriate license and supported features. And even a short laser job can involve plenty of artwork preparation and failed settings trials. I wouldn’t estimate payback for either machine without knowing the product, its selling margin and the time the full workflow takes.
Which One I’d Buy With Your Existing Setup
What you already own matters. If you have a CO₂ cutter you’re happy with, you’ve already covered a big reason to buy the X1. An F2 Ultra that’s earning its keep already gives you a metal-processing station.
| Your situation | My starting choice | What would change it |
|---|---|---|
| No laser yet; regular engraved-and-cut wood or acrylic products | X1 CO₂ + Diode Galvo | Add MOPA only when you have a material or finish that needs it |
| Mainly small metal parts, with room for their fixtures inside the working area | F2 Ultra; compare Single and Dual by your need for diode work | Larger parts or regular sheet cutting make the X1 more relevant |
| A CO₂ cutter you like, but no suitable metal laser | Consider adding an F2 Ultra and keeping the cutter | Consolidating into one platform may matter more if you can schedule jobs sequentially |
| An F2 Ultra already earning its place | Keep it; consider an X1 for additional cutting or larger-format work | Replace equipment only when the new setup solves a specific limitation |


Considering the smaller F2 as well? I’ve covered that choice in the F2 vs F2 Ultra comparison. Check the model and source configuration on the sale listing before ordering.
Before buying, I’d pick one product I actually want to make. Check its material, largest design, fixture size and finish, then work through the job: does it need a conveyor, a rotary, camera positioning, or two machines running at once? I’d rather buy for that than order every laser source and hope the right work turns up.
CERTAIN CONTENT THAT APPEARS ON THIS SITE COMES FROM AMAZON. THIS CONTENT IS PROVIDED ‘AS IS’ AND IS SUBJECT TO CHANGE OR REMOVAL AT ANY TIME.
Price details
Product prices and availability are accurate as of the date/time indicated and are subject to change. Any price and availability information displayed on Amazon.com at the time of purchase will apply to the purchase of this product.