
I earn a commission if you buy through links on this page, at no extra cost to you. As an Amazon Associate, I earn from qualifying purchases.
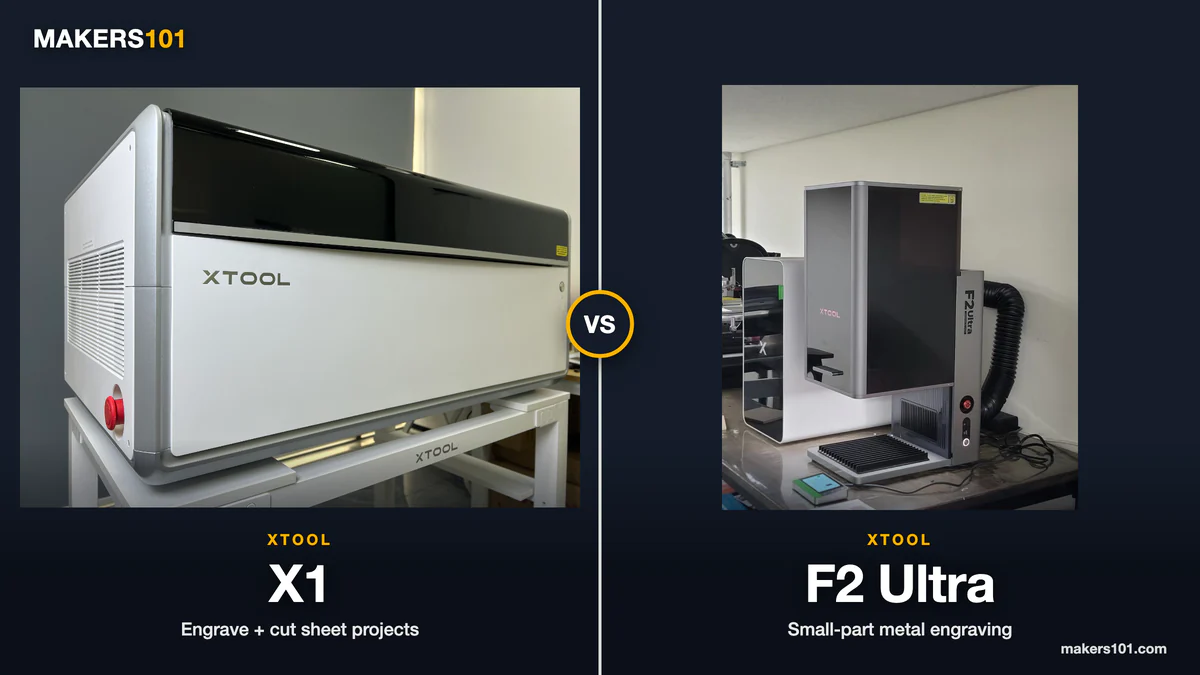
If you’re considering the X1’s optional 5W UV source for crystal gifts, start with the blank you want to use and the image you want inside it. The machine can engrave inside suitable glass, but crystal balls are out. Taller rectangular blocks also leave you less room to position the artwork, which may rule out the design you had in mind.
xTool supplied the X1 and accessories used in my separate review. I have not tested the UV source; this guide is based on xTool’s documentation. As an Amazon Associate, I earn from qualifying purchases.
Table of Contents
Will your glass work for inner engraving?
Surface engraving puts the design on the outside of the glass. Inner engraving builds an image from visible points inside it, without intentionally marking the exterior. Getting a good surface engraving on a piece of glass doesn’t tell you whether it will work for an internal image.
Use K9 optical crystal glass for inner engraving on the X1. Clear glass isn’t enough: composition and refractive index affect the result, and the material type and dimensions you enter in the software need to match the blank. A preset for xTool glass won’t establish that an unidentified piece is suitable.

Separate the blank from the engraving region
| Measurement | What it tells you |
|---|---|
| Blank length and width | The footprint of the physical piece |
| Blank height | Which height-dependent restriction applies |
| Available engraving region | Where a design may be placed in that mode |
| Design width, length and depth | The space occupied by the image inside the blank |
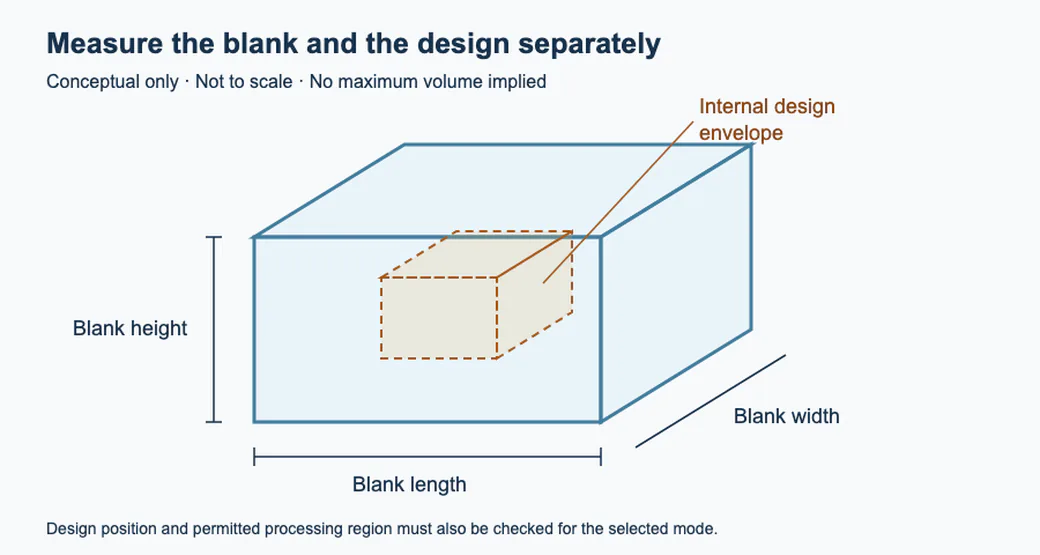
Conceptual illustration only; no tested sample or maximum engraving volume is shown.
For glass over 50 mm and up to 100 mm high, the image has to stay within 60 mm of the workpiece’s right edge. Even a small design can sit outside that region, so check its position before choosing a taller blank.
These processing areas apply to glass with a refractive index of 1.54:
| Mode and material condition | Listed processing footprint |
|---|---|
| Single piece, material depth ≤50 mm | 600 × 300 mm |
| Single piece, material depth >50 mm and ≤100 mm | 60 × 300 mm |
| Batch inner engraving | 580 × 280 mm |
I wouldn’t use those footprints to choose the largest blank the X1 can handle. They describe processing areas, without establishing a maximum blank size or a fully usable engraving volume.
The published material limit is 300 × 300 × 150 mm, but the height-dependent engraving table stops at 100 mm. The usable region for a 100–150 mm block is unclear, so get confirmation from xTool before ordering one.
| Planned project | Decision |
|---|---|
| Suitable K9 block, height ≤50 mm | Check the blank dimensions and design placement; the taller-block restriction does not apply. |
| Suitable K9 block, height >50 mm and ≤100 mm | Check whether the whole design fits the permitted right-edge region. |
| Blank taller than 100 mm | Obtain model-specific confirmation before relying on inner engraving. |
| Crystal ball | Unsupported on X1. |
| Glass of unknown composition | Establish material suitability before selecting a processing recipe. |
The X1 cannot engrave inside crystal balls: the required liquid medium would be disturbed as the workpiece moves vertically, changing the refracted beam path. Its galvo module cannot move independently on the Z axis. A successful crystal-ball job on an F2 Ultra UV doesn’t establish that the X1 can do it.
The UV upgrade includes a lens change
You’ll need the 20W diode galvo module to use the 5W UV source. Its supplied red-ring field lens won’t work with UV, so replace it with the purple-ring UV/Fiber/MOPA lens supplied with the UV source.
The purple-ring lens also supports the diode, fiber and MOPA sources, so it can stay installed when switching among those sources. You do not need to change it back solely because the next job uses MOPA.
| Change or setup task | Required preparation |
|---|---|
| Install a field lens of a different specification | Focus calibration, then flying-galvo calibration |
| Replace or reinstall a galvo source | Vibration suppression, source optical-path alignment, focus, then flying-galvo calibration |
| First inner-engraving setup | UV positioning piece, glass-focus calibration and glass-engraving positioning calibration |
Follow the relevant calibration sequence, then check the result with a test task. Simply selecting an already installed source in software is a different operation from physically replacing one.
Measure the blank accurately, fit the positioning piece and apply masking tape to the bottom of the glass. Check the software preview and remaining setup steps before starting.
Before you buy the UV upgrade
This is the UV source only. You’ll also need the X1 and its 20W diode galvo module; check whether your X1 bundle includes that module before ordering.

If you need to engrave glass orders while your existing machine cuts other products, it’s worth comparing a separate UV machine for that workflow. Check its support for your exact blanks too.
For the X1, send the supplier a drawing with the blank’s shape, material and dimensions, plus the image’s intended position and depth. Ask whether that exact project will work with the 5W UV source. A finished-crystal photo without those details tells you little about whether your own design will work.
For the rest of the machine, my X1 review covers CO₂, diode and MOPA projects. Those tests don’t cover UV inner engraving.