1")
Heads up — some of the links below are affiliate links. If you buy through them, I earn a small commission (at no extra cost to you), which helps cover the gear I test. Thanks!
Key takeaways (the 30-second version):
- Most “broken printer” problems are one of seven simple beginner 3D printing mistakes, not a bad machine.
- The single biggest fix is free: clean your print bed and watch the first layer.
- Don’t rebuild your slicer profile. Start from the maker’s preset and change only a few things.
- Dry your filament, stay in the recommended temp range, and slow down before you blame hardware.
- Every fix below takes minutes, not money.
The 7 Mistakes at a Glance
Here’s the whole list in one view. Skim it now, then read the fixes that apply to you.
| # | The mistake | What you see | 60-second fix |
|---|---|---|---|
| 1 | Treating it like an appliance | You walk away, the first layer fails | Watch the first 3 layers |
| 2 | A dirty print bed | Corners lift, nothing sticks | Wash it, wipe with alcohol, hold by the edges |
| 3 | Bad leveling / Z-offset | Gouged or floating first layer | Auto-level, then dial the squish |
| 4 | Over-editing slicer settings | Prints get worse after “tuning” | Use the maker profile, tweak five things |
| 5 | Wet or bargain-bin filament | Stringing, popping, weak walls | Dry it properly, buy reputable brands |
| 6 | Too fast or too hot | Blobs, weak layers, shifted layers | Stay in the temp range, slow down 20-25% |
| 7 | Quitting on the first fail | Rage-quit or random changes | Change one thing, test, write it down |
Why Your First Prints Keep Failing
If your first prints are coming out as spaghetti, peeling off the bed, or just plain ugly, take a breath. It almost never means you bought a lemon, and it definitely doesn’t mean you’re bad at this.
Here’s the part nobody warns you about: almost every “my printer is broken” moment is actually one of a handful of small, repeatable mistakes. I made most of them myself when I started. The good news is they’re easy to spot once you know the pattern.
Below are the seven I see beginners hit most often, each with the exact fix. No jargon, no new hardware, no expensive upgrades. If you’re still deciding what to run all this on, our guide to picking your first 3D printer pairs nicely with this one. For now, let’s fix the prints you’ve already got.
Mistake #1: Treating Your Printer Like a Plug-and-Play Appliance
A 3D printer is not a microwave. It’s closer to a car: it needs a little upkeep, and it rewards you for paying attention.
Most beginners unbox the machine, skip the manual, hit print, and walk away. Then they come back to a failed blob and assume the printer is faulty. Two habits fix this almost entirely.
First, skim the quick-start guide before your first print. A missed screw or an unclipped cable will haunt you for weeks, and you’ll never think to look for it. Second, and this is the big one: watch the first two or three layers, every single time. A bad first layer will almost always ruin the whole print. If you catch it in the first minute, you cancel, fix it, and lose nothing. Modern printers are genuinely good tools now, not endless projects, but they still want thirty seconds of your attention up front.
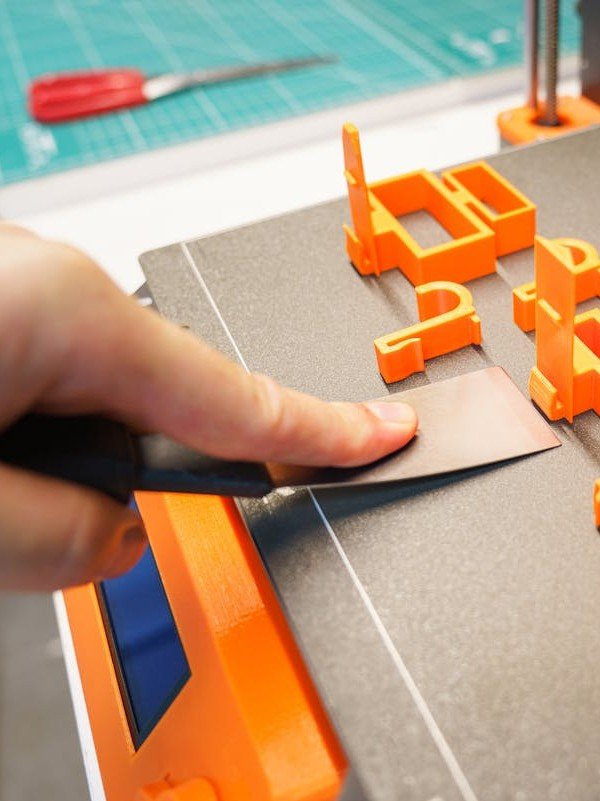
Mistake #2: A Dirty Print Bed (the #1 Reason Prints Won’t Stick)
If your prints won’t stick, your bed is dirty. Nine times out of ten, that’s the whole answer.
The culprit is invisible: the natural oils from your fingers. You pick up the plate, leave a greasy fingerprint, and that thin film stops plastic from gripping, even when every setting is perfect. The symptoms are corners lifting, a first layer that won’t grab, and a tangle of stringy plastic.
The fix is a proper clean. For a deep clean, wash the plate in the sink with hot water and dish soap, then let it dry fully. Between prints, a quick wipe with isopropyl alcohol is enough. From then on, handle the plate by its edges. One more counterintuitive tip: for grippy materials like TPU and PETG, a thin layer of glue stick acts as a release agent, not an adhesive. It stops those filaments from fusing permanently to the plate. If your first layer still won’t stick after a clean, our deeper walkthrough on fixing first-layer adhesion covers the rest.
Mistake #3: Skipping Bed Leveling and the Z-Offset
Even printers with automatic leveling still need a correct Z-offset, and getting it wrong wrecks the first layer in two opposite ways.
Set the nozzle too high and the plastic never touches down, so nothing sticks. Set it too low and the nozzle scrapes the bed, leaving a gouged, see-through, flattened first layer. Both feel like failure, but they’re just one number out of tune. Before you change any settings, printing a calibration cube shows you exactly which number is off.
The fix is quick. Run your printer’s auto-level routine first. Then judge the Z-offset by how the first layer looks: the lines should be lightly squished together into a smooth, fused sheet, not standing as separate round threads, and not smeared flat and translucent. Adjust in small steps until it looks right. And re-level whenever you move the printer or swap build plates, because that nudges everything just enough to matter.
Mistake #4: Fiddling With Slicer Settings You Shouldn’t Touch
This one is counterintuitive: the fastest way to make your prints worse is to “optimize” your slicer settings.
Beginners love to dive into the slicer and change a dozen parameters at once, trying to chase perfection. What actually happens is they break a profile that the manufacturer already tuned carefully. Then the prints get worse and nobody knows why.
Do the opposite. Start from the maker or filament profile that’s built in, and only adjust five things: layer height, perimeters (walls), infill, supports, and temperature. A layer height of 0.2 mm, half of a standard 0.4 mm nozzle, is a reliable starting point for almost everything. And here’s a fact that saves a lot of wasted plastic: if you want a stronger part, adding more walls beats cranking up infill. Get the temperature right for your specific material, which our 3D printing filament guide lays out by type, and leave the rest of the profile alone until you know why you’re changing it.
Mistake #5: Printing With Wet or Bargain-Bin Filament
Filament looks like simple plastic string. It isn’t, and treating it that way causes a surprising number of “settings” problems that aren’t settings problems at all.
Two issues dominate. First, moisture: PLA, PETG, and especially TPU and nylon absorb water from the air. Wet filament gives you stringing, a faint popping or crackling sound while printing, a rough or blistered surface, and weak layers. Second, quality: the cheapest no-name spools often have inconsistent diameter that jams and under-extrudes.
The fix is boring but effective. Buy a couple of reputable brands and stick with them. Dry hygroscopic filament before printing, around 45-50°C, and store it with desiccant in a sealed box or bag once it’s dry. If you’re not sure what to buy, our roundup of the filament I actually trust is a safe starting point, and the filament picker tool helps you match material to project in a minute.
Mistake #6: Cranking Speed and Temperature Too High
Faster and hotter is not better. Pushing both is one of the most common ways beginners turn a working printer into a frustrating one.
Run the nozzle too hot and you get stringing and blobs. Too cold and your layers won’t bond, so the part splits along the lines. And when prints suddenly shift sideways mid-way up, almost everyone blames a loose belt or broken hardware.
Usually, it isn’t hardware. It’s speed. Before you take anything apart, drop your outer-wall and small-perimeter speed by 20-25% and print again. The shift often disappears, because a fast toolhead builds up momentum and vibration that throws off tall prints. For very tall, narrow models, the “slow down by height” feature, plus a gyroid infill that has no weak direction, will save prints that otherwise wobble apart near the top. Stay inside your filament’s recommended temperature range, and treat speed as the last thing you push, not the first.
Mistake #7: Giving Up (or Changing Everything) on the First Fail
The most damaging beginner mistake isn’t technical at all. It’s how you react when a print fails.
A failed print feels personal, so people do one of two things: they rage-quit and box the printer, or they panic and change six settings at once. The second is almost worse, because now you’ve learned nothing and you can’t tell which change helped or hurt.
Treat failure as data, not a verdict. When something goes wrong, change one variable, print a small test like a 3DBenchy, and note what happened. One spool of filament is cheap; the hours you waste guessing are not. If you hit a stubborn nozzle clog, try a cold pull: heat the nozzle, push some filament through, let it cool to around 70°C, then pull the filament back out and it drags the gunk with it. And if you’re truly stuck after a methodical attempt, that’s the moment to ask the community or support, with notes in hand.
Your 60-Second Pre-Print Checklist
Most failures are prevented before you ever hit print. Run this quick checklist and you’ll dodge the majority of the mistakes above.
- Model: Did you slice the latest version yourself, in the right orientation?
- Profile: Right printer and filament profile selected?
- Supports: Brim or supports on for tricky shapes? A brim is cheap insurance.
- Filament: Dry, and enough left on the spool to finish the job?
- Bed: Clean and free of fingerprints?
- Chamber: Nothing loose left inside the printer?
- First layer: Are you there to watch it go down?
Tape it near your printer for a week. After that, it becomes muscle memory.
Tools That Make These Fixes Easier
None of these are mandatory, but each one removes friction from the fixes above. They’re cheap, and they last. We rounded up the full accessory kit worth buying if you want the complete list.
- Isopropyl alcohol and a lint-free cloth for the bed
- A plastic scraper for clean part removal
- Nozzle cleaning needles and a brass brush for clogs
- A feeler gauge for dialing in your first layer
- A filament dryer for humid climates and hygroscopic materials
- A small digital scale to check how much filament is left
 2")
- GREAT VALUE: sharp quality tweezers and 10pcs of 0.40mm nozzle cleaning needles packed in one safe container!
- Anti-Static, Non-Magnetic CURVED PRECISION TWEEZERS; 3D printing tweezers great for nozzle maintenance and cleaning excess support material
- 10 pcs of 0.40mm diameter FLEXIBLE stainless steel needles; Ideal for gentle maintenance of your nozzles and hard to reach places like the feed gears
- HANDY, SAFE and STYLISH container; All of the items come in a neat plastic tube with a screw lid to keep them safely together
- Long-lasting kit for SEVERAL PURPOSES; Remove excess plastic and clear jams with high precision, also great for general maintenance of the heatsink…
 3")
- 【Upgraded PTC Solution】Creality Space PI SE heats up quickly and has a built-in fan that circulates the hot air through 360° inside the chamber…
- 【Improved Print Quality】3D printing filaments are hygroscopic, moisture can cause printing failure. After using filament dryer box, it can…
- 【Easy to Use】Creality filament storage box requires no assembly and can be used right out of the dry box. Display screen and knob make it easy to…
- 【Personalized Drying Time/Temperature Setting】You can set different drying temperatures and time to dry the filaments fully according to different…
- 【Wide Compatibility】Creality filament dryer compatible with most 1KG spool 3D Printer filament. It can perfectly fit filament diameters of…
 5")
- Digital kitchen scale with food-safe, BPA-free plastic components
- Stainless steel platform with wide LCD screen
- Weighs up to 11 pounds (2 grams minimum, up to about 5000 grams); displays results in pounds, ounces, grams, fluid ounces, and ml
- Tare button for measuring just the food, minus the container weight
- Battery operated; (2) AAA batteries included
Frequently Asked Questions
What are the most common 3D printing errors for beginners?
The most common beginner 3D printing mistakes are a dirty print bed, a wrong Z-offset, over-editing slicer settings, and using wet filament. Bed cleanliness alone causes most “won’t stick” failures. Fix those four and the majority of your prints will start succeeding.
Why does my print fail halfway through with PLA?
Mid-print failures usually come from one of four things: the model shifting layers because the speed is too high, a tall print wobbling loose, the filament running out, or a partial nozzle clog. Slow down your outer walls first, check you had enough filament, and inspect the nozzle.
Why won’t my first layer stick to the bed?
Almost always a dirty bed or a Z-offset that’s too high. Give the plate a wash with warm soapy water, wipe it with isopropyl alcohol, handle it by the edges, and lower the nozzle slightly so the first layer squishes into a fused sheet.
Do I really need to dry my filament?
For PLA in a dry climate, often not at first. For PETG, TPU, and nylon, yes. These absorb moisture quickly, which causes stringing, popping sounds, and weak prints. Drying at around 45-50°C and storing with desiccant solves it. We break down the exact drying temps and storage tricks separately.
My layers are shifting sideways. Is my printer broken?
Probably not. Layer shifts are usually a speed problem, not a hardware one. Try lowering your wall and perimeter speed by about a quarter and reprinting before you start tightening belts or replacing parts.
You’re Not Bad at This
So, after all seven, the real takeaway: you didn’t buy a broken printer, and you’re not failing at the hobby. You just walked into the same seven walls that every beginner hits, mine included.
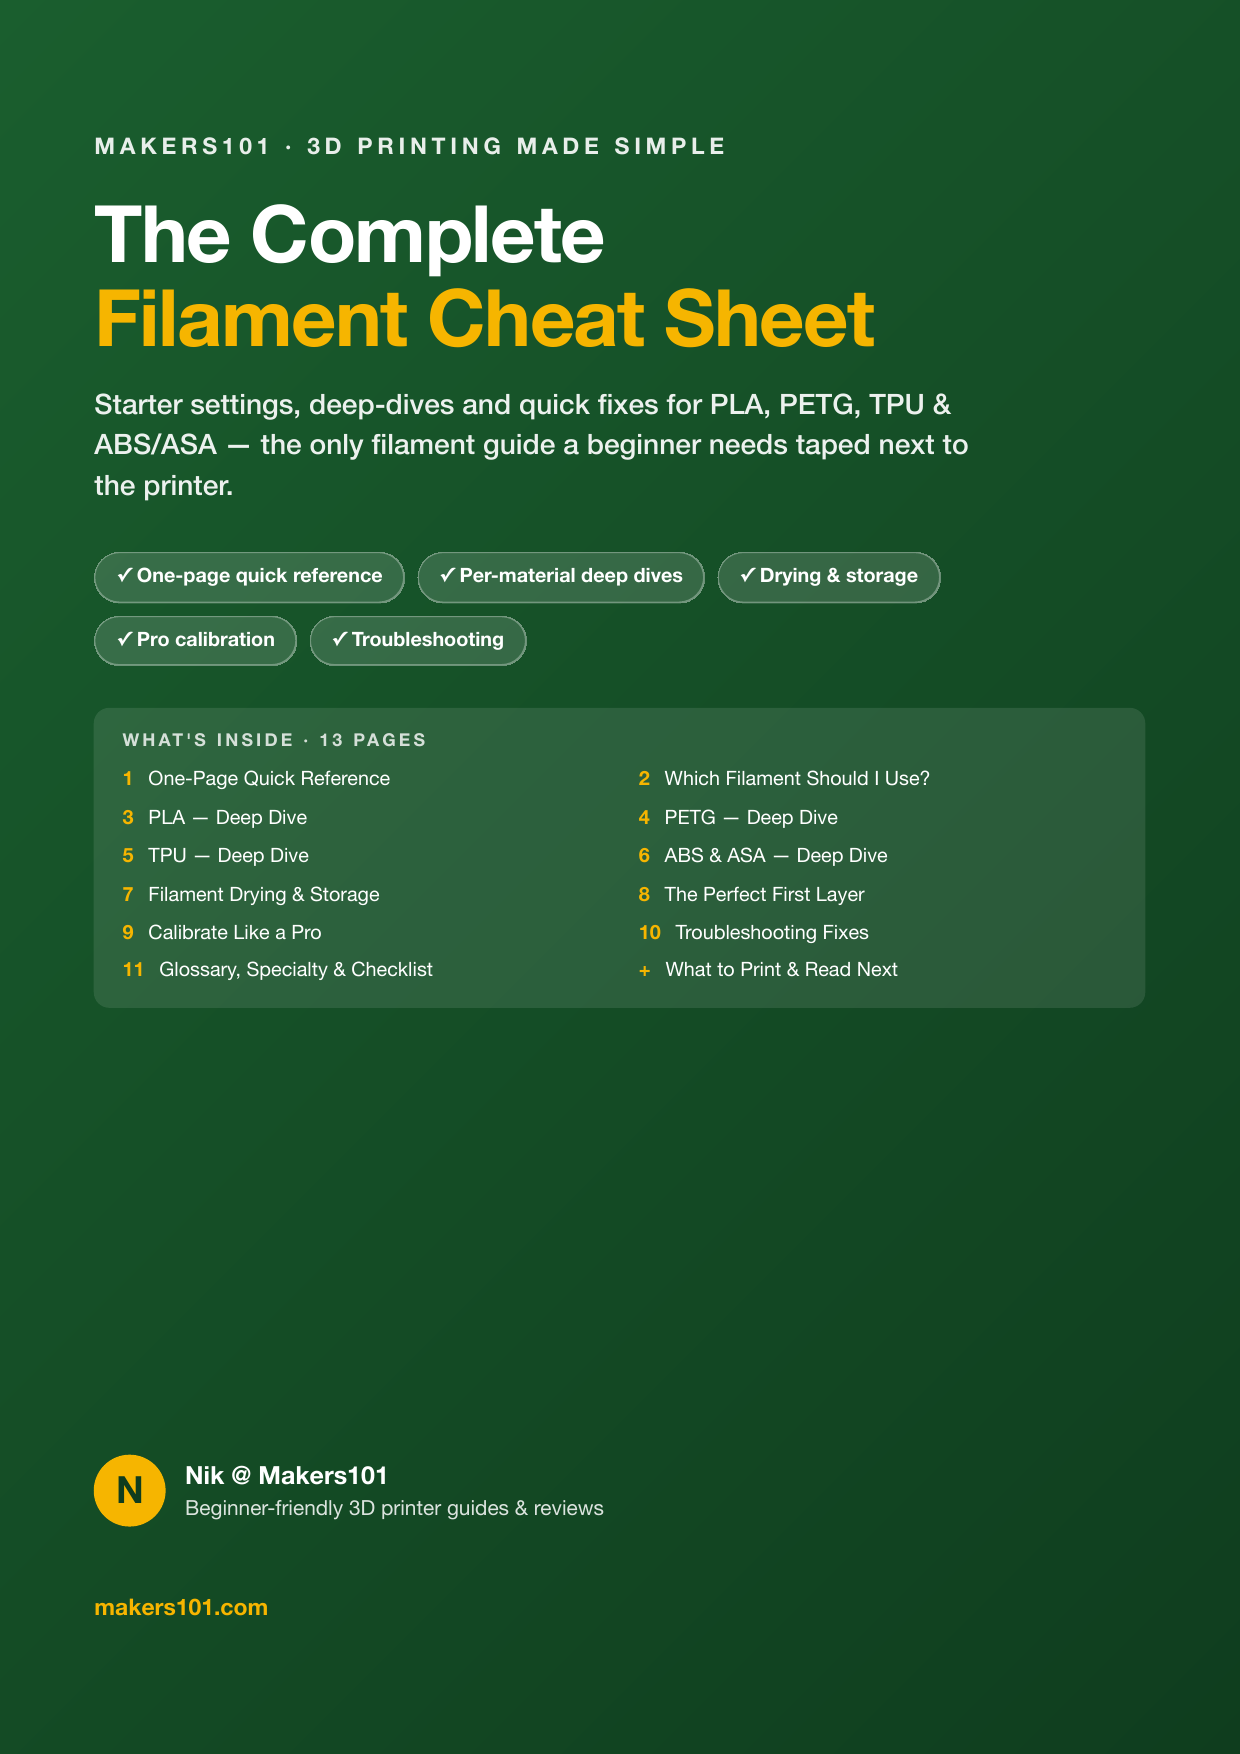
Fix the bed, respect the first layer, leave the profile mostly alone, and treat each fail as a clue. Do that and your success rate climbs fast. Once your prints come off clean, the next level up is finishing them properly. Bookmark this page, grab the free Filament Cheat Sheet so the temps and fixes are always one tap away, and go print the next one.
 7")
 8")
 9")

 12")
 13")