Heads up — some of the links below are affiliate links. If you buy through them, I earn a small commission (at no extra cost to you), which helps cover the gear I test. Thanks!
- Start with PETG and TPU.
- Move to nylon and PC if those still print rough.
- PLA is usually lower priority, while ABS and ASA sit in the middle.
- Don’t use a microwave.
- Don’t guess at temperature if the spool is PLA or if your enclosure is weak.
If your filament sounds wet, prints stringy, or starts popping in the nozzle, you don’t need to stop and buy a dryer first. If you’re searching for how to dry filament without a dryer, this guide shows the safest ways to do it with gear you already own.
Start with the method you already have. For most homes, the first practical bets are a heated bed around 60 to 70C, a printer’s built-in drying utility if it’s built in, or a temperature-stable air fryer.
The real trick isn’t just drying the spool once. You also need airtight storage and desiccant afterward, or the filament will simply drink moisture again.
Table of Contents
- What Wet Filament Actually Does to a Print
- If Your Filament Is Wet Tonight, Start Here
- How to Dry Filament Without a Dryer: 5 Methods Compared
- Method 1: Dry Filament on a Heated Bed
- Method 2: Use Your Printer’s Built-In Drying Mode
- Method 3: Air Fryer or Food Dehydrator
- Which Filaments Actually Need Drying First
- Keeping Filament Dry After the Drying Session
- Four Mistakes That Waste a Drying Session
- FAQ
What Wet Filament Actually Does to a Print
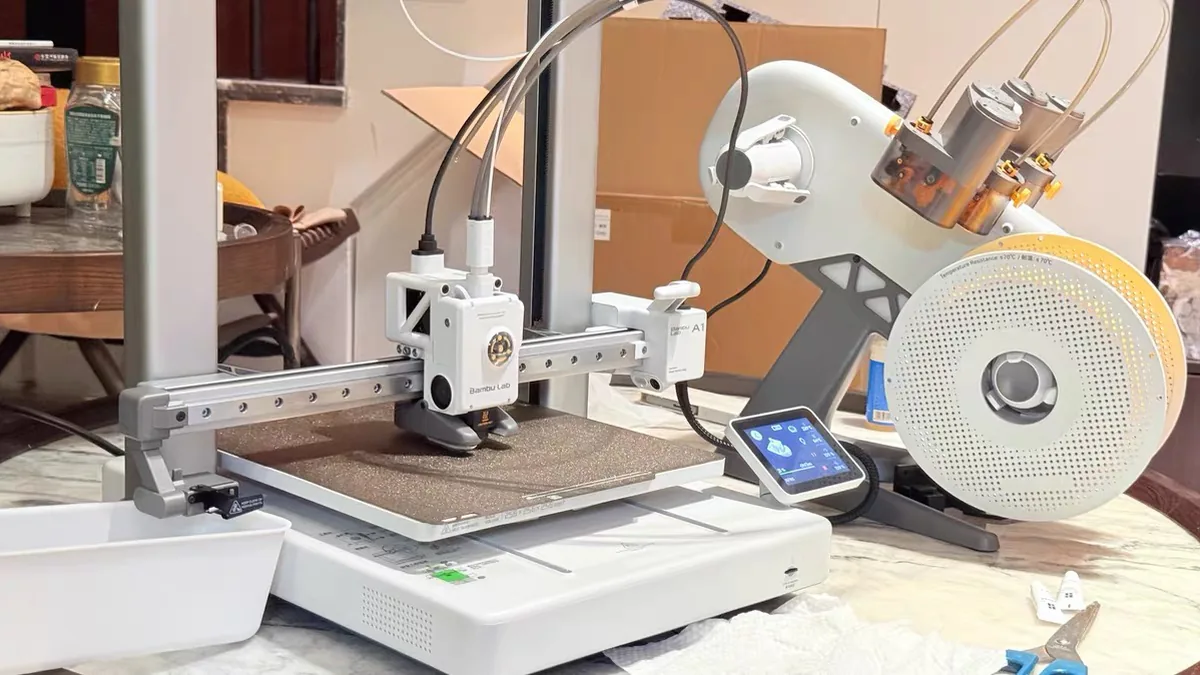
Wet filament isn’t subtle. It often starts with tiny pops, then stringing, then rough surfaces, weak layer bonding, or inconsistent extrusion. Once water gets inside the filament, the nozzle turns that moisture into steam and the print quality goes downhill fast.
That doesn’t mean every spool needs emergency treatment. One useful truth from testing is that PLA often holds up better than the internet makes it sound, while ABS and ASA are usually calmer than the panic posts suggest.
The practical question is simple. If the spool prints clean, stores well, and doesn’t hiss or bubble, you may not need heroic drying at all. If it’s already acting wet, fix the storage and dry it before the next important print.
If Your Filament Is Wet Tonight, Start Here
If I had to solve this tonight, I wouldn’t overthink it. I’d match the method to the gear already on the bench, then keep the temperature conservative enough to avoid melting the spool, the box, or the filament itself.
Here is the short version:
- If you have an enclosed printer, use its built-in drying mode first.
- If you only have a heated bed, build a simple hood and dry the spool in place.
- If you have an air fryer with a dehydrate mode, use that for a temperature-stable option.
- If none of those exist, seal the spool with desiccant and postpone the print.
This is also where the reality check matters. A cheap workaround is useful if it gets you printing. It isn’t useful if it warps the spool, makes the enclosure unsafe, or dries the filament unevenly.
How to Dry Filament Without a Dryer: 5 Methods Compared
| Method | Typical starting point | Best for | Main risk | Verdict |
|---|---|---|---|---|
| Heated bed + box | 60 to 70C | Most home setups | Weak box or enclosure | Best universal hack |
| Built-in printer drying mode | Printer default settings | Enclosed printers | Large chamber can be uneven | Most convenient |
| Air fryer / dehydrator | Low temp, measured carefully | Stable low-temp drying | Overheating PLA or food cross-use | Best if you own one |
| Oven | Low and closely watched | Last resort only | Temperature swings | Use with caution |
| Microwave | None | None | Material damage | Do not use |
The point of the table isn’t to rank every machine in the world. It’s to show the most realistic choices for a home user who wants a result, not a new hobby inside the hobby.
My default recommendation is the heated bed method if you already own a printer. It’s the cheapest path that still gives you real control over heat and airflow.
Method 1: Dry Filament on a Heated Bed

- 【Upgraded PTC Solution】Creality Space PI SE heats up quickly and has a built-in fan that circulates the hot air through 360° inside the chamber…
- 【Improved Print Quality】3D printing filaments are hygroscopic, moisture can cause printing failure. After using filament dryer box, it can…
- 【Easy to Use】Creality filament storage box requires no assembly and can be used right out of the dry box. Display screen and knob make it easy to…
- 【Personalized Drying Time/Temperature Setting】You can set different drying temperatures and time to dry the filaments fully according to different…
- 【Wide Compatibility】Creality filament dryer compatible with most 1KG spool 3D Printer filament. It can perfectly fit filament diameters of…
This is the method I’d teach first because almost every FDM printer already has the hardware. Set the bed to a moderate temperature, place the spool above it, and trap the warm air with a box or enclosure while still leaving enough airflow for moisture to escape.
The details matter:
- Use about 60C for PETG and similar general-purpose materials.
- Use about 70C only if the filament and the enclosure can safely tolerate it.
- Add a small fan if you can. Moving air dries more evenly than trapped heat alone.
- Keep the enclosure material heat-safe. Weak cardboard or thin PLA parts can soften, sag, or fail.
The DIY hood can be as simple as the filament box itself, cut and taped into a partial cover. That low-cost approach worked in a real PETG test at 60C for about 6 hours, and the result was visibly less stringing.
This method is also where you need to be careful with PLA. PLA can soften or warp if the temperature climbs too high, so don’t treat “hotter” as “better.” If you are not sure how far your spool can be pushed, our 3D printing filament guide walks through how PLA, PETG, ABS, and ASA each behave as the heat goes up. Moderate and controlled usually beats aggressive and risky.
Method 2: Use Your Printer’s Built-In Drying Mode
If your printer has a built-in drying utility, start there. A Bambu Lab X1C-style workflow is the cleanest version of this idea: use the printer menu, set the filament type, and let the machine handle the heat cycle.
The reason this works is obvious. You already own the heater, the chamber, and the controls. For a quick recovery session, that’s far easier than building a separate setup from scratch.
There’s one catch. A printer chamber is larger than a dedicated dryer, so heat may not be as even around the spool. That makes this a great convenience option and a good emergency option, but not always the most efficient one.
If you only need a spool dry enough to finish a project, this is often the fastest path. If you care about repeatable drying for sensitive materials, I’d still favor a tighter chamber or a better-controlled drying environment.
Method 3: Air Fryer or Food Dehydrator
An air fryer that has dehydrate mode is a stronger workaround than most people expect. In one test, a 40C setpoint stabilized at 44.4C, which is close enough to be useful for low-temperature drying.
That matters because the machine can actually hit the target temperature for hotter engineering materials. I care about the maximum heat, not the marketing label.
The warning is equally important. You must know your actual temperature, not the number on the dial. If you’re drying PLA, don’t assume every machine that says 40C is actually safe at 40C. When you need a target number for a specific material, I keep a filament drying reference on our tools site.
After drying, storage matters just as much as the drying session itself. One practical test used a Ziploc bag with desiccant and held 15% humidity for a week, which is good enough for short-term storage if you don’t have a rigid dry box yet.
Which Filaments Actually Need Drying First
This is the part most guides blur. The honest answer is that not all filaments need the same urgency. PLA is usually more forgiving, while the harder-to-dry group is most likely to punish poor storage.
| Material group | Dry first? | Why |
|---|---|---|
| PETG / TPU | Yes | They usually show moisture problems first. |
| Nylon / PC | Yes | They need stronger drying control. |
| PLA | Sometimes | Dry it when storage or print quality starts slipping. |
| ABS / ASA | Maybe | They are usually more forgiving than the panic posts suggest. |
If you want the simplest decision rule, use this:
- Dry the harder-to-dry group first: PETG, TPU, nylon, and PC.
- Dry PLA only if it has been stored badly, prints rough, or starts hissing.
- Treat ABS and ASA as situational, not automatic.
- If a brand or formulation behaves strangely, trust the spool, not the internet stereotype.
The other detail that matters is orientation. Moisture mostly damages layer adhesion, which means vertical strength and print consistency usually suffer first. That’s why some filaments look acceptable in a casual test and still fail on a real part.
Keeping Filament Dry After the Drying Session

- Wellness Indicator: This humidity meter with humidity level icon indicates air conditions – DRY/COMFORT/WET, allowing this humidity sensor to ensure…
- High Accuracy & Quick Refresh Rate: This inside thermometer features a high accuracy of +/-2 to 3%RH and +/-1°F, making it ideal for measuring…
- High & Low Records: This hygrometer digital thermometer displays high/low temperature and humidity levels to allow you to make proper comparisons…
- Healthier Home & Environment: This thermometer hygrometer with temperature and humidity monitor ensures proper indoor humidity that achieves important…
- Practical Design: This indoor room thermometer features a tabletop stand and a magnetic back, place the temperature monitor on your counter or fridge…
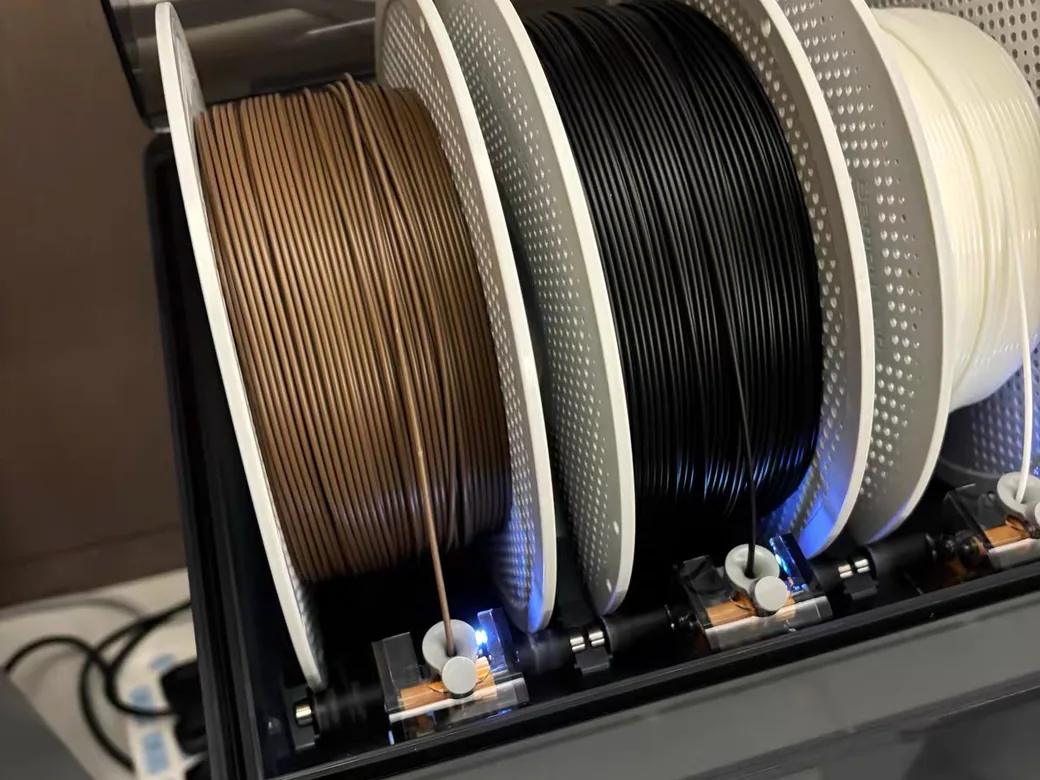
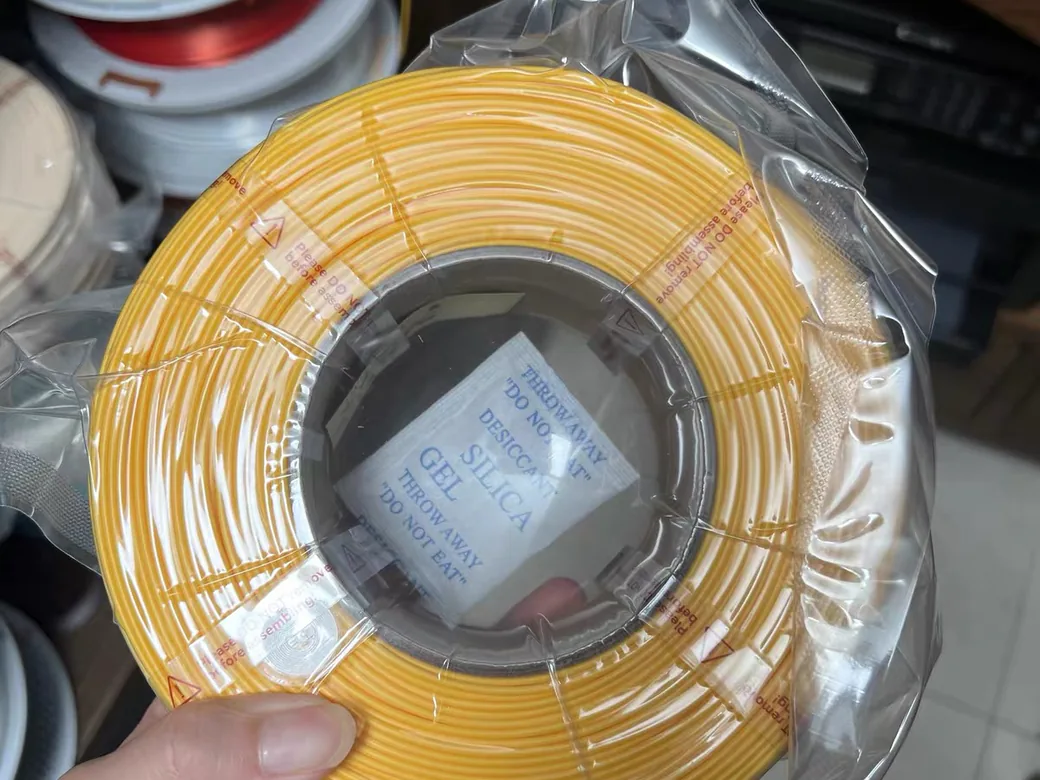
Drying a spool once is temporary. Storage is the long game. Here’s what that long game looks like past a dozen spools.
I learned that the hard way in an earlier storage note: “Ever since I started properly storing my filaments with a dehumidifier, I’ve never had moisture problems.” That is why I treat storage as part of the fix, not an afterthought.
The cheapest storage stack is simple:
- An airtight bag or bin that actually seals
- Fresh desiccant, not the packet that has been open for a year
- Minimal air exchange, so open it as little as you can
- A storage spot away from big humidity swings
If you’re using a bag, vacuum sealing helps. If you’re using a box, make sure it actually seals. If you’re using a spool center insert for desiccant, that’s better than letting loose packets bounce around the bottom of the container.
I’d rather see a spool stored well than “over-dried” for no reason. Good storage prevents a second drying session, and it also protects you from the most common mistake people make after they solve the immediate problem. If you are still building the basic habits around buying, loading, and storing spools, our beginner’s guide to filament covers the rest of that routine.
Four Mistakes That Waste a Drying Session
The first mistake is overheating PLA. It’s tempting to turn the heat up and walk away, but that’s how you ruin a spool or a box.
The second mistake is trusting weak materials around a hot bed. A cardboard hood can work, but only if the setup is stable, ventilated, and watched closely. A flimsy printed enclosure isn’t the same thing as a heat-rated box.
The third mistake is stopping after the drying cycle. If the spool goes right back into open air, you’re just scheduling the next problem.
The fourth mistake is thinking drying alone fixes print tuning. One dry PETG test still needed retraction adjustment before the stringing looked acceptable. Drying helps. It doesn’t replace calibration, and it won’t erase layer lines either, which is what post-processing is for.
FAQ
How do I dry filament naturally?
You can dry filament naturally by keeping it warm, dry, and moving air across the spool. A heated bed under a box or enclosure is the easiest example because it uses equipment you already own.
Can you dry filament without heat?
Not really, at least not in the sense of removing moisture from the filament. You can keep it dry with desiccant and airtight storage, but if the spool is already wet, you usually need heat to push the moisture out.
How long does filament take to dry without a dryer?
It depends on material, spool size, and how wet the filament is. A quick PETG test used about 6 hours at 60C, while a Bambu-style built-in cycle defaulted to 12 hours for PLA.
Is it safe to dry filament in an oven?
Only with caution. Oven temperatures can swing, and that’s risky for PLA and for some spool materials. If you use an oven, watch it closely and don’t treat it like a set-and-forget appliance.
How do I know when my filament is dry enough?
You’re looking for the symptoms to stop. Less popping, less stringing, smoother extrusion, and better surface finish are the practical signs. For sensitive materials, the real proof is whether the next print behaves normally.