
Heads up — some of the links below are affiliate links. If you buy through them, I earn a small commission (at no extra cost to you), which helps cover the gear I test. Thanks!
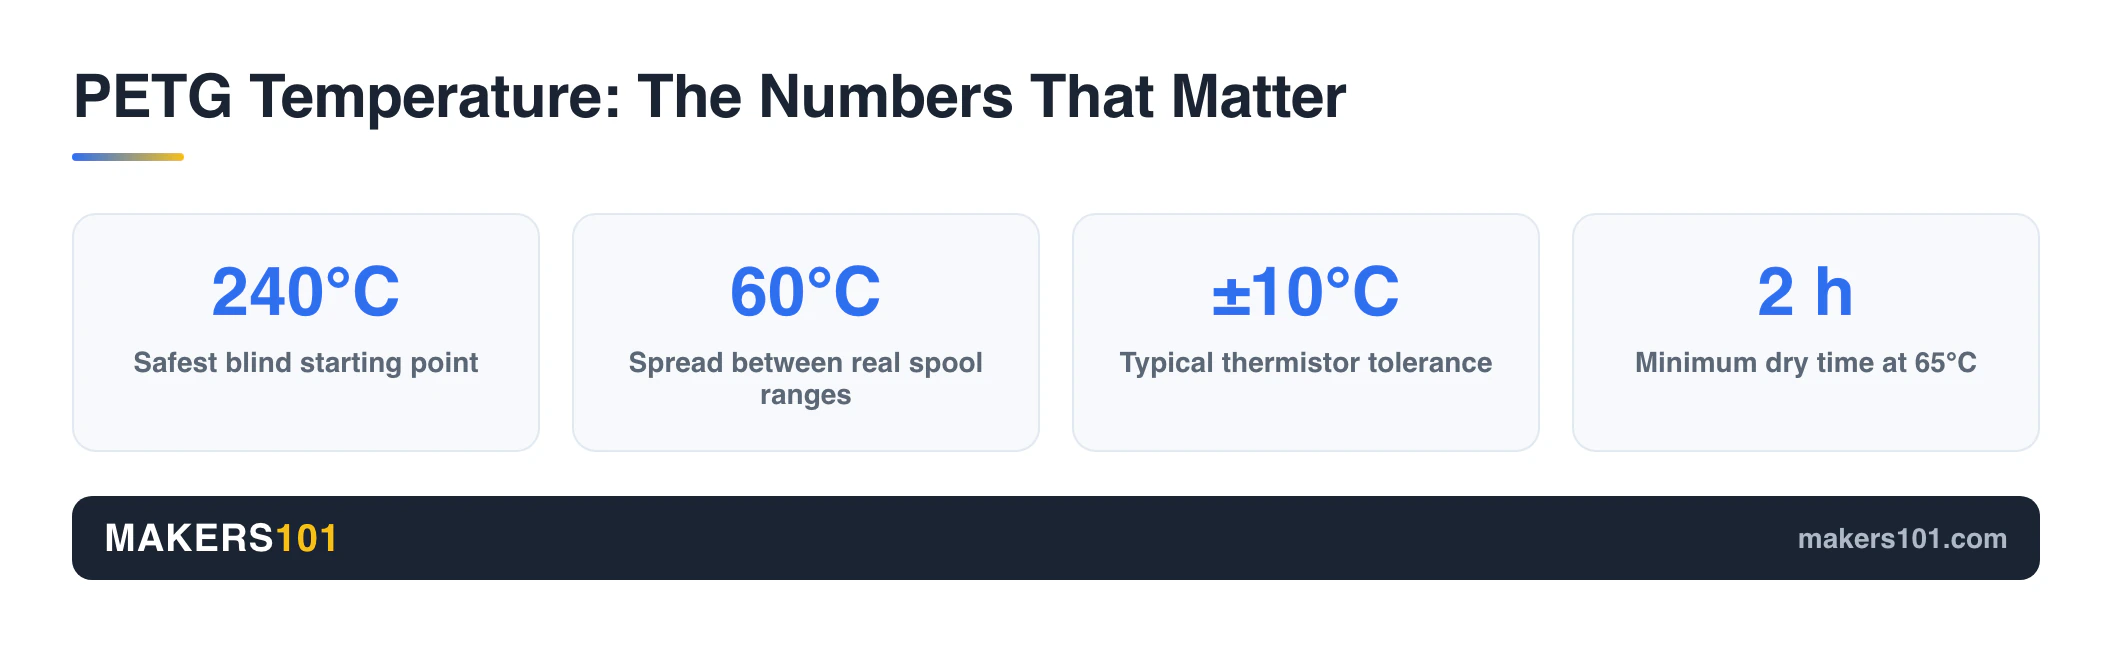
- Start at 240°C nozzle and 80°C bed if you have nothing else to go on. Then tune from there.
- There is no single correct number. The ranges printed on real PETG spools span 60°C.
- Your best looking temperature and your strongest temperature are not the same temperature.
- Stringing is usually moisture. Drooping overhangs are usually heat. They are different problems.
- When every band on the tower looks equally wrong, stop tuning temperature and check cooling.
For most PETG on most printers, 230 to 250°C at the nozzle and 70 to 90°C on the bed will print. 240/80 is the safest blind starting point.
But the correct number is spool specific. Check the label on your roll first, then run a temperature tower. Manufacturer ranges vary far more than most guides admit.
Look up the right PETG print temp and you’ll get six different answers from six different tabs. One says 230. The next says 260. A user on r/3Dprinting put it better than any guide has: “Online I can’t find a precise number.”
Those guides aren’t lying to you. The question genuinely doesn’t have one answer, and almost nobody explains why.
So this article does two things. It gives you a number you can use in the next five minutes. Then it shows you how to find the number that’s actually right for your spool on your machine, and how to tell when temperature was never the problem.
Table of Contents
- The Short Answer: Start Here, Then Tune
- Why Every Guide Gives You a Different PETG Print Temp
- Pretty or Strong? They’re Not the Same Temperature
- Is 270°C Too Hot? Is 230°C Too Low?
- Run a Temperature Tower (30 Minutes, Once Per Spool)
- Symptom, Then What to Actually Change
- When Temperature Isn’t the Problem
- The Settings That Move With Temperature
- PETG Print Temp vs PETG Heat Resistance
- Frequently Asked Questions
The Short Answer: Start Here, Then Tune
If you want to print something today, use this. It works on the large majority of PETG.
| Setting | Starting point | Range you’ll see |
|---|---|---|
| Nozzle | 240°C | 205 to 265°C (spool dependent) |
| Bed | 80°C | 70 to 90°C by surface |
| Part cooling fan | 40% | 30 to 50% |
| Retraction (direct drive) | 1.0 mm at 40 mm/s | 0.8 to 1.2 mm |
| Retraction (Bowden) | 4 mm | 3 to 7 mm |
| Print speed | 50 mm/s | 30 to 60 mm/s |
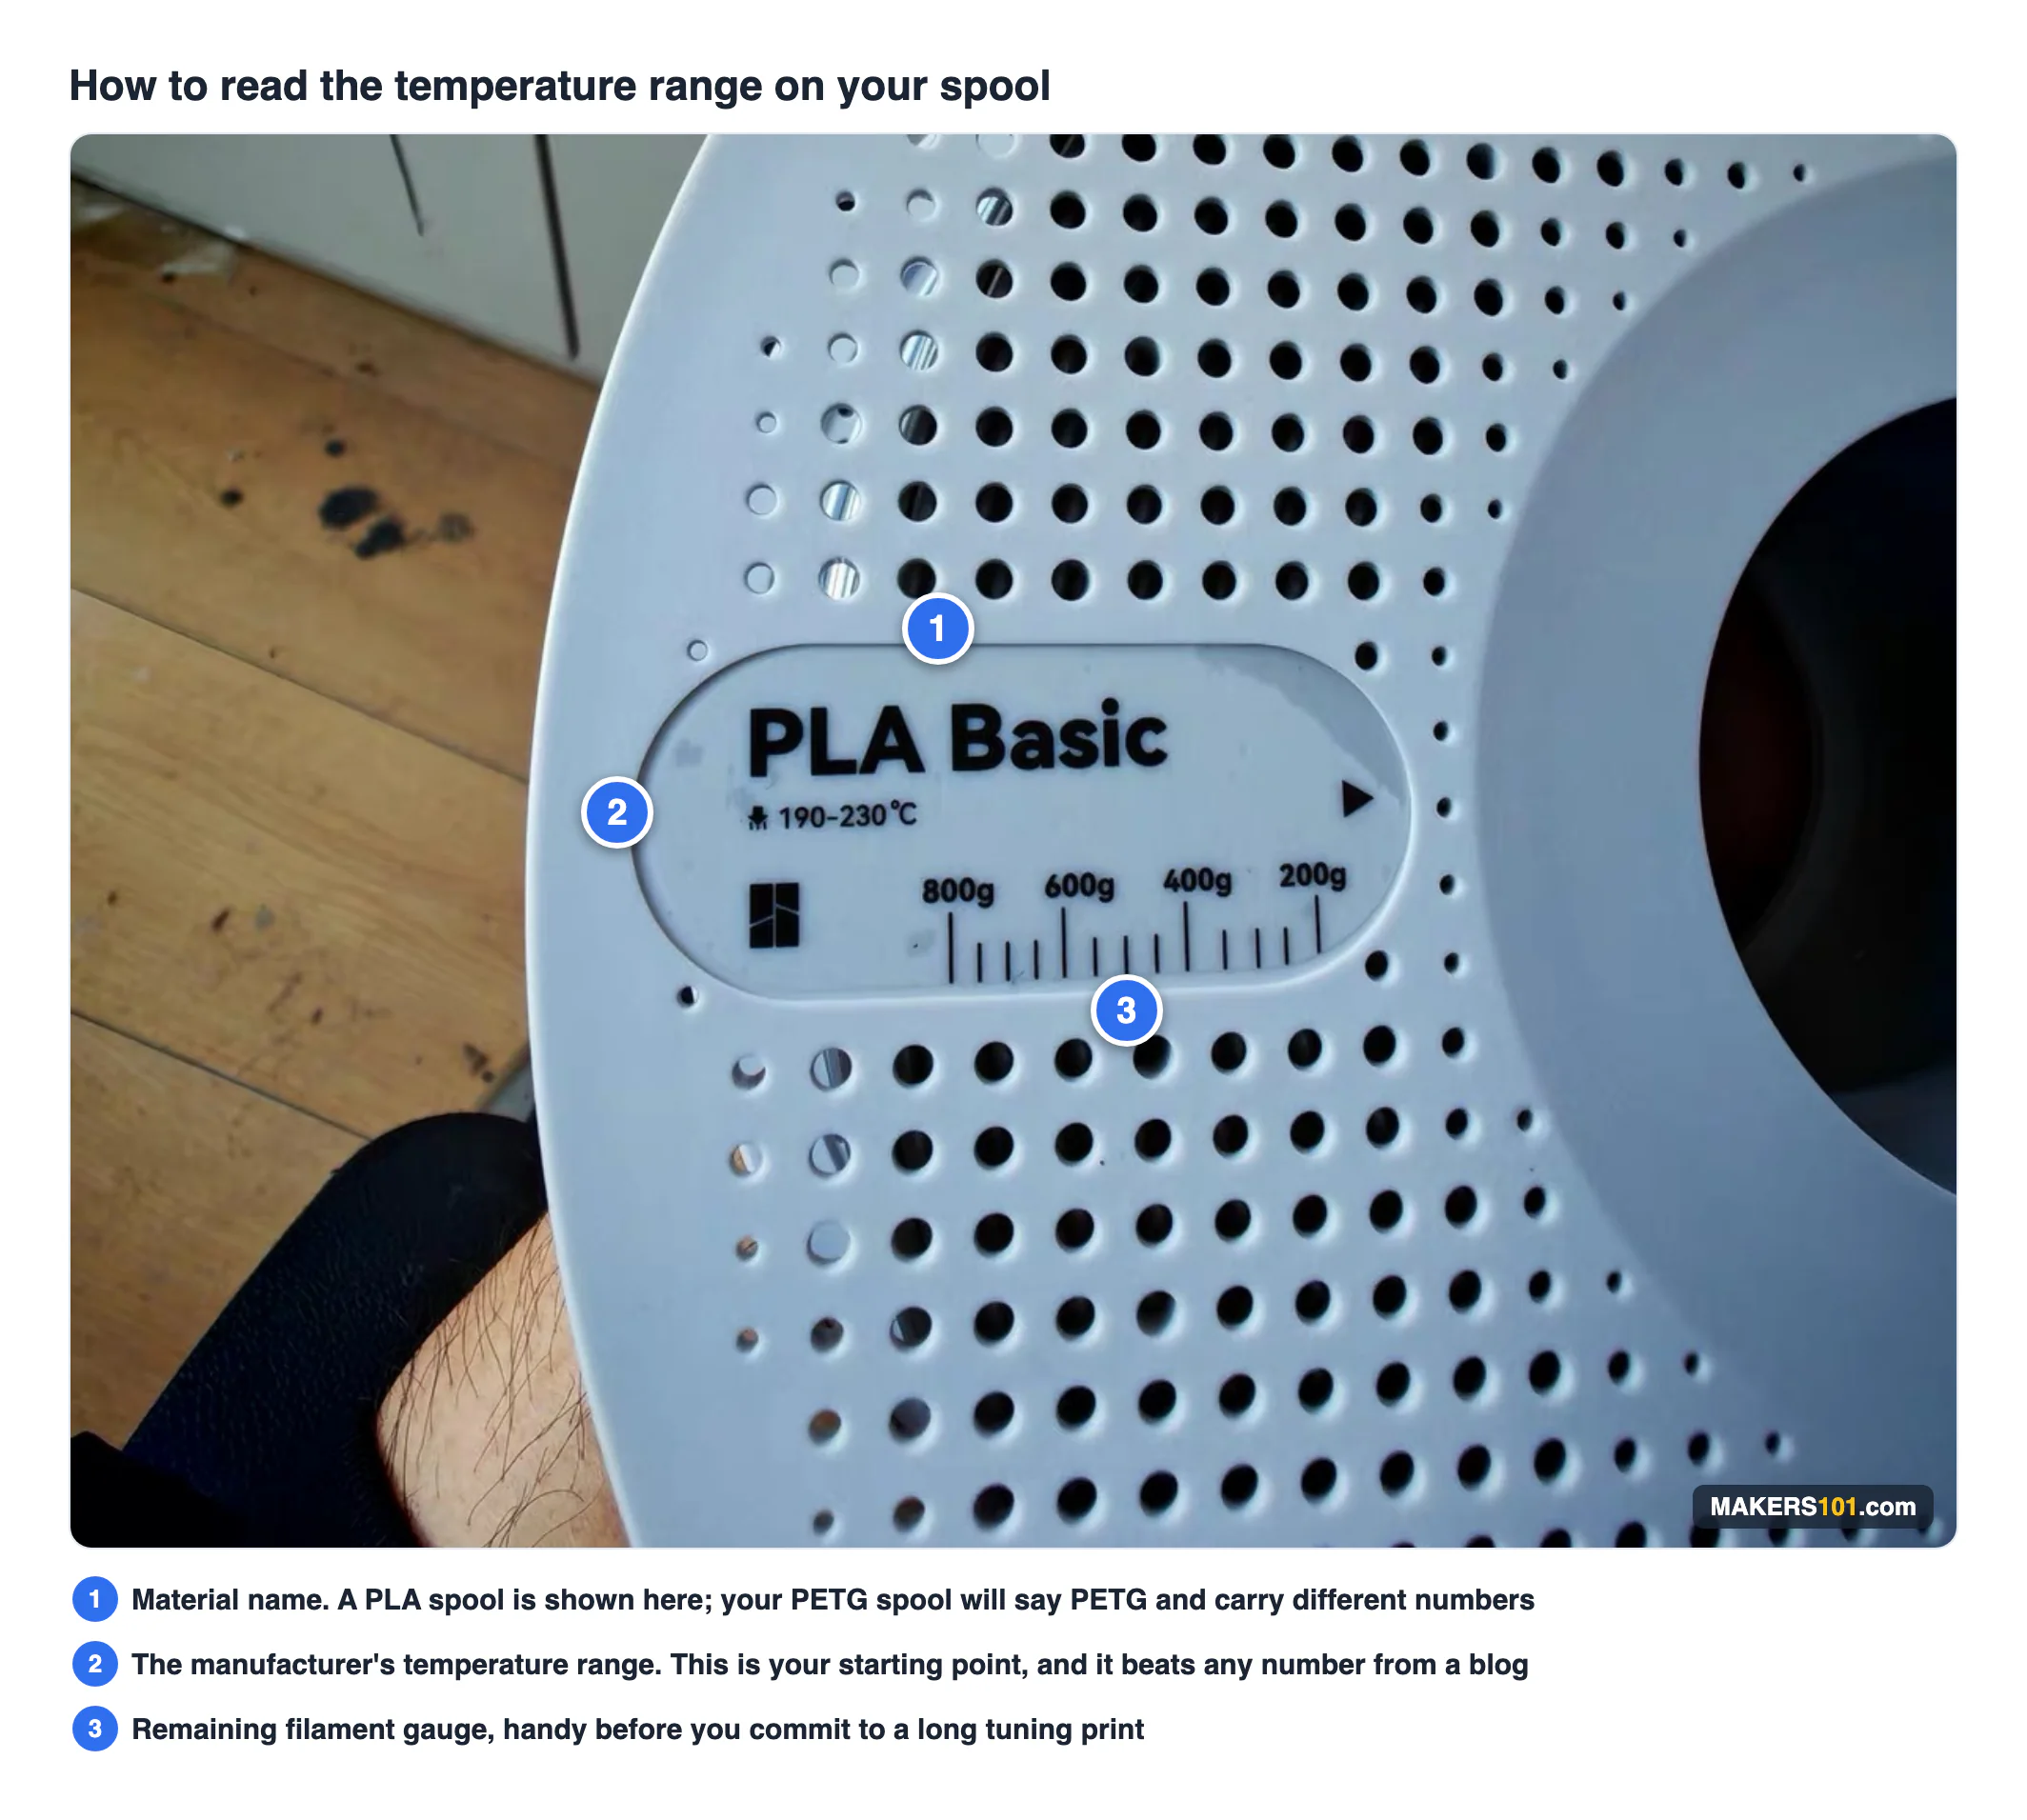
One rule beats everything else in this table. Read the label on your spool, and trust it over any number you find online. That includes the numbers in this article.
Direct drive and Bowden setups need very different retraction, which is why a single “PETG retraction setting” copied from a forum often makes stringing worse instead of better.
Why Every Guide Gives You a Different PETG Print Temp
Four things are moving at once. Once you see them, the contradictory advice starts making sense.
Manufacturers don’t agree with each other
The spread between real spools is enormous, and each of these numbers comes from a different kind of source.
| Nozzle range | Spool | Where the number comes from |
|---|---|---|
| 255 to 265°C | Bambu Lab PETG HF | Manufacturer spec. Now discontinued, still in circulation |
| 240 to 260°C, or 260 to 290°C | Tinmorry PETG GF | The brand’s spool label and its own website, disagreeing |
| 230 to 250°C | Generic PETG | The range most guides and slicer presets quote |
| 205 to 225°C | An additive modified spool | Printed on the roll one tester was calibrating |
Read that table again. Everything in it is labelled “PETG,” and the ends are 60°C apart. A setting that prints cleanly at one end will fail badly at the other.
That last row is not a typo. A Reddit user calibrating Tinmorry PETG GF found the spool label and the manufacturer’s own website disagreeing by 30°C. If the people who made the filament can’t settle on a number, a blog post certainly can’t do it for you.
Brand changes more than any setting you’ll touch this weekend. If you’re still choosing, here’s which PETG brand you’re running and how the common ones behave.
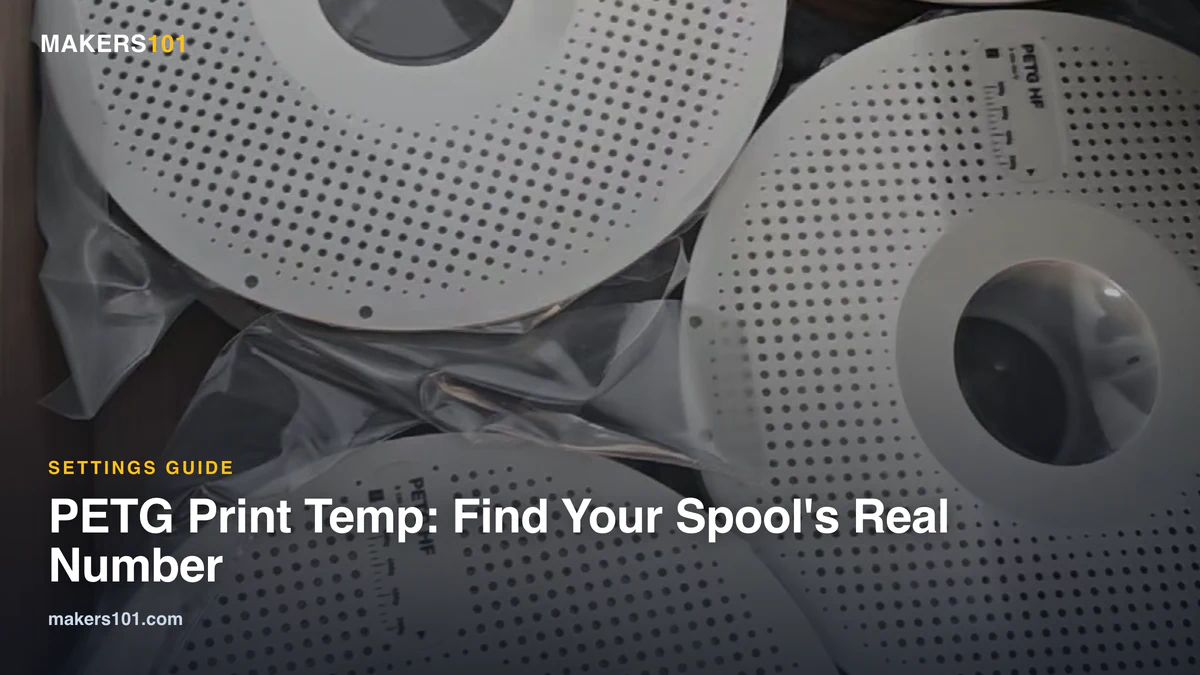
One more thing, and this one is mine rather than somebody else’s. The spools on the cover of this guide are in my own drawer: Bambu PETG HF, still sealed in their bags with the desiccant packs. I bought them before Bambu quietly moved the line over to PETG Basic, so there’s now a stack of filament in that drawer you can’t order any more.
I run them at 260°C. That’s dead centre of Bambu’s own 255 to 265°C window, and a full 20°C above the 240 that half the internet will hand you for PETG.
Same three letters on the label. Completely different number. That’s this whole article, in one drawer.
Your printer probably lies about its own temperature
Set 240°C on two different machines and you are not necessarily running the same temperature.
The thermistor reading your hotend has a tolerance, and on budget printers plus or minus 10°C is common. Your 240 might be someone else’s 230, or their 250. Nothing in the slicer tells you this.
This is the real reason copied settings disappoint. Any specific number from any guide is a starting point, never an answer.
“PETG” isn’t one material
The G stands for glycol. That glycol modification is what stops PET from crystallising the way it otherwise would, and it’s why PETG prints at all. How much of it a manufacturer uses, and what else they blend in, moves the working temperature.
Newer high flow formulas behave differently from the PETG people printed five years ago. In one head to head test against PLA, they matched PLA’s speed and bridged nearly as cleanly.
Reliability varied more by brand than by any setting. In that same test, one brand finished every print while another brand’s high flow spool kept detaching during the first layer. Same material category. Very different experience.
An enclosure changes what “240°C” means
Ambient heat stacks on top of your nozzle setting. This catches people moving from an open printer to an enclosed one.
The YouTuber donmarkon, printing PETG in an enclosed machine, found 250°C clearly too hot, with heavy stringing and damaged overhangs. On an open frame, that same 250 might have been fine.
Chamber heat also climbs as you print. A first timer on a P2S measured 42°C in the chamber 90 minutes into an 8 hour job. That’s normal, and it’s why a print that starts clean can degrade near the top.
Practical version: hot chamber, subtract 5 to 10°C from whatever the label says. Open frame with good airflow, you can use the full range.
Pretty or Strong? They’re Not the Same Temperature
Here’s what most guides won’t tell you. Two careful testers ran temperature experiments on PETG and reached opposite conclusions, and both of them were right.
One tester optimized for looks and landed low
Running a temperature tower and judging by appearance, David’s IT Garage found 210°C produced the cleanest result on his spool. At 250°C, that same filament strung badly. His spool was an additive modified type rated 205 to 225°C, which is a large part of why his number sits so low.
One tester optimized for strength and landed high
Thomas Sanladerer ran bend tests instead of eyeballing towers. On PETG, 250°C gave the best layer adhesion, and dropping to 230°C reduced it significantly. Hotter plastic fuses to the layer below more completely.
Worth noting he was honest about the limits of his own data. His PETG impact results were noisy with no clear trend, so this holds for layer bonding, not for every mechanical property.
So which do you pick?
These were two testers, two different spools, two different goals. That’s not a materials science law, but the direction it points is genuinely useful:
- Display pieces, models, anything where stringing shows: bias low within your spool’s range.
- Brackets, load bearing parts, anything that gets flexed: bias high.
- Not sure: start at 240 and let symptoms guide you.
It also explains a frustration almost everyone has with temperature towers. You look at the bands and no single one wins. That’s expected.
A tower is judged on three things at once: overhang quality, stringing, and wall finish. They rarely peak together.
Where these numbers come from: every test result in this guide is credited to the person who ran it, and the spool ranges are read off labels and manufacturer pages. Where two testers disagree, you get both numbers instead of an average that hides the disagreement.
Is 270°C Too Hot? Is 230°C Too Low?
Both questions come up constantly, and both have real answers.
The upper limit is chemical, not just cosmetic
Push PETG too hot and it hydrolyzes. The polymer chains break down and the plastic turns brittle.
That’s the trap in “hotter bonds better.” Layer adhesion keeps improving for a while, but the material is degrading underneath that improvement. A part can have excellent layer bonding and still shatter.
So: 270°C is too hot for most conventional PETG. High flow spools sit higher by design, with Bambu’s PETG HF rated 255 to 265°C. The community rule that PETG degrades past 260 matches the chemistry reasonably well.
The lower limit shows up as weak parts, not ugly ones
230°C measurably reduced layer adhesion in bend testing. The danger is that cold failures look fine. The part comes off the plate clean, then snaps under load.
There’s a counterintuitive failure down here too. Overhangs droop when you’re too cold, not only when you’re too hot, because the plastic isn’t flowing well enough to bridge.
So: 230°C is too low for most PETG. The exception is the low temp formulas mentioned earlier, where it sits mid range.
Your hotend may cap you before chemistry does
A PTFE lined hotend tops out around 240°C. Push past that and you start cooking the liner. This is a health issue, not just a maintenance one: PTFE begins degrading around 250°C and can release fumes you don’t want to be breathing. All metal hotends handle 260°C without complaint.
This matters for the strength argument above. If your printer has a PTFE lined hotend, “250°C bonds better” is not available to you. Don’t chase it. Print at 240, add a wall or two, and move on.
An all metal hotend plus a silicone sock is the standard upgrade if you print PETG often.
Run a Temperature Tower (30 Minutes, Once Per Spool)
A tower prints the same shape at descending temperatures so you can compare bands directly. Orca Slicer and Bambu Studio both generate one for you. Once the temperature range is close, slicer choice can make tuning easier. This slicer comparison shows where Orca, Cura, Bambu Studio, and PrusaSlicer fit.
What you’ll need
Your slicer, the spool you want to dial in, and ideally a dryer. Wet filament makes you tune the wrong variable, so drying first is not optional on any roll that’s been sitting out.

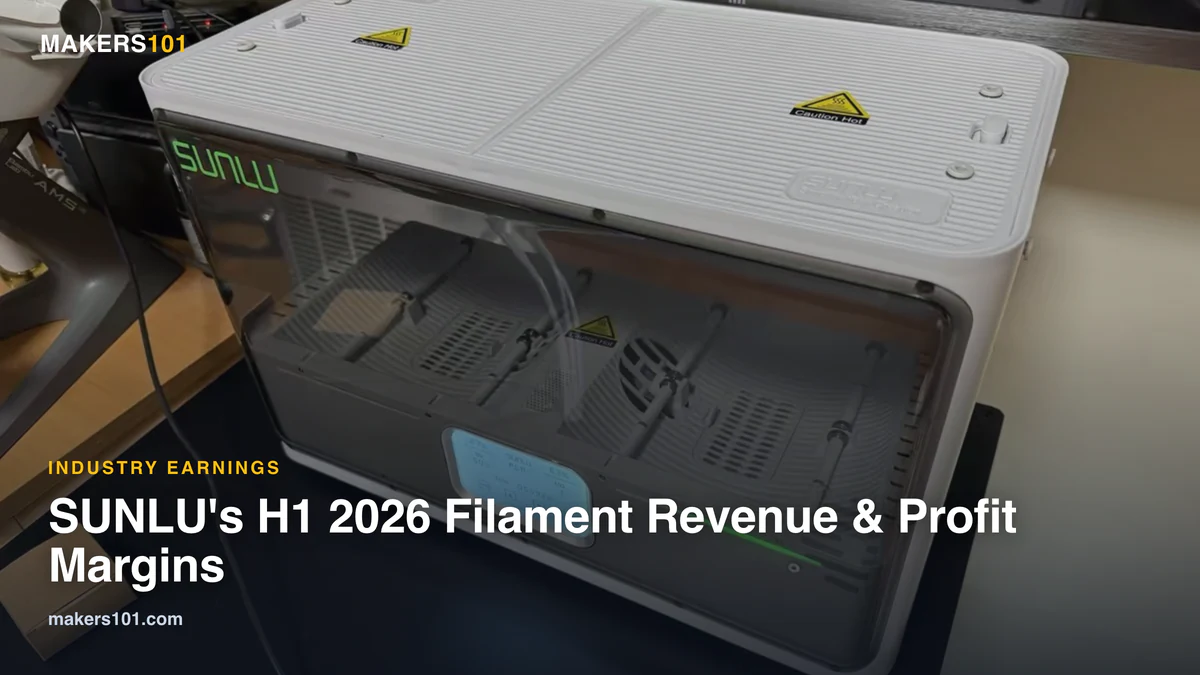
- ①【Large Space for Endless Printing】Experience uninterrupted 3D printing with SUNLU New S4 Filadryer– the first filament dryer box that…
- ②【Updraded Lightning-Fast Heating】Get to heating quicker with the S4 filament dry box’s impressive 350W PTC heater. In just 30 minutes, it heats…
- ③【Triple Security for Worry-free Printing】Rest easy knowing the S4 filament storage box prioritizes your safety. Its triple-layer security…
- ④【Triple Fans for Uniform Drying】SUNLU New generation S4 filament dehydratorr equipped with three build-in fans – two circulating fans on the…
- ⑤【Smart Auto Humidity Control】3D printing users can adjust the internal humidity by mode 2(humidity range 30%~50%). The S4 dryer will auto start…
The steps
1. Dry the spool first. Otherwise you’re measuring moisture, not temperature. 2. Set your range around the label, roughly 15 to 20°C either side. 3. Generate and print it. In Orca Slicer, open the Calibration menu, choose Temperature, pick your filament type, and set your start and end values. The slicer builds a single model with one zone per temperature. 4. Read it properly, which is the step most tutorials skip.
How to actually read the result
Judge three things on every band, and accept a compromise:
- Overhang quality. Droop means too hot, or sometimes too cold.
- Stringing and wisps. Usually moisture, but heat contributes.
- Wall finish and detail sharpness. Embossed numbers should stay legible.
Pick the band that balances all three, not the one that wins a single category.
Two extras. Setting your first layer 5°C above your chosen temperature helps bed adhesion without touching the rest of the print. And calibration pays for itself: one tester’s safe volumetric flow went from a default 12 mm³/s to 17 mm³/s, a 40% increase, with prints finishing 40% faster.
The same tower method for PLA works identically on your other spools.
Symptom, Then What to Actually Change
Most temperature advice fails because people change the wrong variable. Match your symptom first.
| What you see | Most likely cause | Change this first |
|---|---|---|
| Stringing and wisps | Moisture, not heat | Dry the spool 6 to 12 hours |
| Drooping overhangs | Nozzle too hot | Drop 10°C |
| Overhangs droop and you’re already low | Too cold to flow | Raise 5 to 10°C |
| Looks fine, snaps easily | Too cold to bond | Raise toward 250 |
| Brittle, shatters | Too hot, degradation | Drop 10°C |
| Layer separation, weak Z | Fan too high | Fan to 30 to 50% |
| Blobs on small features | Layer time too short | Minimum layer time, not temp |
| Won’t come off the plate | Over adhesion | Glue stick as a release layer |
| First layer lifts, settings correct | Machine or bed issue | Not a temperature problem |
One line is worth memorizing: stringing is a moisture problem, drooping is a heat problem.
That isn’t a guess. donmarkon walked the variables apart on camera.
Increasing retraction from 0.8 to 1.0 mm improved stringing but did nothing for his overhangs. Dropping from 250 to 240°C fixed the overhangs completely and left the stringing exactly where it was. Only drying the filament, about 12 hours in total, cleared the stringing.
When Temperature Isn’t the Problem
If a full temperature tower gives you no clearly better band, temperature is not your variable. Every hour you spend nudging it after that is wasted.
One maker fighting blobs on an Adventurer 4 ran 50 to 60 test prints. He swept nozzle temperature 215 to 260°C, extrusion ratio 85 to 105%, bed 70 to 90°C, speed 20 to 60 mm/s, retraction 2 to 12 mm, plus retraction speed, infill, perimeter overlap and Z hop. None of it removed the blobbing.
The fix was a setting most people never touch. He enabled minimum layer time at 15 seconds with speed cut to 20%, and the next tower came out clean. Small features simply weren’t getting time to cool before the next layer landed.
He didn’t dry anything, and he was upfront about it: his oven wouldn’t go below 76°C. What he did instead was print eSUN, Polymaker, Duramic, Overture and Hatchbox and get identical blobbing from all five. That’s inference rather than proof, but five brands failing the same way points away from moisture.
Worth flagging one thing he changed at the same time. He also moved from Flashprint to Simplify3D, which brought other defaults with it, so minimum layer time may not deserve all the credit.
Reddit is full of this. A heavily upvoted post on r/FixMyPrint, at 340 and counting, is titled “PETG temp tower, nothing looks good,” from someone who had already run a 12 hour dry cycle at 65°C and applied flow calibration. Every band still looked wrong.
The rule that follows: if no band on your tower is clearly better than the others, stop adjusting temperature. Look at cooling, layer time, your slicer’s feature set, and the machine itself.
The Settings That Move With Temperature
Four settings move with temperature: bed, cooling, speed and drying. Cooling is the one that matters most, because it’s the single biggest difference between PETG and PLA.
Bed temperature, set by surface
70 to 80°C covers most cases. On textured PEI you can run 75 to 90°C.
One refinement worth copying: run the first layer hotter than the rest. 85°C for layer one, then drop to 70°C, gets you adhesion when you need it and less elephant’s foot afterwards.
Avoid glass. PETG bonds chemically to glass plates and can take chunks out of them on removal.
A glue stick is the standard fix, and its job here is the opposite of what beginners assume. On PETG it works as a release layer, not an adhesive, keeping prints from welding themselves to the plate.
Cooling, where PETG differs most from PLA
This is where slicer defaults do real damage. David’s IT Garage found his slicer’s default 90% fan produced terrible layer adhesion on PETG. Dropping to 30 to 50% fixed it.
PLA habits don’t transfer. PLA likes maximum cooling. PETG needs restraint, because the layer below has to stay warm enough to fuse.
Stage it rather than setting one number. Keep the fan off for the first three layers so the base welds down properly, then bring it up to somewhere in the 30 to 50% band.
Print speed, which quietly changes your effective temperature
30 to 60 mm/s is the usual working range. Faster printing means more plastic melting per second, and the hotend has less time to heat it through.
So when you speed up, you often need another 5 to 10°C to keep extrusion consistent. Your calibrated flow limit, not your temperature, is what really caps your speed.
Drying, the step people skip
PETG is hygroscopic. It pulls moisture from the air, sometimes badly enough that a freshly opened spool needs drying before its first print.
Drying is powerful but not magic. One high speed matte PETG still showed small moisture bubbles after a full cycle, so treat a long neglected roll as suspect rather than fixed. Full method: how to dry and store filament, or the filament drying guide for quick temperature and time numbers.
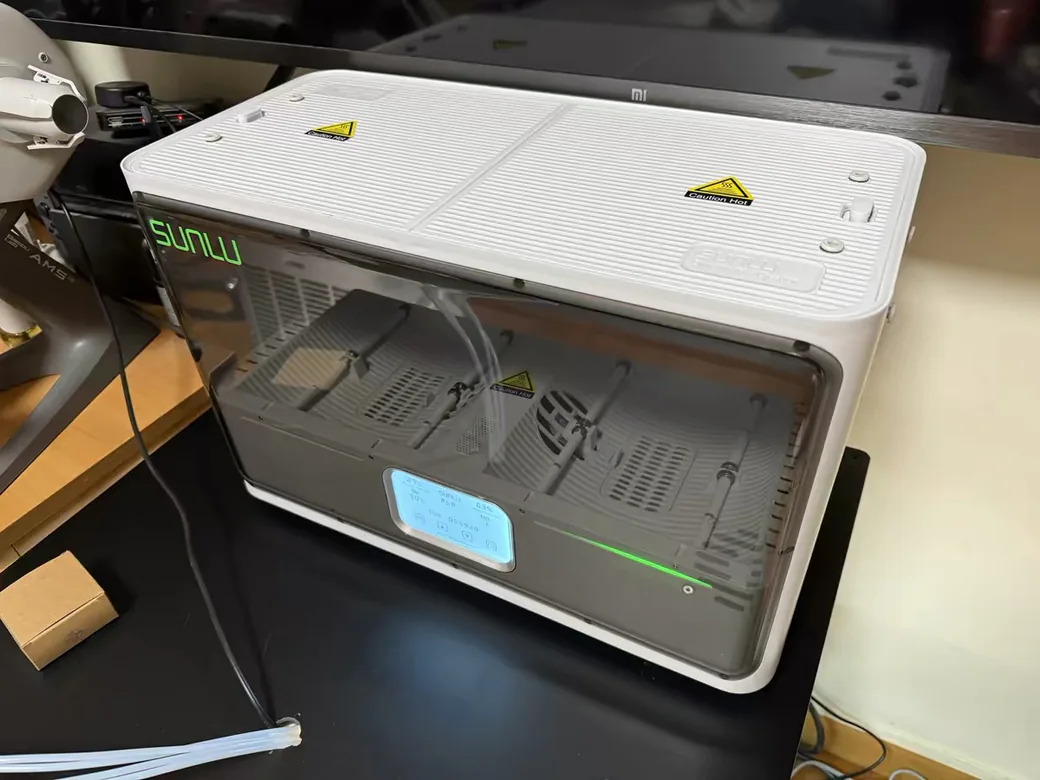
Presets can burn you too. In one dryer round-up, The Print House ran a Sunlu S4 on its own PETG preset and came back to four brand new rolls fused into a single brick, about $100 of filament gone. The lesson is the same one this whole guide keeps landing on: a preset is a guess about your spool, not a fact about it. Set the dryer a few degrees below the preset and check on it.
PETG Print Temp vs PETG Heat Resistance
These are two different questions, and search results mix them constantly.
Print temperature is what you set in your slicer. Heat resistance is how hot the finished part can get before it deforms.
For heat resistance, PETG’s glass transition sits around 75 to 85°C, with heat deflection between 65 and 75°C. Parts can start deforming above 70°C. Compared to PLA, which softens around 55 to 60°C while PETG holds shape closer to 80°C, that’s a real upgrade. Annealing can add roughly another 5 to 10°C.
One honest caveat. “PETG is heat resistant” is brand dependent, not a property you can assume. One popular new high speed PETG measured a heat deflection temperature about 10°C lower than the older formula it replaced, putting it only slightly ahead of PLA. If heat resistance is the actual goal, verify the specific spool, or step up to ASA.
Car interiors are the classic case where this bites people. Which filament survives a hot car covers that scenario in detail.
Frequently Asked Questions
Why is PETG hard to print?
PETG isn’t difficult so much as unforgiving in specific ways. It absorbs moisture quickly, it needs much less part cooling than PLA, and it tends to stick to build plates too well rather than too little. Most PETG frustration comes from applying PLA habits to it.
Is 270°C too hot for PETG?
For most conventional PETG, yes. At that temperature the polymer starts degrading through hydrolysis, which makes finished parts brittle even when layer bonding looks good. High flow formulas are the exception, since some are rated 255 to 265°C by the manufacturer. Check your spool label before going above 260.
Is 230°C too low for PETG?
For most spools, yes. Bend testing showed layer adhesion dropping noticeably at 230°C compared to 250°C. The catch is that cold parts often look perfectly fine and only fail under load. On the low temp formulas, though, 230 sits comfortably mid range.
What are the best settings for PETG prints?
Start at 240°C nozzle, 80°C bed, 40% fan, and 50 mm/s. Use 1.0 mm retraction on direct drive, or around 4 mm on Bowden. Then adjust based on what you actually see, and treat your spool’s printed label as more authoritative than any preset.
What temperature should I print PETG on a Bambu Lab printer?
Check which spool you actually have first, because Bambu changed it. PETG HF, the high flow formula rated 255 to 265°C, was discontinued in mid 2026 and replaced by PETG Basic, so new orders ship Basic while plenty of HF is still on shelves. Use the printer’s built in profile for whichever one you’re holding. The mistake to avoid is copying a generic 240°C out of a guide and applying it to an HF spool, which runs a good 20°C hotter than that.
Is PETG food safe?
The raw material is used in food and medical packaging, but that doesn’t transfer to a printed part. Layer lines trap bacteria, and no printing temperature fixes that. If a part needs to be food safe, it has to be sealed with a food safe epoxy, and even then treat it as single use rather than dishwasher safe. We dug into which filaments actually carry a food contact certificate, and it’s a shorter list than you’d think.
Do I need to dry PETG before printing?
Yes, especially if the spool has been open more than a few weeks or you’re seeing stringing. Two hours at 65°C is the practical minimum, and that’s enough for a spool that’s only been out a while. A genuinely wet roll needs far longer: one tester only got a clean print after about 12 hours in total. Drying is the first thing to try for stringing, before touching retraction or temperature.