
- Marlin is usually enough if you want a stable printer with minimal extra hardware and maintenance.
- Klipper is worth considering if you want deeper tuning, remote management, and more motion-control headroom.
- Klipper doesn’t automatically make a printer faster. Cooling and extrusion capacity matter. So do the mechanics and calibration.
- Ender 3 owners should choose Klipper for a defined benefit, not because a firmware swap sounds like a complete upgrade.
- The short answer: keep Marlin for simplicity. Choose Klipper for control and a willingness to tinker.
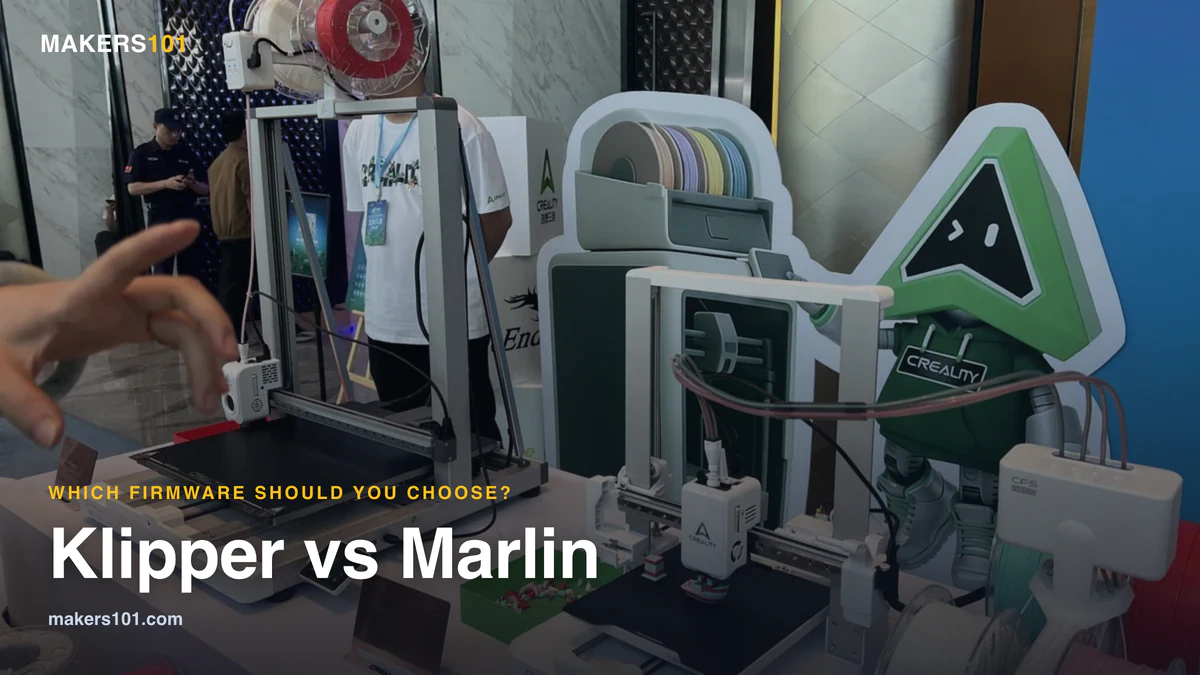
If you’ve opened three tabs trying to understand Klipper and Marlin, you aren’t missing an obvious setting. The two firmware options solve different problems. The confusing part is that “faster” can mean higher acceleration, shorter print time, or simply a nicer way to manage the printer.
Here’s the honest version: Marlin remains the sensible choice for many printers. Klipper becomes worthwhile when you want advanced motion tuning, remote control, or a serious upgrade project. This guide explains what changes, what doesn’t, and which trade-off fits your printer.
Table of Contents
- Klipper vs Marlin: The Short Answer
- What Firmware Actually Does in a 3D Printer
- Klipper vs Marlin: Speed and Print Time
- Print Quality: Input Shaping, Pressure Advance, and Calibration
- Installation and Everyday Configuration
- Ender 3 Upgrade: Is Klipper Worth It?
- Cost, Complexity, and Risk
- Which Firmware Should You Choose?
- FAQ: Klipper vs Marlin
- Final Verdict
Klipper vs Marlin: The Short Answer
Marlin is a standalone firmware that runs on the printer’s controller board. Klipper splits the work between a host computer and the printer’s microcontroller. That architectural difference gives Klipper a stronger workflow for advanced tuning, but it also adds hardware. You also take on setup and maintenance.
| Your priority | Better fit | Why |
|---|---|---|
| Minimum setup | Marlin | No separate host computer is required |
| Broad hardware compatibility | Marlin | Mature support across many printer boards |
| Input shaping and pressure tuning | Klipper | Strong configuration and calibration workflow |
| Remote monitoring and macros | Klipper | Host-based interface and programmable config |
| Occasional printing | Marlin | The upgrade may not repay its complexity |
| An Ender 3 project | Klipper | More room to experiment and customize |
Who should stay with Marlin?
Stay with Marlin if your printer already produces acceptable parts and you want it to remain predictable. It’s also the safer default for occasional printing, shared household printers, and anyone who doesn’t want a small Linux computer attached to the workflow.
Marlin has a long history, broad community support, and a familiar recovery path. You may still need to compile or flash firmware for some changes, but the printer can operate without an external host computer.
Who should choose Klipper?
Choose Klipper if you enjoy tuning and have a specific goal. That goal might be higher motion limits, input shaping, pressure advance, remote monitoring, bed-level visualizations, or managing several printers from one interface.
You should also be comfortable treating the setup as a project. A supported Linux host is part of the package, along with configuration files and firmware flashing. Calibration takes time too. The benefit is control.
Read our guide to the [3D printer upgrades that are actually worth it before buying hardware for a firmware project.]
What Firmware Actually Does in a 3D Printer
Firmware turns G-code into coordinated actions. It controls stepper motors and heaters, then manages fans and safety routines. Endstops and probes are part of that control loop too. The important Klipper versus Marlin difference is where motion planning and timing work happen.
Marlin’s standalone controller model
Marlin runs on the printer’s main controller board. The board receives G-code, plans movement, and controls the motors and heaters. This keeps the system compact and removes the need for a separate host computer during normal printing.
That simplicity is a real advantage. A stock printer with a known Marlin configuration can be easier to recover after a failed experiment. Marlin also supports a wide range of boards and peripherals, which is one reason it remains common in budget and older printers.
The trade-off is processing headroom. Older or lower-powered boards have less room for complex motion calculations at high step rates. Modern 32-bit boards reduce that limitation, so “Marlin is slow” is too broad to be useful.
Klipper’s host-plus-MCU model
Klipper puts much of the high-level work on a Linux-based host, commonly a Raspberry Pi or similar single-board computer. The printer board drives motors and heaters at the low level, along with the other connected hardware.
The official Klipper documentation describes this as communication between host software and microcontroller software. It also stores most printer settings in a standard configuration file. You can edit that file and restart the service without rebuilding and reflashing the microcontroller for every adjustment.
That’s the practical difference you’ll feel after setup. Klipper isn’t just a faster firmware file. It’s a host-based system with a web interface and configuration file. Macros and a separate update path are part of the workflow too.
Klipper vs Marlin: Speed and Print Time
Klipper can reduce print times on a suitable machine, but the gain is usually smaller than the headline acceleration number. A firmware upgrade improves the control system. It doesn’t upgrade the hotend, cooling duct, belts, frame, or bed. If you’re on an Ender 3, that ceiling is lower than most people expect. We listed the acceleration ceiling for each Ender 3.
What a budget printer test found
One private video note recorded a comparison of four inexpensive bed-slinger printers running stock Marlin and then Klipper. The test cut completion time by roughly one-third to one-half, and a few runs came close to doubling throughput. The result is useful, with one important limit: it comes from a single test set.
The same test made an important distinction. Claims of five or six times faster printing often refer to acceleration or a narrow movement benchmark. They don’t mean every finished model prints five times faster. Model geometry, cooling time, travel moves, layer minimums, and extrusion capacity all affect the final clock time.
Small Benchy-style prints may show less improvement because cooling becomes the limit. A long wall or a large model gives motion control more room to matter. A tiny layer can finish before the plastic has cooled, even if the firmware can move the toolhead faster.
Why acceleration numbers mislead
Acceleration describes how quickly the toolhead reaches a target speed. It doesn’t guarantee a shorter print, even when the number looks impressive.
Think of a car leaving a parking lot. A stronger launch helps on a long road. It changes much less when the next stop sign is only a few meters away. A printer behaves in a similar way on short segments and small features.
Before increasing acceleration, check the real bottleneck:
- Maximum volumetric flow: Can the hotend melt enough plastic at the requested speed?
- Cooling: Can each layer solidify before the next pass?
- Mechanical stiffness: Can the frame and bed handle faster direction changes?
- Extrusion tuning: Are flow, temperature, pressure control, and retraction calibrated?
- Motion quality: Are the belts and rollers in good condition? Check the pulleys and fasteners too.
Klipper gives you better tools for testing and managing these limits. It doesn’t remove the limits.
When Marlin is fast enough
Marlin is often fast enough when the printer is limited by the hotend, cooling, model geometry, or mechanical vibration. Moving to Klipper in that situation can produce a nicer interface without changing the main print-time bottleneck.
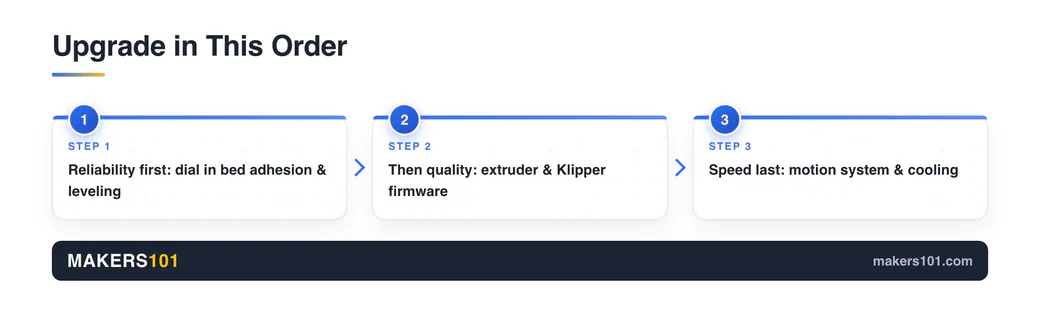
That is why the best upgrade question is not “Which firmware is faster?” Ask “What is limiting my printer today?” If the answer is a low-flow hotend, weak cooling, or a loose frame, fix that first.
Print Quality: Input Shaping, Pressure Advance, and Calibration
Klipper’s quality advantage comes from an accessible tuning workflow. It isn’t magic image processing, and it isn’t exclusive ownership of every advanced feature.
Input shaping and ringing
Ringing is the repeating echo visible near sharp corners. It happens when the printer’s frame and moving parts vibrate after a rapid change in direction. Input shaping adds a compensating motion pattern based on the machine’s resonance.
Klipper supports input shaping and can use accelerometers to measure vibration. Its workflow is one reason many makers associate Klipper with fast, clean prints.
Marlin isn’t frozen in the past. Its current feature documentation lists integrated ZV Input Shaping and newer Fixed-Time Motion features. Marlin can therefore support input shaping too, depending on the board, firmware version, and configuration. The practical difference is often the tuning path and the resources available on the target board.
Pressure advance and extrusion behavior
Pressure advance compensates for the delay between changing extrusion speed and changing pressure in the nozzle. It can reduce corner blobs and improve line transitions. Tune it to the extruder and nozzle you use. Filament choice matters too.
Klipper calls this feature Pressure Advance. Marlin provides a related feature called Linear Advance. The names and commands differ, but the underlying goal is similar: control nozzle pressure as print speed changes.
The official Marlin documentation explains that Linear Advance needs calibration. Extruder type and filament can affect the result. Temperature and nozzle choice matter too, as do hardware limits. That’s why it isn’t accurate to say “Marlin can’t do pressure control.” It can.
What you still need to calibrate
Whether you use Klipper or Marlin, a reliable tuning order matters. Start with the machine and extrusion basics. Then tune temperature and flow. After that, move to pressure control and retraction. Ringing and speed limits come later.
Useful checks include:
1. First-layer and bed-level verification. 2. Extruder steps or rotation distance. 3. Temperature and flow ratio. 4. Maximum volumetric flow. 5. Pressure advance or Linear Advance. 6. Input shaping or a ringing tower. 7. Retraction and final speed limits.
A calibration model should diagnose a problem, not become a ritual. Our guide on how to read a 3D printer calibration cube explains how to connect visible defects to the setting that may be causing them.
Installation and Everyday Configuration
Marlin is simpler to keep stock. Klipper is easier to edit after setup, but harder to install correctly. That difference matters more than most comparison tables admit.
Updating Marlin
Marlin changes usually involve a configuration, a build, and a firmware flash. Some printers provide prebuilt firmware or a simpler update path. Others require you to identify the board, compile the correct options, and copy the resulting file to the printer.
The process can feel old-fashioned. It’s also understandable once you know your board and bootloader. The printer remains a self-contained device, and there isn’t a Linux host to maintain.
Installing Klipper
Klipper’s official installation guide uses a Linux-based host and separates the host from the printer microcontroller. A typical setup includes:
1. A supported Linux host, often a Linux mini PC or another compatible computer. 2. A front end such as Mainsail or Fluidd. 3. Klipper host software and Moonraker. 4. A board-specific firmware build and flash. 5. A working `printer.cfg` file. 6. Calibration for motion and extrusion. Then tune pressure and vibration.
MainsailOS offers a prepared image for some supported boards. KIAUH is another installation route for Klipper-related software. These tools reduce repetitive work, but they don’t eliminate board-specific decisions. Worth knowing too: some slicers open Mainsail or Fluidd inside their own window, so you are not flipping browser tabs mid-print.
The hidden maintenance cost
One Ender 3 V2 upgrade note described Wi-Fi configuration trouble and a failed direct-flashing attempt. The fallback used Ethernet, SSH, and WinSCP. A microSD card completed the recovery path. The author also spent time debugging the LCD, probe, and `printer.cfg`.
That experience isn’t a universal installation recipe. It’s a useful warning about the shape of the work. The configuration file may remain an active project weeks after the first successful print.
Back up your original firmware path and configuration before flashing. Write down the board model and pinout. Record the screen and probe details. Note the endstop and thermistor too. A firmware project without a recovery plan is a frustrating way to turn a working printer into a troubleshooting session.
Ender 3 Upgrade: Is Klipper Worth It?
Klipper is worthwhile on an Ender 3 when you want a project and can name the bottleneck you’re trying to address. It’s a poor fit for a printer that already works and needs to stay low-maintenance.
Check the hardware before flashing
Ender 3 models share a name, but their electronics packages vary. Before choosing a configuration, check:
- Mainboard model and microcontroller.
- Display and its connection method.
- Probe and endstop wiring. Check the filament sensor separately.
- Host computer, USB cable, and power arrangement.
- Hotend flow and cooling come first. Also inspect the belts and rollers. Check the frame and bed stability before flashing.
An installation note covering several Ender 3 boards showed why this matters. An 8-bit V1.1.3 board, a 32-bit 4.2.2 board, and a BTT SKR Mini E3 V2 don’t share an identical flashing and configuration path.
What may improve immediately
The first improvement may not be speed. Klipper can give you remote monitoring and better bed-level visualizations. Screw tilt adjust and macros are useful additions. The configuration workflow is more editable too.
Those features can save more frustration than a faster Benchy. Remote access is especially useful when you print in a separate room. You can check temperatures, watch a camera, or stop a failure without walking to the machine.
What will not improve automatically
Klipper can’t stiffen an Ender 3 frame. It can’t make a weak cooling duct perform like a modern high-flow system. It can’t correct a loose V-wheel, worn belt, slipping extruder, or unstable bed.
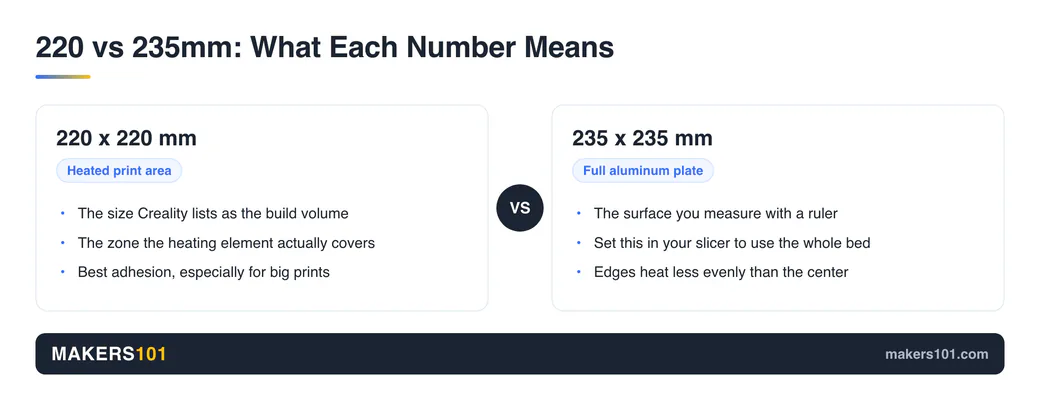
That’s why a firmware change belongs inside a broader upgrade plan. Before buying a host computer, review the Ender 3 hardware and bed-size constraints and fix the mechanical basics.
Cost, Complexity, and Risk
The real price of Klipper is the sum of hardware and time. Calibration and recovery risk matter too. Marlin usually wins the cash comparison. Klipper can win the workflow comparison for the right user.
Marlin’s cost profile
Marlin normally arrives with the printer. You may need a computer for compiling or updating, but the machine doesn’t require a permanent host computer for ordinary printing. It also has a large knowledge base for common boards and problems.
Klipper’s cost profile
Klipper may require a host computer, storage, power, a suitable USB connection, and possibly an accelerometer for convenient input-shaper measurement. The hardware cost changes with what you already own. The time cost is less visible, but it is often the bigger one.
You’re also maintaining two connected software layers. The host, front end, Klipper package, microcontroller firmware, and configuration file all need to remain compatible. That’s manageable. It isn’t free.
Risk controls before flashing
Use this short checklist before touching firmware:
1. Photograph the current board and wiring. 2. Record the exact board and screen models. Note the probe separately. Record the thermistor and endstop models too. 3. Save the current firmware file and slicer start G-code. 4. Find the correct example configuration before installing anything. 5. Confirm how your board enters bootloader or SD-card flashing mode. 6. Keep the original board or a known recovery path available.
If that checklist sounds like a burden, Marlin may be the better choice today. That isn’t a failure. It’s a useful answer.
Closed-firmware machines like the Kobra S1 Max get Klipper a different way, through a community layer called Rinkhals instead of a board swap. We walk through how that install actually goes in our Kobra S1 Max upgrades roundup.
Which Firmware Should You Choose?
Use the scenario that sounds most like your workshop.
| Your situation | Choose | Reason |
|---|---|---|
| You print occasionally and value reliability | Marlin | Fewer dependencies and easier recovery |
| You own an Ender 3 and enjoy upgrades | Klipper | More control and useful diagnostics |
| You want higher throughput after hardware tuning | Klipper | Better workflow for motion and pressure tuning |
| Your printer already meets your needs | Marlin | The upgrade may not repay its complexity |
| You manage several printers remotely | Klipper | Host-based control and macros are valuable |
For a purchase or upgrade decision, use the 3DPKit Print Cost Calculator to include machine time and electricity. Account for failed-print waste too. Firmware is one part of the economics. It isn’t the whole business case.
What I would do
If my printer already produced the quality I needed, I would keep Marlin until I could name a limitation. If I wanted remote monitoring, input shaping, pressure advance, or a deeper Ender 3 project, I would choose Klipper and budget time for configuration.
I would not install Klipper just to chase a number on a thumbnail. I would measure print time on the models I actually make, before and after calibration.
FAQ: Klipper vs Marlin
Is Klipper actually faster than Marlin?
Sometimes, but not by a universal multiplier. That four-printer video measured jobs finishing about 30% to 50% sooner, while a few machines nearly doubled throughput. Use it as a case study. It isn’t a guarantee. Cooling, hotend flow, mechanics, model geometry, and calibration still decide the final result.
Does Klipper improve print quality?
It can, when you use its tuning tools correctly. Input shaping can reduce ringing, and pressure advance can improve corners and extrusion transitions. The printer still needs a sound frame, accurate extrusion, good cooling, and appropriate settings.
Is Klipper worth it on an Ender 3 V2?
It’s worth considering if you enjoy tinkering or need remote monitoring and deeper motion tuning. It isn’t an automatic speed upgrade. Check the V2 board and screen first. Then verify the probe and host. Confirm the flashing path before you commit.
Can Marlin use input shaping and pressure advance?
Yes, feature availability depends on the Marlin version and board configuration. The current Marlin feature list includes ZV Input Shaping and Linear Advance. Klipper is often easier to tune for these workflows, but the comparison should not describe Marlin as incapable.
Is Klipper the same as OctoPrint?
No. Klipper is firmware and motion-control software. OctoPrint is a host and control interface that can send jobs and manage a printer. They can appear in the same setup, but they aren’t interchangeable names for the same layer.
Final Verdict
Marlin wins on simplicity, low dependency, and broad compatibility. Klipper wins on configuration flexibility, remote management, and advanced motion tuning for users willing to maintain the system.
The right answer depends on what you want from the printer. Keep Marlin if the printer works and you don’t want another project. Choose Klipper if you have a specific performance or workflow goal, understand the hardware requirements, and are willing to calibrate before judging the result.
For a deeper buying decision, see how to choose a 3D printer based on your workflow. The firmware matters. So do the machine, the material, and the person who has to keep it running.