
Heads up — some of the links below are affiliate links. If you buy through them, I earn a small commission (at no extra cost to you), which helps cover the gear I test. Thanks!
- How to clean resin prints: wash standard prints in 90%+ IPA using two baths: a dirty one first, a clean one second, roughly a minute or two in each. Dry them completely before UV curing. Curing a wet print locks on a tacky film that never hardens. Water-washable resin rinses in water instead, but the drying rule doesn’t change.
- There’s an upper limit on soak time. Leave a print in alcohol overnight and it starts eating the resin.
- The dirty bath does most of the work. A quick dunk pulls off roughly 90% of the uncured resin before your clean alcohol ever touches the part.
- Gloves must be nitrile. Resin melts latex.
- Dirty IPA isn’t garbage. Filtering pulls the solids out, and a $60 distiller breaks even at roughly 17 liters.
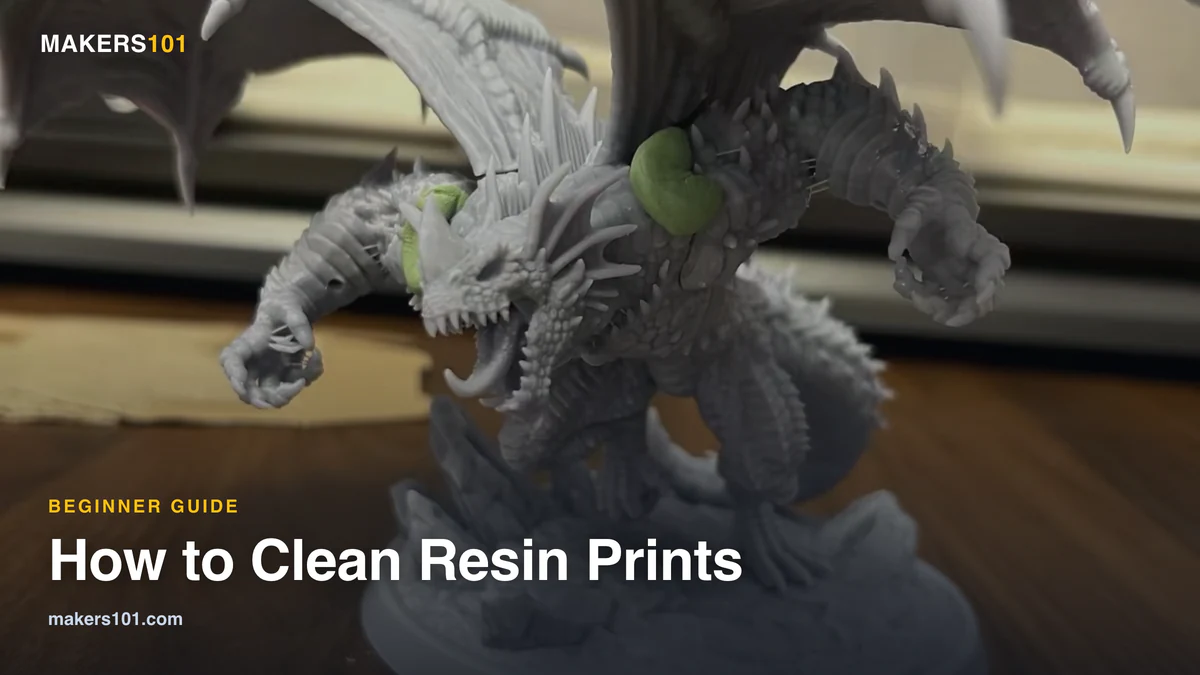
Learning how to clean resin prints at home comes down to three things nobody puts on the box: how long to soak, how dry is dry enough, and what to do with the alcohol afterward.
The first time you pry a part off the build plate, it’s coated in sticky uncured resin and the manual gives you four words. Clean with IPA. How long? How many passes? How dirty is too dirty?
Most guides walk you through the wash. Almost none deal with the solvent afterward, and that’s the part that actually costs you money month after month. Two separate threads, one on r/resinprinting and one on r/ElegooMars, ask how often to change the IPA. Not one page on the first page of Google answers it.
This covers the procedure with alcohol and water, a no-equipment version, and the second life of dirty IPA. If your prints fail for reasons unrelated to washing, it helps to understand how a resin printer works before blaming your solvent.
> How we put this together. Nobody on the Makers101 team has run a resin farm, so rather than invent experience we don’t have, we reviewed how eleven working creators actually clean their prints, from hobbyists with three pickle jars to a print farm owner. Where they agree, we say so. Where two of them flatly contradict each other, which happens once here over whether recycling alcohol is worth the trouble, you get both positions and the reasoning behind each.
Table of Contents
- Wash a Resin Print in Six Steps
- Why You Have to Wash Resin Prints
- What You’ll Need
- Which Cleaning Solution Should You Use?
- Safety First (Read This Before You Open the Vat)
- How to Clean Resin Prints: The Standard IPA Wash
- No Wash Station? The Three-Jar Method
- Cleaning Water-Washable Resin
- Drying and Curing (Where Most Prints Actually Get Ruined)
- How Often Should You Change Your IPA?
- Reusing Dirty IPA: Filter It or Distill It?
- How to Dispose of Resin Waste Without Poisoning Anything
- How to Clean the Wash Station and Containers Themselves
- Before You Start: The Short List of What Goes Wrong
- Frequently Asked Questions
Wash a Resin Print in Six Steps
Standard resin, two baths of alcohol, no wash station required.
| # | Do this | How long | You did it right when |
|---|---|---|---|
| 1 | Let the print drip on the plate, wipe off visible resin | 30 seconds | No thick resin pooling |
| 2 | Dunk in the dirty IPA jar, swish it around | 30-60 seconds | Surface stops looking glossy |
| 3 | Move to the clean IPA jar | 60-120 seconds, no longer | Surface no longer feels slick |
| 4 | Tilt hollow parts inside the tank to drain them | 10 seconds | No alcohol trapped in cavities |
| 5 | Lay out to air dry, away from sunlight | Overnight is safest | Zero wet spots anywhere |
| 6 | UV cure | Per your station’s instructions | Surface is dry, not tacky |
Using water-washable resin? Swap steps 2 and 3 for short rinses in clean water. Everything else stays the same.
Why You Have to Wash Resin Prints
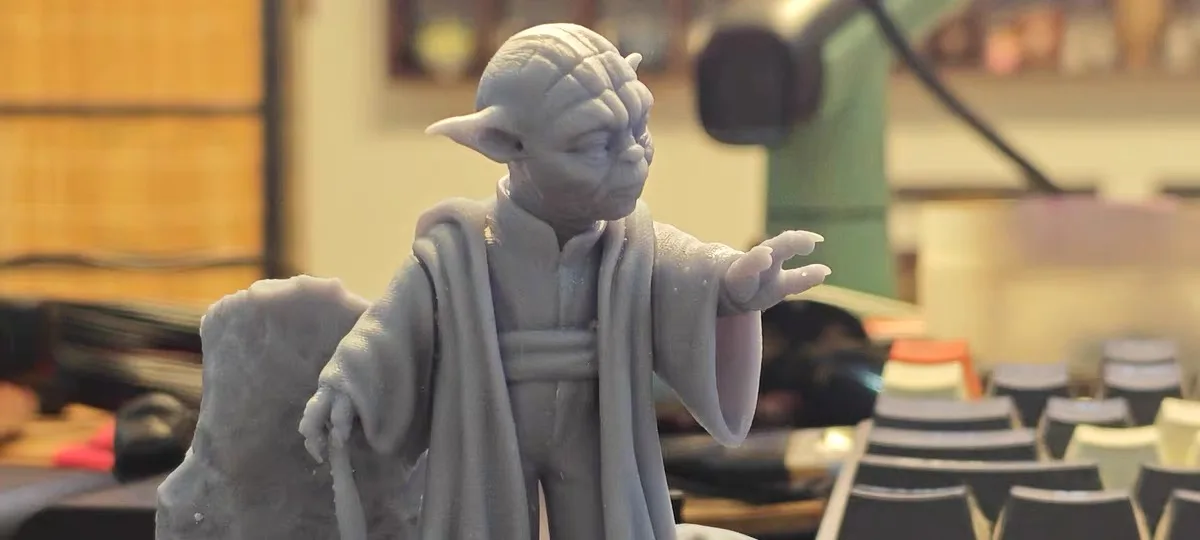
A print off the build plate still wears a layer of liquid resin, and UV light doesn’t care whether that layer belongs there. Cure it as-is and you lock a sticky skin on permanently. You can’t sand it off cleanly, and paint won’t sit on it.
Detail suffers too. Uncured resin pools in recesses and bridges fine gaps, so the crisp edges you paid for disappear.
Uncured resin is a sensitizer, so the danger builds quietly. The team at MiniWarGaming, who run a workshop with around 30 printers, warn that even if you don’t react at first, you can develop an allergy over time. Plenty of people quit resin printing once that happens.
What You’ll Need
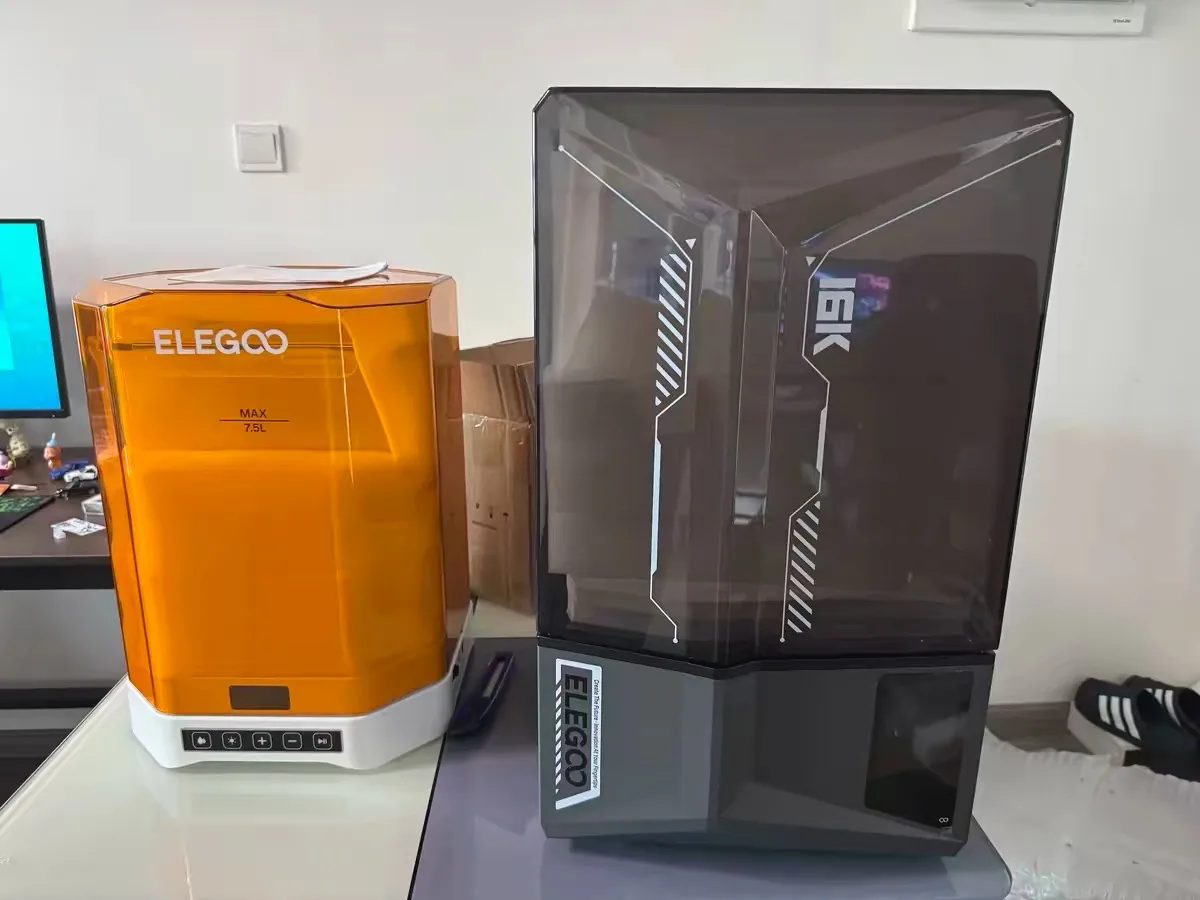
Only the ultrasonic cleaner on this list is optional. Jars and alcohol are the two costs that scale with how much you print, and both are covered in more detail below.
| Item | Why it matters | Notes |
|---|---|---|
| IPA, 90% or higher | The default solvent for standard resin | Formlabs recommends 90%+ concentration |
| Nitrile gloves | Resin melts latex gloves | Not a preference. Latex fails on contact |
| Respirator | Fume exposure is cumulative | Chris at ItsMeaDMaDe wears one for every wash |
| Safety goggles | Resin and IPA in the eye can blind you | Splashes happen when you pull parts out |
| 2-3 sealable jars | Your wash baths | Pickle jars work. Roughly $9-12 each |
| Soft toothbrush | Reaches recesses on detailed parts | Never use it in your final clean jar |
| Silicone baking tray | Contains spills on your work surface | Resin peels off silicone once cured |
| UV flashlight | Cures waste before you bin it | Cheap and genuinely necessary |
| Ultrasonic cleaner (optional) | Gentler than agitation | Read the safety note before you buy |

- 99% Isopropyl alcohol is not intended for use on the skin
- Wash face, hands and any exposed skin thoroughly after handling product
- Do not eat, drink or smoke when using this product
- When using this product, wear protective gloves/protective clothing/eye protection/face protection
- DANGER: DO NOT USE AS FUEL SOURCE. If exposed to a heat source, vapors may ignite and cause the bottle to explode, resulting in severe burns, serious…

Which Cleaning Solution Should You Use?
IPA at 90% or higher is the default answer. Every other option here solves one specific complaint about it: cost, flammability, sludge, or availability.
| Solvent | Flammable | Rough cost | Main advantage | Main cost |
|---|---|---|---|---|
| IPA 90-99% | Yes | $7.67/L (Formlabs figure, see price note below) | Works, available everywhere | Goes cloudy and sludgy within weeks to months |
| Methylated / denatured spirits | Yes | Cheaper than IPA in some markets (reported in Canada) | Stays clean far longer | Harsher fumes, higher ventilation demand |
| Water (water-washable resin only) | No | Near free | No solvent cost | Leaves white residue easily; waste is still toxic |
| TPM | No | Higher than IPA | Tested fallback when IPA is unavailable | Non-biocompatible resins only; needs a rinse after |
| Brand wash solutions | No (GHS rated) | $15/L | 20% saturation limit, 240-day life | Expensive, and these figures come from the seller |
IPA turning to sludge isn’t something you’re doing wrong. It’s what IPA does. Ross at FauxHammer found that isopropanol goes cloudy and sludgy within weeks or months, while methylated spirits stay clean indefinitely. He ran the same vat through an ultrasonic cleaner for over a year without changing the fluid.
That’s a genuinely different cost curve, and none of the top-ranking guides mention it. The trade is fumes, and it isn’t small.
Simple Green and dish soap come up often in searches, though none of the creators reviewed here uses either. On the chemistry alone, they will lift some surface resin but neither dissolves it the way alcohol does, and both leave a water film you then have to dry off. Fine in an emergency. Switch back after.
Safety First (Read This Before You Open the Vat)
Before you wash anything: nitrile gloves, goggles, a respirator, and real airflow. An open window on its own won’t do it. Resin punishes casual handling more than filament does, and washing is where you have the most direct contact with the chemicals.
The MiniWarGaming crew report chest pain within 30 seconds of exposure without a mask. That’s not a long-term warning, it’s the same afternoon.
Open windows aren’t ventilation. When Ross at FauxHammer filmed his post-processing routine at Guy’s place from Midwinter Minis, the Dyson air filter in the room spiked to red from methylated spirits fumes, and the windows were already open. Air needs a path out, which a cracked window rarely provides.
- Eyes. Resin and IPA can cause serious harm including blindness. Wear goggles when you lift parts out, not just while you pour.
- Latex gloves fail. Resin melts them. Nitrile only.
- Ultrasonic cleaners heat the liquid. VogMan flags this directly: heating flammable IPA is a fire risk. Keep cycles short and never walk away from a running unit.
- Spills are a when, not an if. Work over a tray.
Resin sits in a different risk category from filament printing entirely, which is why the advice on whether 3D printing is safe for kids draws a hard line between the two.
How to Clean Resin Prints: The Standard IPA Wash
The procedure is two baths, and the order matters more than the technique. The first is deliberately dirty and does the heavy lifting. The second is clean and only finishes the job. Run it this way and your clean alcohol stays usable for weeks instead of days, because it never absorbs the bulk of the resin.
The other half of the rule is time. Each bath is a short visit. Alcohol dissolves uncured resin, but given long enough it works on the cured resin underneath.
Add a third stage only for very fine detail, deep recesses, or a print that still feels slick coming out of bath two.
Step 1: Drain the print before it touches any alcohol
Let the part hang on the plate for about 30 seconds so excess resin drips back into the vat, then wipe what stays behind.
This step is pure economics. Formlabs makes the same point: wiping the part and platform before submerging anything is what prolongs the life of your IPA. Every gram you catch here is a gram your solvent doesn’t have to hold.
Step 2: First bath, the dirty jar
Dunk the part in your dirtiest jar and swish it for 30 to 60 seconds.
This is where most of the work happens. VogMan puts the figure at roughly 90%: a quick dunk in dirty IPA takes off that much of the uncured resin. Already-contaminated alcohol is perfectly capable of stripping resin, and using it first is what keeps your last jar usable.
Step 3: Second bath, the clean jar, 60 to 120 seconds
Move the part to clean alcohol and give it a minute or two. Not five. Not overnight.
This is the number almost every guide leaves out. The channel 3D Printing Miniatures is blunt about why it matters: don’t let IPA sit on your prints overnight, it will eat away at the resin. Small parts and thin details go first.
If a detailed print still holds resin in its recesses, reach for a soft toothbrush before you extend the soak. Colin Klupiec notes the same limitation from his own switch to IPA: really detailed prints still need brushing.
Step 4: Drain hollow parts properly
Lift the basket clear of the liquid but keep it inside the tank, then tilt it side to side and front to back.
Chris at ItsMeaDMaDe uses this to stop hollow prints carrying a reservoir of alcohol out of the tank. The IPA drains back where it belongs instead of onto your bench. Ten seconds, and it’s the most useful trick here for anyone printing hollowed miniatures.
Step 5: Ultrasonic finish (optional)
An ultrasonic cleaner reaches places agitation can’t. VogMan rates it as gentler and more thorough for fragile prints specifically, since there’s no basket sloshing delicate parts against each other. He runs his alongside an ELEGOO Mercury X station; Chris at ItsMeaDMaDe uses the same Mercury X with 91% IPA and prefers separate wash and cure units over an all-in-one.
Two rules if you use one. Put your IPA in a plastic container inside the bath, since vibrations travel through plastic more easily than glass. And keep cycles short, because these units heat their liquid, and heating a flammable solvent unattended is how workshop fires start.
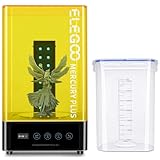
- 【Upgrade Protection Function】Sealed washing to prevent the volatilization of alcohol during the cleaning process . Fan-less curing mode makes it…
- 【Intelligent Curing and Washing】The front TFT screen can directly display the setting time and remaining time, and the operation is simple and…
- 【Flexible Washing Mode】The models can be placed in a cleaning basket to be cleaned separately, or mount the build plate with models on it and wash…
- 【Ideal Compatibility】Compatible with most of the LCD/DLP/SLA 3D printers like ELEGOO Mars, Mars Pro, Mars C, Photon, Photon s etc, which provides…
- 【Special Notes】The washing function is not quite suitable for 3D models printed with water washable resin, which is better to be washed with…
No Wash Station? The Three-Jar Method
You don’t need a wash and cure station to get clean prints. You need three jars and about $30.
Label them 1, 2 and 3, fill them with 99% IPA, and work through them in order: dirtiest first, cleanest last, roughly 60 to 120 seconds each. The creator behind 3D Printing Miniatures calls it a poor man’s wash station, dirty, less dirty, and clean, and reports total time comparable to running a machine.
This isn’t a beginner compromise that serious users grow out of. A Canadian print farm owner told him the three-bucket system was his own previous workflow, before he switched to methylated spirits because IPA prices in Canada made the maths painful.
The common all-in-one options here are the ELEGOO Mercury Plus 2.0 and Formlabs’ Form Wash, which automate the agitation and nothing else. So when is a station worth it? Three signals: more parts than you can hand-dunk at once, parts too large for jars, or printing often enough that ten minutes per batch adds up. Volume is what triggers the upgrade.
Cleaning Water-Washable Resin
Water-washable resin is rinsed in plain water instead of solvent, in short rounds, with the same mandatory drying step before curing. It removes the solvent and keeps the hassle.
The pitch is obvious: no solvent to buy, no flammable liquid in the house. The reality, from Colin Klupiec’s switch away from it, is a different set of chores. He had to carry prints outside, keep them out of the sun while washing, and deal with a container that got contaminated fast.
The procedure is simple. Rinse in short rounds, change the water when it clouds, and dry the part completely.
You can wash water-washable resin in IPA, and it often works better. Klupiec does exactly that, and his white residue problem disappeared.
Water used to wash resin is contaminated water. It’s still toxic and it still can’t go down the drain.
Drying and Curing (Where Most Prints Actually Get Ruined)
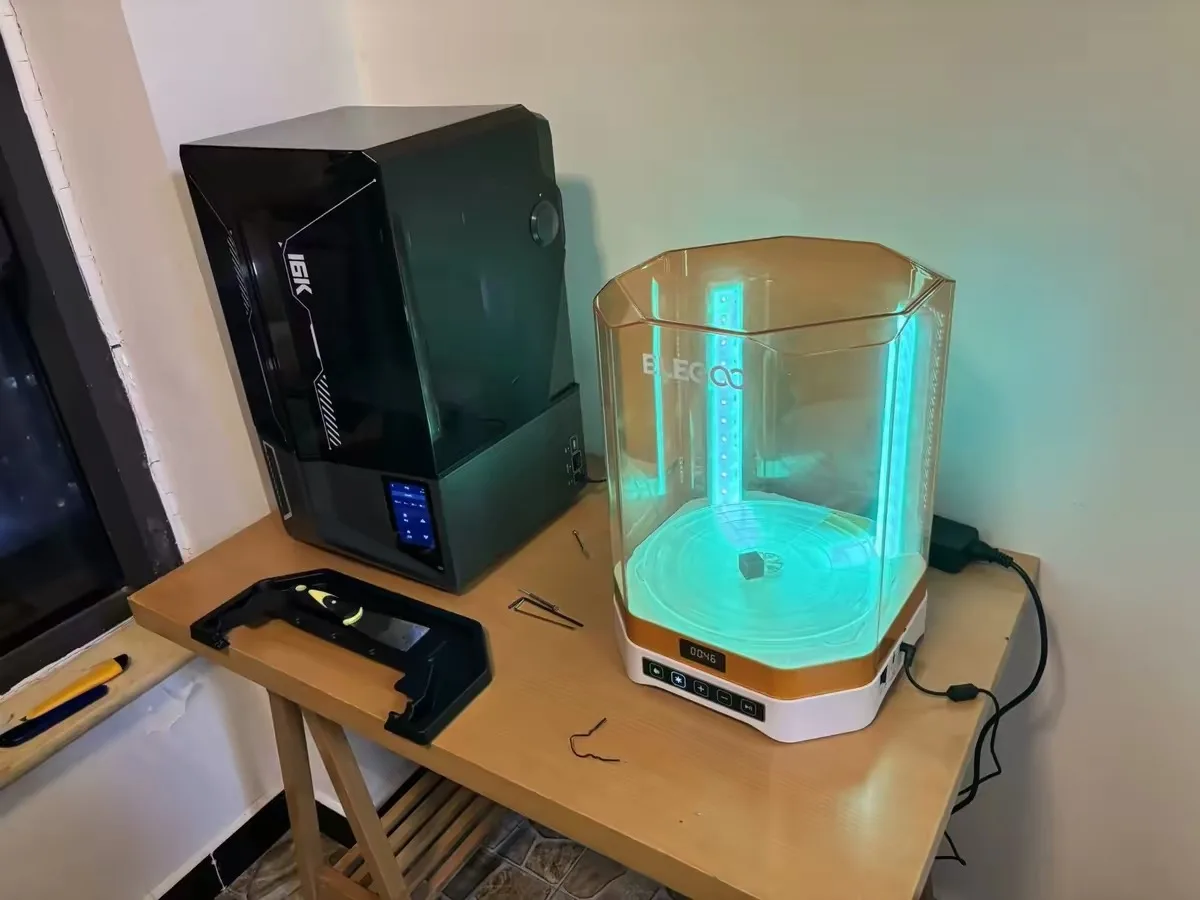
You can run a flawless wash and still destroy the print in the next ten minutes. Curing is where washing mistakes become permanent.
The rule is simple: the part must be bone dry before UV light touches it. Chris at ItsMeaDMaDe states the failure mode directly, curing wet prints leaves gooey residue that never fully cures. Once that skin is locked on, the print is cosmetically finished. How long you cure after that depends on what’s in the bottle. We get into that here: cure times differ by resin type.
That white, chalky look has the same cause. Klupiec traced his own white residue to curing prints with traces of water or moisture still on them. He switched to alcohol, which flashes off in minutes, and never saw it again.
So inspect before you cure. Don’t assume prints are perfect after washing, check for wet spots, especially inside hollow cavities and under overhangs. A spray bottle of IPA handles anything you missed. Some newer machines shrink this step. HeyGears’ G1X soaks its supports off instead of asking you to clip them. So does Flashforge’s CJ270 full-color printer, though a plain water soak takes around 10 hours.
Two more worth building into your routine:
- Dry overnight, then use warm water on the supports. 3D Printing Miniatures dries prints overnight, then soaks them in warm (not boiling) water for 15 to 20 seconds the next day. Supports peel right off, which saves a lot of snapped detail.
- Don’t dry near a window. Edward Peak ruined a build plate cleaning it in front of one. Sunlight cures whatever it reaches, on its schedule rather than yours.
If prints still feel tacky after washing correctly and drying fully, stop blaming the wash. That’s an exposure problem. Another alcohol bath won’t touch it, so dial in your resin exposure instead.
How Often Should You Change Your IPA?
There’s no fixed number of prints. Judge the alcohol by how it behaves.
Zac Higgins describes the tell precisely: after only a few cleaning cycles the alcohol becomes slimy and leaves particles on prints. Those two signs together mean the solvent has stopped removing resin and started depositing it. That’s your trigger, whether it took five prints or fifty.
For a rough planning figure, Formlabs publishes a solution lifetime of about 97 days for IPA at roughly one print per day, with a saturation limit of 10%. Formlabs also sells a competing wash solution, so read those numbers as a vendor’s benchmark.
Saturated doesn’t mean finished. This is the fork most guides never reach. Contaminated IPA can be filtered, distilled, or properly disposed of. Only the last one requires buying more.
First, check what you’re actually paying for alcohol
Before you spend anything on filters or stills, reconcile your own IPA price. The three figures quoted across this article disagree by a factor of 3.6, and that spread decides which recycling method makes sense for you.
| Source of figure | Price per liter | What it represents |
|---|---|---|
| Amazon, 16 fl oz bottle of 99% IPA | $15.13 (our calculation, verified 2026-08-09) | Buying by the pint |
| Formlabs published reference | $7.67 | Bulk / trade pricing |
| Aris Alder’s distillation maths | $4.20 | His local bulk price, and he flags it as an estimate |
Buying alcohol by the pint costs about twice the bulk price, and 3.6 times what the distillation payback model assumes. It’s the cheapest fix available, needs no equipment, and it also means the savings figures in the next section shift depending on which price you actually pay. Buy in volume before you buy hardware.
Reusing Dirty IPA: Filter It or Distill It?
Saturated alcohol can be recovered two ways. Filtering costs about $20, removes suspended solids, and leaves the liquid hazy. Distilling costs about $60, returns roughly 85% of the alcohol genuinely clear, and demands that you stand outside watching a heated solvent rig. Both have credible practitioners, and they disagree with each other in public.
Filtering: cheap, easy, partial
Zac Higgins uses a 25-micron filter that drops straight into a 5-gallon bucket, which lets him push a large volume through quickly. He’s upfront about the limit: the filter takes out particles and leaves the cloudiness behind. Your IPA comes out clear of solids and still looks hazy.
For anyone using dyes or mica powders he flags a better pre-filter: oil spill mats catch the fine pigment that otherwise contaminates the whole bucket.
One widely repeated belief doesn’t survive a real test. Hobby Link International tried curing the sludge at the bottom of a dirty IPA bucket with UV light and sunlight, and reported that it doesn’t harden. It stays a goopy mess. The tidy advice to leave the bucket in the sun and scrape out the solids simply doesn’t work for alcohol.
Filtering twice did work. His first pass pulled the large chunks and left the IPA foggy; his second took more, and by the end all the resin on the bottom was gone. He called it neither a win nor a fail, which is about the most honest summary anyone has published on this.
Distilling: real recovery, real cost model
Distillation is the only method that returns genuinely clear alcohol, and Aris Alder is the one person who has published the full economics.
His measured recovery: from 261 grams of clean IPA, one cycle returned 196 grams, or 75%. A second quick cycle brought the total to 223 grams, about 85%.
| Line item | Figure |
|---|---|
| Distiller (one-off) | $60 |
| Electricity per liter | $0.03 (750 W, 15 min, $0.15/kWh) |
| Loss to inefficiency | $0.63 per liter (15% of $4.20) |
| Total cost per recycled liter | $0.66 |
| Cost of new IPA | $4.20 per liter (his estimate, bulk) |
| Saving per liter | $3.54 |
| Break-even | After 17 liters |
Read that break-even against your own alcohol price. At $4.20 per liter the still pays back after 17 liters. If you’re buying 16 oz bottles at three times that, it pays back far sooner, and if you can already source bulk cheaply, later. The figures are his; the arithmetic has to be yours.
Filter first, then distill. Alder recommends running saturated alcohol through a filter before it goes in the still, which cuts down on resin fumes and residue. The two methods stack.
The safety requirements aren’t optional. Outdoors, on concrete, gravel or metal. Supervised throughout. A fire extinguisher within reach. AFCI and GFCI protection. And check local regulations, because home distillation of solvents isn’t legal everywhere.
So which one?
Zac Higgins looked at distillation and passed, calling it too complicated and slightly dangerous. Aris Alder ran the numbers and concluded the distiller pays for itself after 17 liters. Neither is wrong. They print at different volumes and price risk differently.
A reasonable split: print occasionally and filtering is enough, since payback on a still would take years. Run batches weekly and the maths starts working.
That $3.54 per liter assumes you’re willing to stand outside supervising a heater full of flammable solvent. If that makes you uncomfortable, filtering is your answer.
How to Dispose of Resin Waste Without Poisoning Anything
Nothing containing uncured resin goes down the drain. That covers alcohol, rinse water, and the “mostly clean” last jar. MiniWarGaming put it plainly: improper disposal is incredibly harmful to the environment even in small amounts, and depending where you live it may also be illegal.
Solids, paper towels and scraped sludge. Cure them before they go in the bin. A UV flashlight over the pile is enough, and 3D Printing Miniatures treats this as standard practice. Cured resin is inert plastic. Uncured resin is a contaminant.
Water-based rinse waste. MakerBuildIt pours contaminated wash water into a 5-gallon jug and leaves it in the sun for a day or two. On a hot day, around 90 to 93°F, the water evaporates and the resin hardens into plastic-like beads and support fragments you can bin as solid waste.
That sun trick works on water. It fails completely on alcohol-based waste, which is exactly what Hobby Link International found when he tried it. Most guides discuss “resin waste” as one category. It’s two, and they behave differently.
For anything beyond household quantities, find your local hazardous waste facility. Most municipalities take solvents, and it costs nothing.
How to Clean the Wash Station and Containers Themselves
Once your prints are clean, you still have jars, tanks and baskets coated in resin and alcohol. This comes up on r/resinprinting and gets almost no coverage anywhere else.
None of the eleven creators covers this directly, so treat what follows as reasoning from their waste-handling rules. It isn’t a tested procedure. Work in this order: let residual liquid cure or evaporate first, deal with the solids second, and never put a resin-coated container under the tap.
Empty remaining liquid into your waste container. What’s left dries to a film or a layer of sludge. Cure that under UV, then lift it out in flakes. If it won’t harden, remember what the filtering test showed: alcohol-side residue resists UV entirely. Absorb it instead, using an oil spill mat of the kind Higgins uses as a pre-filter.
For the final film, a little fresh solvent on a rag is enough. That liquid joins your waste stream like everything else, and the rags get cured before binning.
One thing not to do: don’t use IPA on your FEP film. Edward Peak points out that it clouds the sheet. Cleaning prints with alcohol is fine. Cleaning the part of your printer that light passes through is a different job with different rules.
Before You Start: The Short List of What Goes Wrong
If you came to resin from filament printing, note that almost none of your existing habits transfer. Post-processing FDM prints is a different discipline with different chemicals and different risks. The two failures that cost people the most are soaking too long and curing while still damp. Both are covered in detail above.
Frequently Asked Questions
Can you use 70% alcohol to clean resin prints?
It works, but poorly. The extra water dilutes the solvent action and leaves more moisture on the part, raising your chances of white residue after curing. Formlabs recommends 90% or higher. If 70% is all you have, extend drying time significantly before curing.
Do you need to wash resin prints?
Yes, always. An unwashed print carries liquid uncured resin that turns into a permanently tacky skin the moment you cure it. Uncured resin is also a skin sensitizer, so it isn’t safe to handle bare-handed.
How long should you wash resin prints?
A minute or two per bath, with two baths. Longer isn’t better. Alcohol attacks cured resin as well as uncured, so extended soaking softens fine details. If a part still feels slick after the second bath, brush it. Extra soaking makes things worse.
How often should you change your IPA?
Judge the alcohol by its condition. When the alcohol feels slimy and starts leaving particles on prints instead of removing them, it’s saturated. Formlabs quotes roughly 97 days at about one print per day as a planning figure. Filter it before you bin it.
Can you clean resin prints without alcohol?
Yes, with caveats. Water-washable resin rinses in plain water. For standard resin, methylated or denatured spirits work well and stay clean longer. TPM is a tested alternative for non-biocompatible resins. Household degreasers lift surface resin but don’t dissolve it properly, so treat them as emergency options.
Why do my resin prints turn white or chalky after washing?
Moisture. Curing a print that still has water or dampness on the surface produces that chalky bloom. It’s most common with water-washable resin and water rinsing. Colin Klupiec eliminated it entirely by switching to alcohol, which leaves nothing behind as it dries.
How do you make resin prints clear?
Washing gets you part of the way and no further. Cloudiness from water spots or leftover residue is a washing problem, and IPA plus thorough drying fixes it. True optical clarity is a finishing job: sand through progressively finer grits, then polish or apply a clear coat. Over-curing also yellows clear resin, so stop as soon as the surface is dry. Resin sands differently from FDM, and we get into that in sanding 3D prints.
Can I wash resin prints in the sink?
No. Even with water-washable resin, the runoff carries uncured resin that’s toxic to aquatic life and may be illegal to pour down a drain where you live. Wash into a dedicated container and dispose of the waste properly.
Should you remove supports before or after washing?
Wash first, then remove supports once the print has dried. Supports protect delicate features during handling, and cured resin is more brittle than green resin, so removing them post-cure risks snapping detail. A trick from 3D Printing Miniatures: after drying overnight, soak the print in warm water for 15 to 20 seconds and the supports peel away easily.
How do you clean the wash container after the alcohol evaporates?
Cure or absorb the residue. Never wash it out. Pour off whatever is still liquid, then cure the dried film under UV and lift it away in flakes. Bottom sludge often refuses to cure, so absorb it with an oil spill mat instead. Wipe the last of the film away with fresh solvent, then cure that towel before binning it.